�How to Enable a Waitlist
|
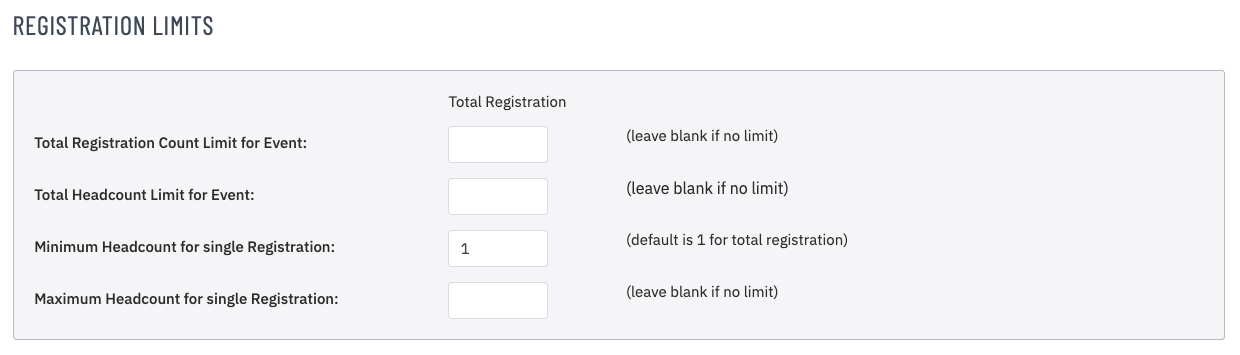
Once enabled by MembersFirst, the Waitlist can be enabled on a per-event basis. Choose the event in the Club Calendar of Events. In order for the Waitlist to function, the administrator must set a limit for either Registration Count or Headcount as these will determine when the waitlist will be enabled for the event: |
 |
|
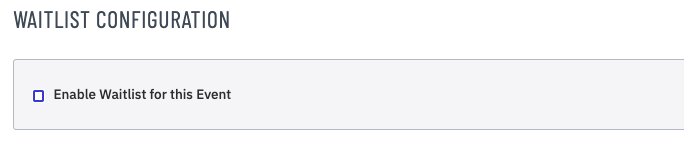
If the event has Online Event Registrations enabled, select Registration tab and scroll to the Waitlist Configuration: Please note that if time slots are enabled for the event, then Waitlist Configuration will not be available. |
 |
|
Checking the box will expand the page. |
 |
|
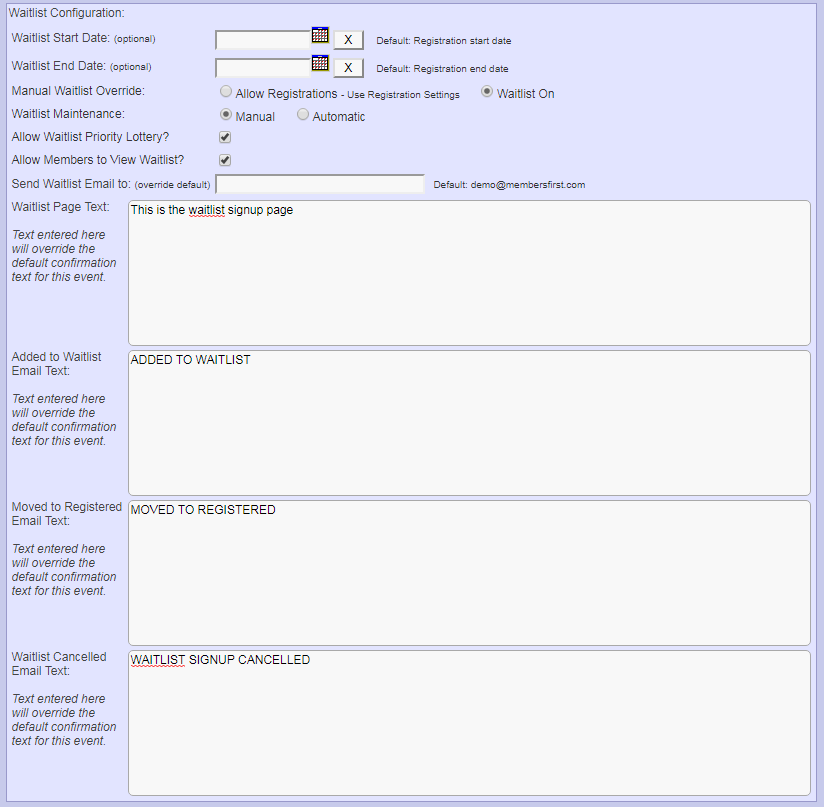
The Waitlist Start and End Date can be set here. Please note that the Waitlist Start & End Date will default to the Registration Start & End Date. However the Waitlist can be extended up until the Event Date (if applicable). |
 |
|
Manual Waitlist Override allows for the Waitlist to be forced, even though there may be registration spots available. Selecting Waitlist On will prompt all members to join the waitlist regardless if spots are available. “Allow Registrations” will be set by default. Please note that if the event is full, the Waitlist On will automatically be checked. |
 |
|
The Waitlist Maintenance setting will either automatically move members from the Waitlist to Registered as spots become available. Otherwise if Manual is set, then an administrator must manually move those members from Waitlist to Registered. |
 |
|
The Allow Waitlist Priority Lottery setting enables the administrator to randomly generate the waitlist priority (note comments below under the heading Allow Waitlist Priority Lottery) |
 |
|
Allow Members to View Waitlist will provide all members an option to view the current Waitlist. |
 |
|
Send Waitlist Email to will allow the administrator to designate a different email address other than the default for the event. |
 |
|
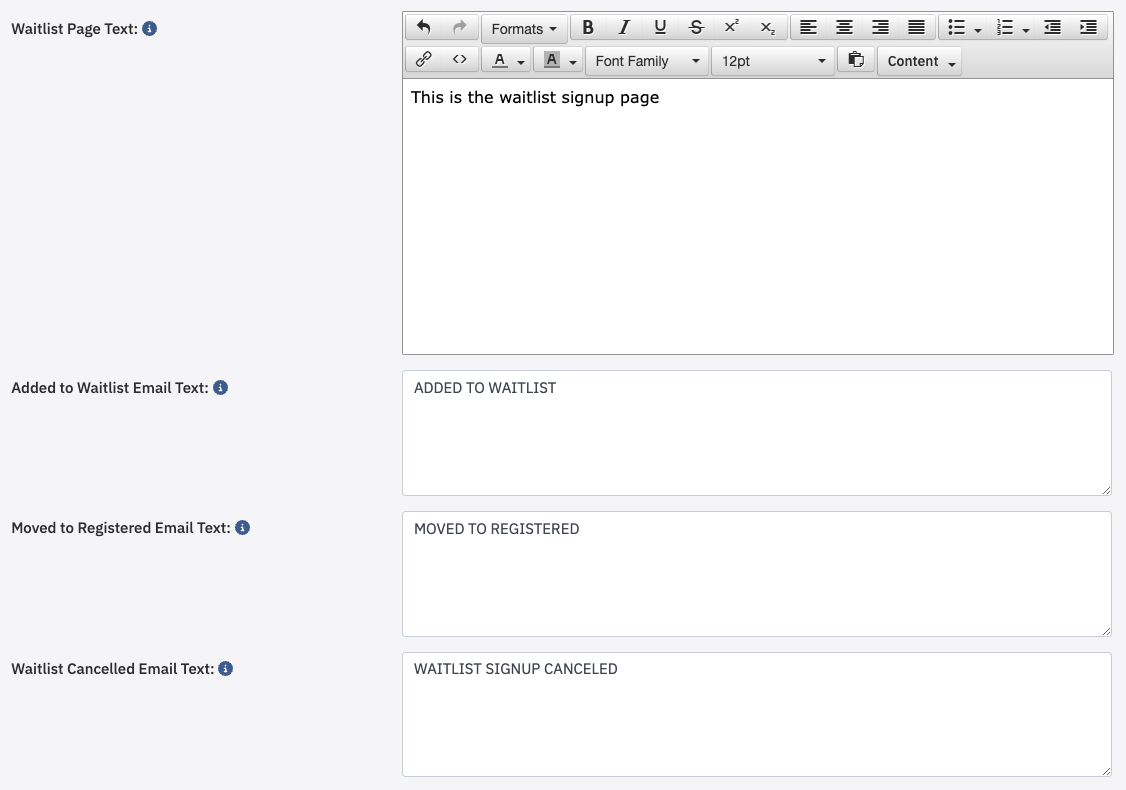
Wait Custom Text. Custom text can be added when the Waitlist is in effect - either directly on the site (first box) or as header text within the email notifications (latter 3 boxes) as indicated in the screenshot. The custom text noted in this example was set in the General Site Config. When Waitlist was enabled, the text was pre-populated to the corresponding fields. However the text fields can be overridden at the event level. When finished configuring the Waitlist, click SAVE. |
 |
|
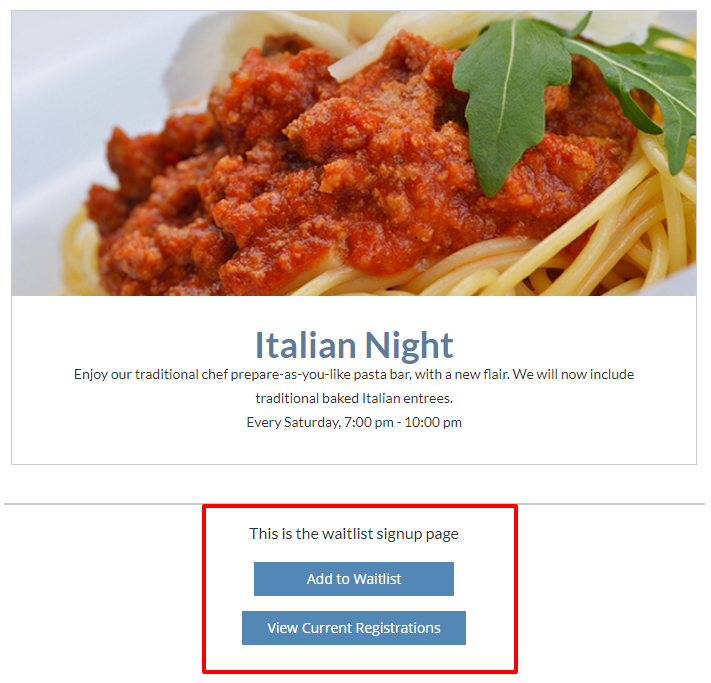
Member’s Perspective. When the member goes to an event with the waitlist enabled, the button for Register will no longer appear, however there will be an option for Add to Waitlist. The custom text “This is the waitlist signup page” can be edited at the event level in the Waitlist Page Text field. |
 |
|
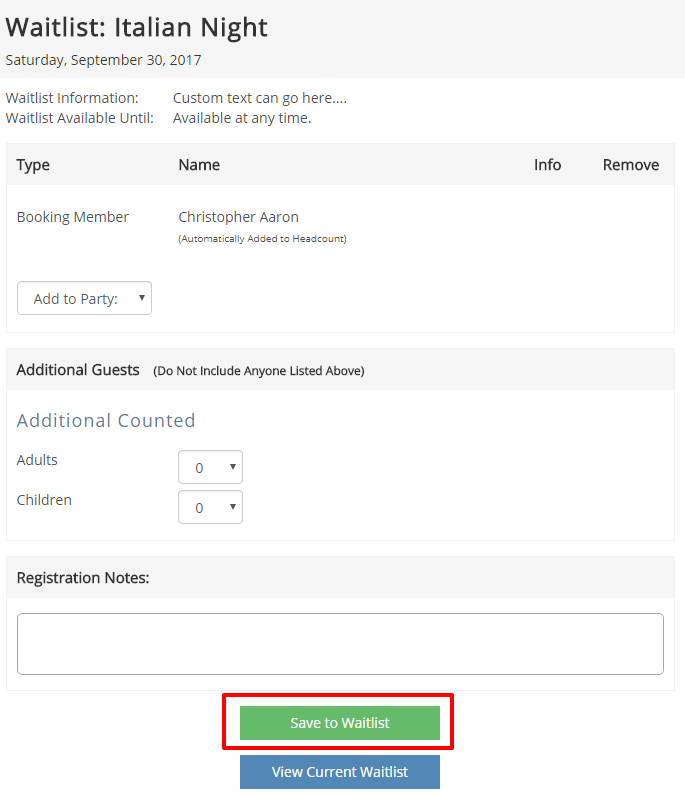
Click Add to Waitlist will prompt the member with this page. Choose the desired headcount selection and click Save to Waitlist |
 |
|
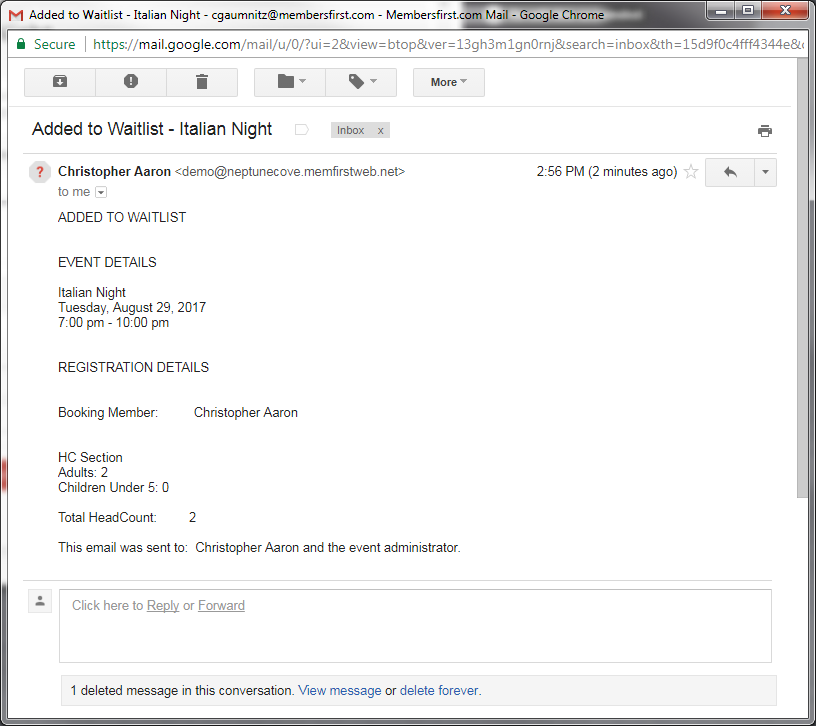
After clicking to continue, the member will receive an email stating they have been added to the waitlist, provided a valid email address is in file. Please note that similar email and push notifications will be sent if and when the member is moved off the waitlist and to the registration OR if the waitlist registration were to be cancelled. |
 |
|
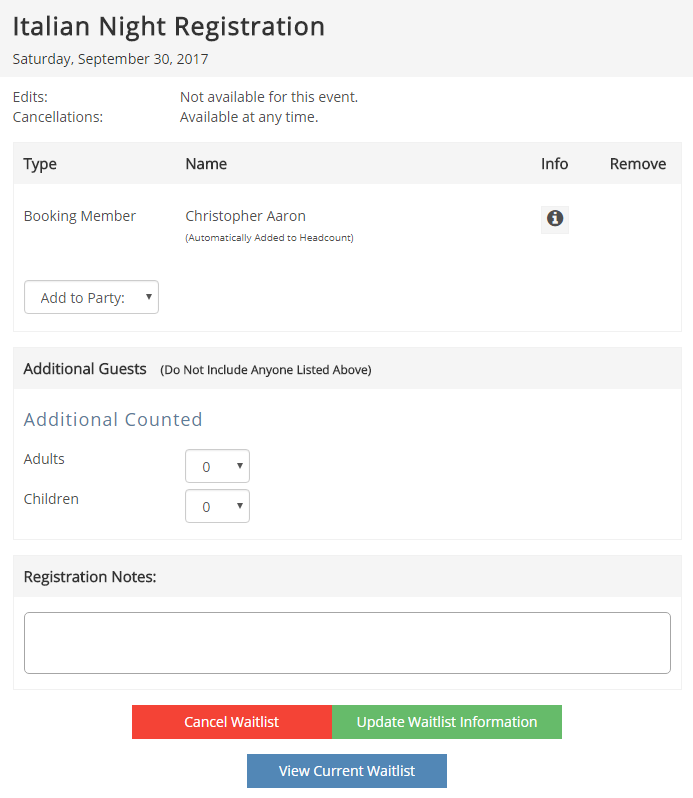
If the Booking Member were to go back to the event after being added to the Waitlist, the registration would look like the corresponding screenshot. |
 |
|
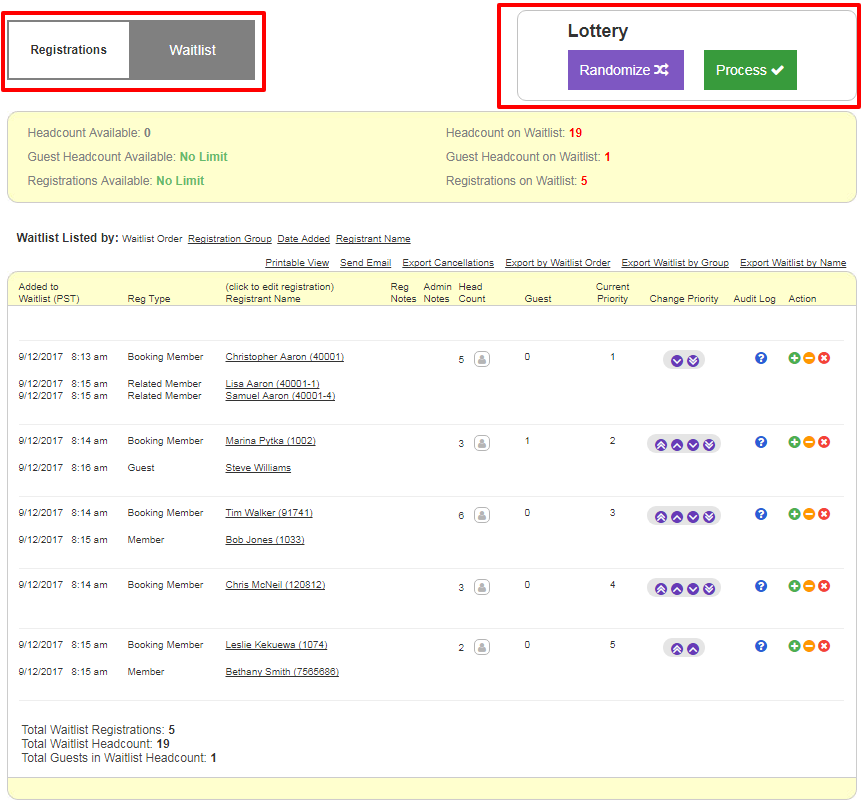
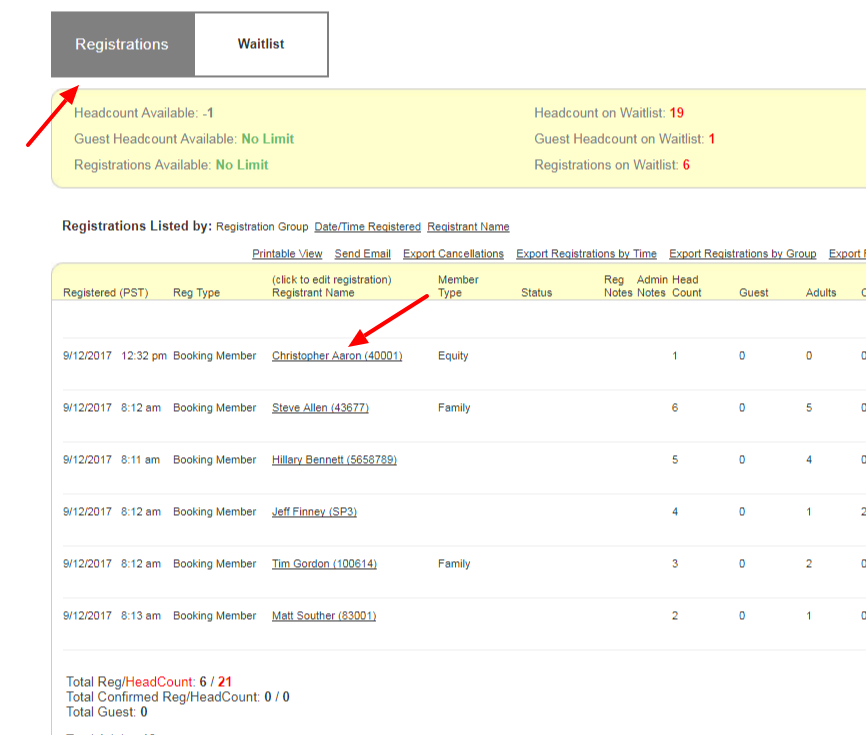
Once the registration has been added to the Waitlist, the administrator can go to the event in the Event Registrations admin to view the list of Registrations and Waitlist. The default view will always show the current registrations for the event. However the administrator can toggle between Registrations and Waitlist. |
 |
|
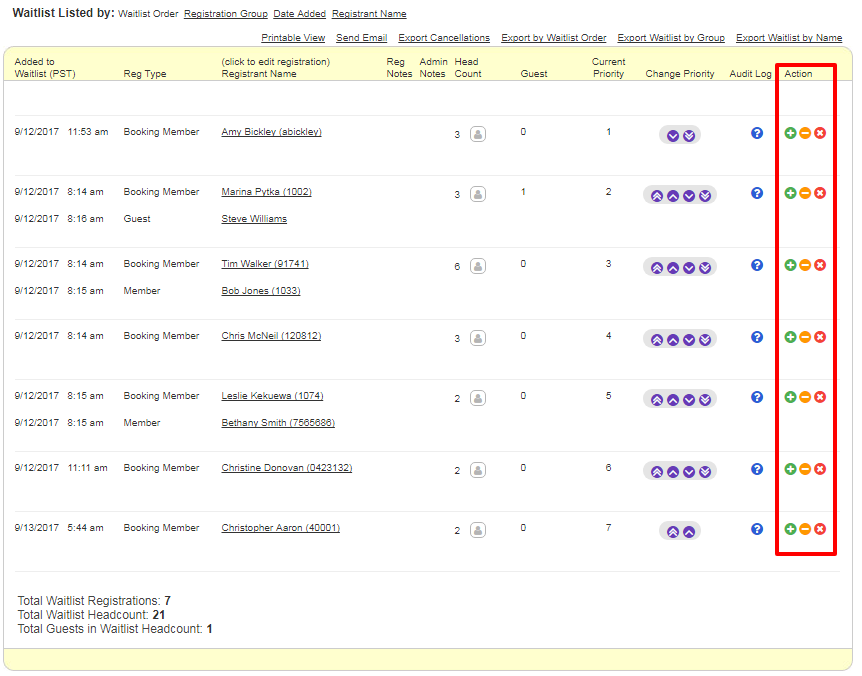
When Waitlist is selected, the list of members on the Waitlist will appear. Please note that if the Allow Waitlist Priority Lottery is selected, the Lottery heading will also appear on the upper right. |
 |
|
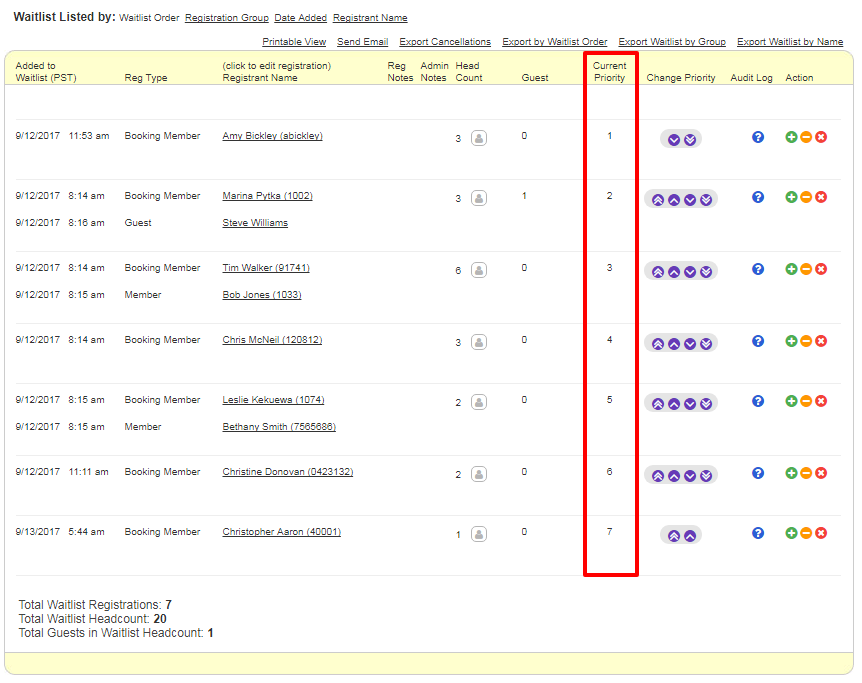
By default, the Waitlist is listed by Current Priority, unless adjusted by an administrator. |
 |
|
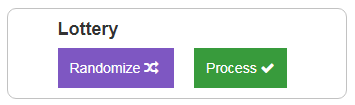
There are two ways the priority can be overridden - 1. The administrator can Change Priority by clicking any of the purple icons. If the event is configured to automatically move Waitlist members to Registered, the Priority list will determine who is moved to Registered based on headcount availability. 2. If the Allow Waitlist Priority Lottery is selected, the following options will appear when viewing the waitlist. Clicking Randomize will shuffle the Current Priority column. The admin can continue to click the Randomize button until the right combination has been met. Allow Waitlist Priority Lottery The Lottery feature may be used in many ways. One example is using the feature for “in demand” events. You may choose to have all registrations save to the Waitlist. On the registration close date, Randomize the registrations and then Process them to move Waitlist registrations to registered status at random, thus giving all members an equal chance of attending the event. |
 |
|
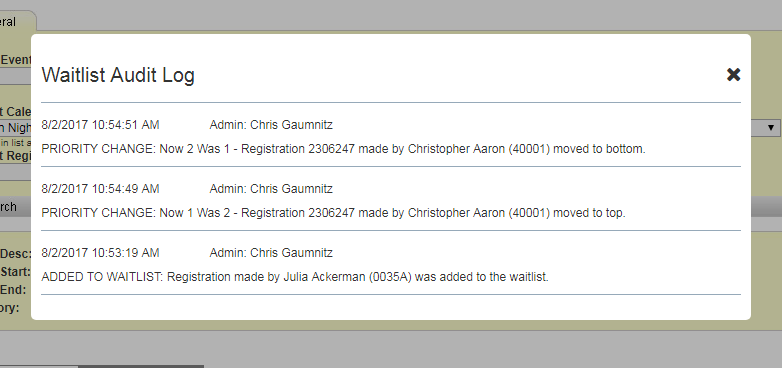
The Audit Log will track when and how the member was added to the waitlist along with any changes with the priority |
 |
|
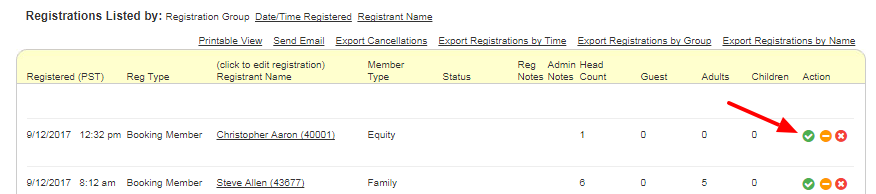
Under the Action column, the administrator can add the Waitlist registration to the event by clicking the green icon. In addition, the registration can also be:
Please note that the Action column exists for both current Registrations and Waitlist. |
 |
|
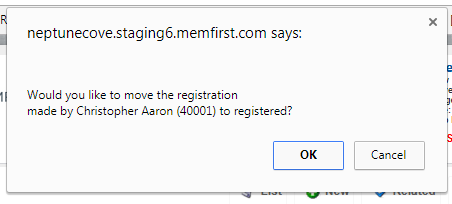
When the green icon is clicked, the administrator will be prompted with this message. If the registration exceeds the registration limits for the event, the notification will indicate this, but will still allow the admin to override the limits and move the waitlist registration to registered. |
 |
|
The member will be moved from the Waitlist view and added to the Registrations view. |
 |
|
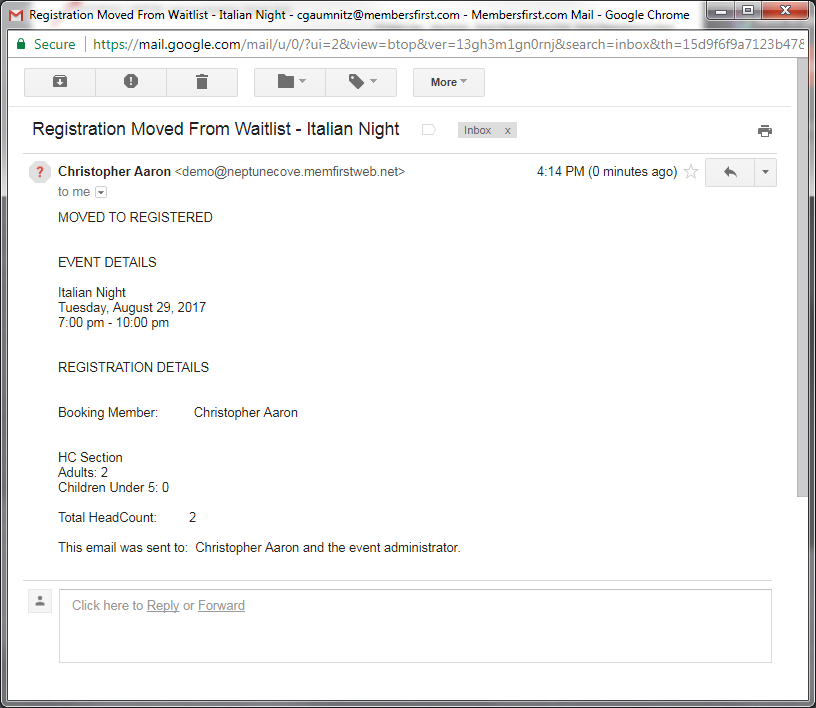
An email will also be generated to the member and administrator with the subject Registration Moved From Waitlist - Italian Night. |
 |
|
Once moved from the Waitlist, the registration will still need to be confirmed if the event requires confirmations. Click the “green” checkmark icon to confirm. |
 |
|
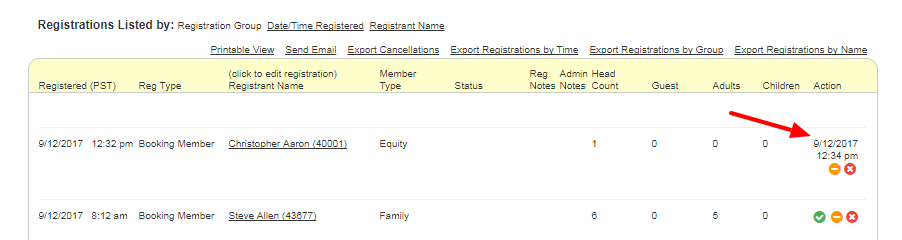
Once confirmed, the “green” icon will disappear as indicated in the screen shot. |
 |
|
Similar to non-waitlist events, an email can be generated and sent based on the event by clicking Send Email. |
 |
|
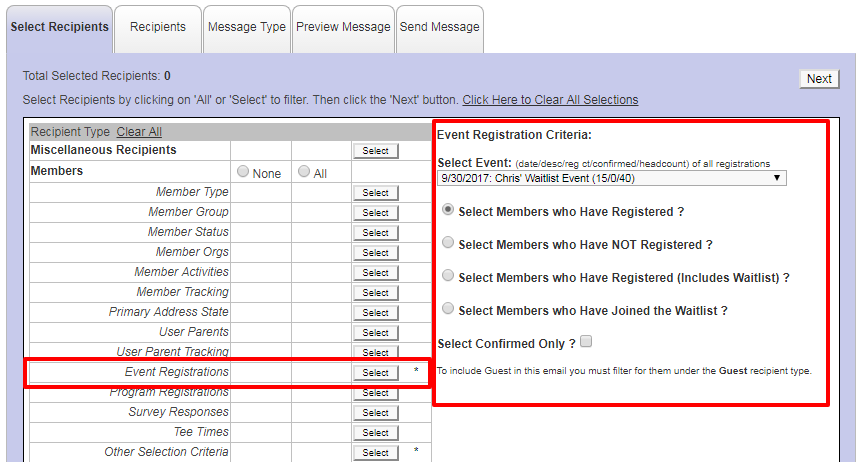
Upon clicking Send Email, the administrator will have the option to send a message to:
|
 |