How to Upload Multiple Images at the Same Time
Before using the multi-image uploader, check the following:
- All of the images are in one folder on your computer.
- The image names do not contain special characters (periods, commas, !@#$%, etc.)
- The file size of each image is less than 3.07 megabytes.
- Each image name is unique. If you are uploading images for an album, we recommend using ###_AlbumName for the names (ex. 001_Easter2016, 002_Easter2016, 003_Easter2016...)
| Log into Admin Home on your web site. |  |
| Click on Storage Libraries in the Applications box, then click on Image Library. | 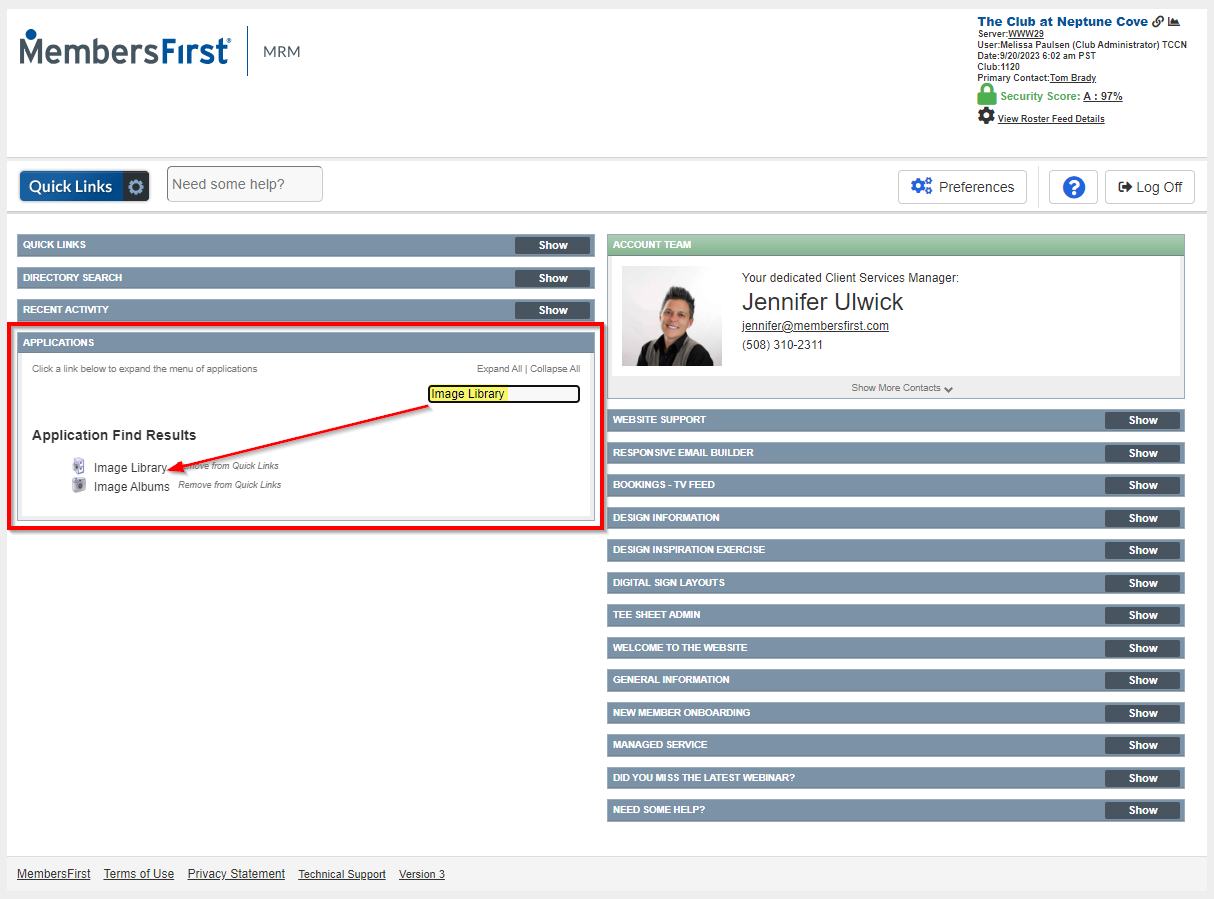 |
| Click a folder from the list under Select Folder to choose which folder the images will be stored in. You can change the destination later in the process. |
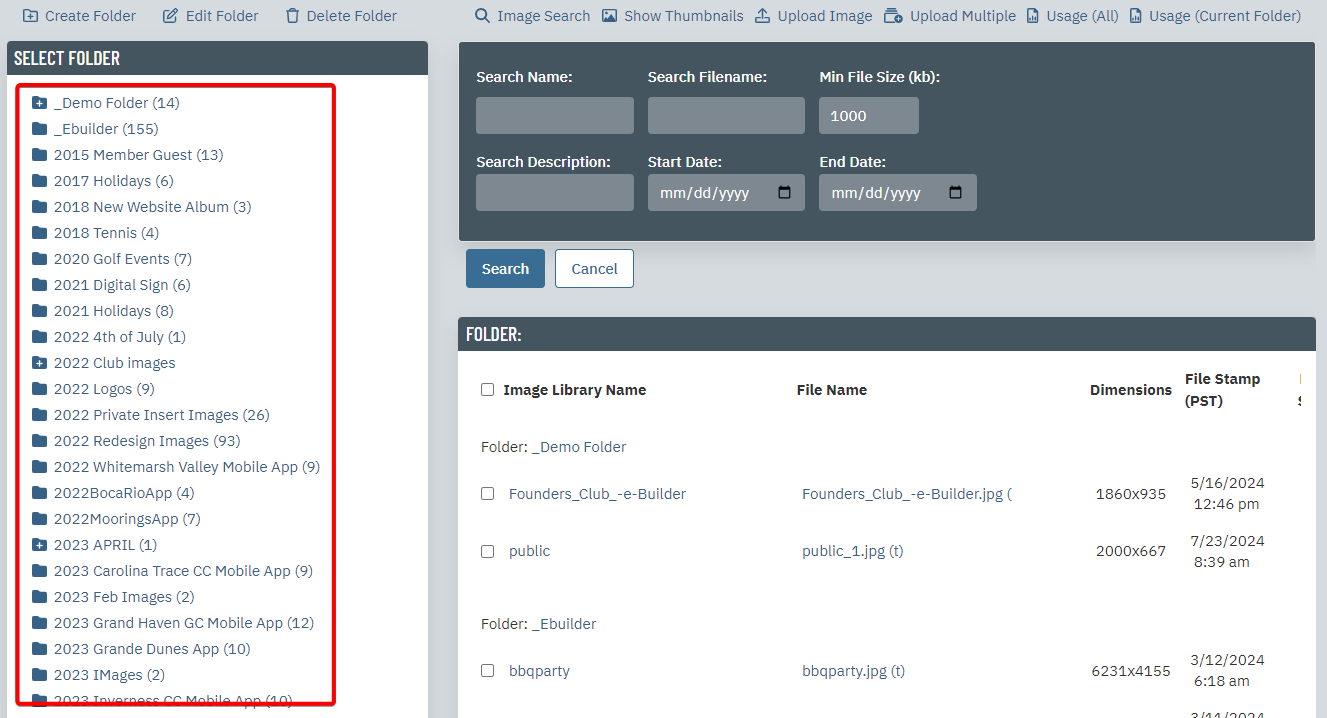 |
| Click Upload Multiple. | 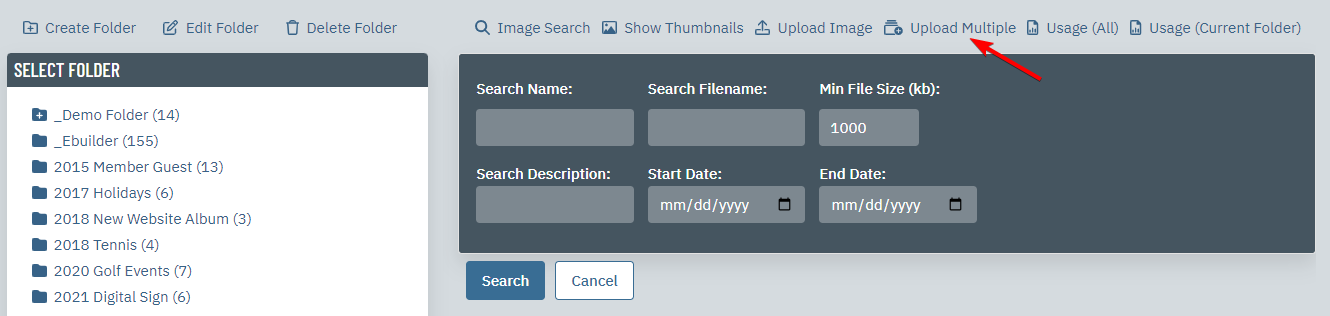 |
| Open your desktop window with the photos saved there. Drag and drop your photos into Step 2. | 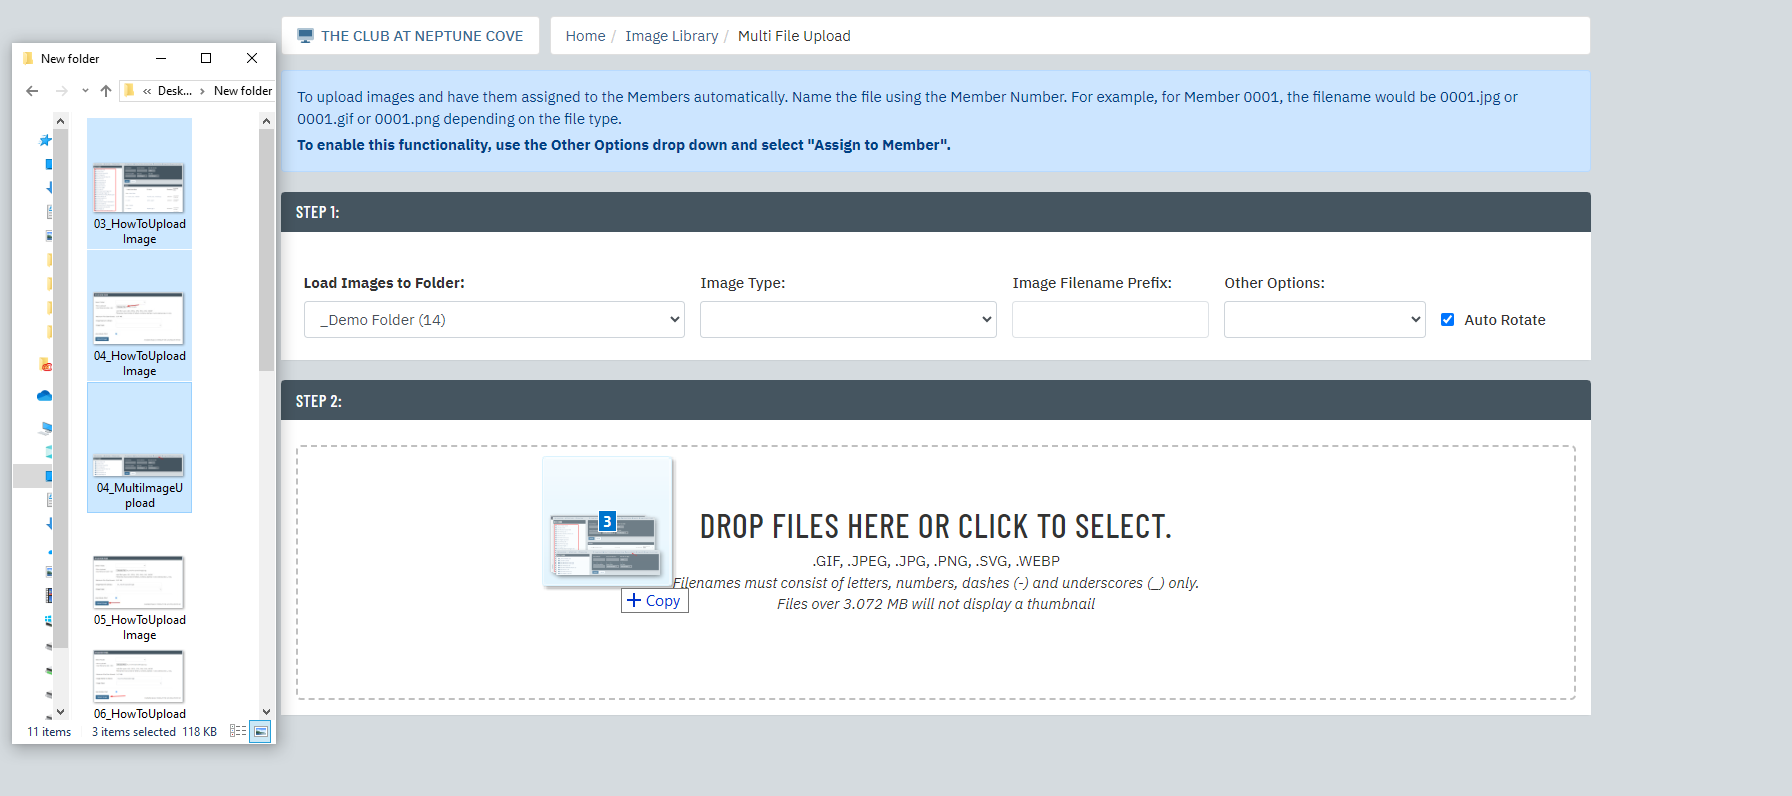 |
| Click Process. | 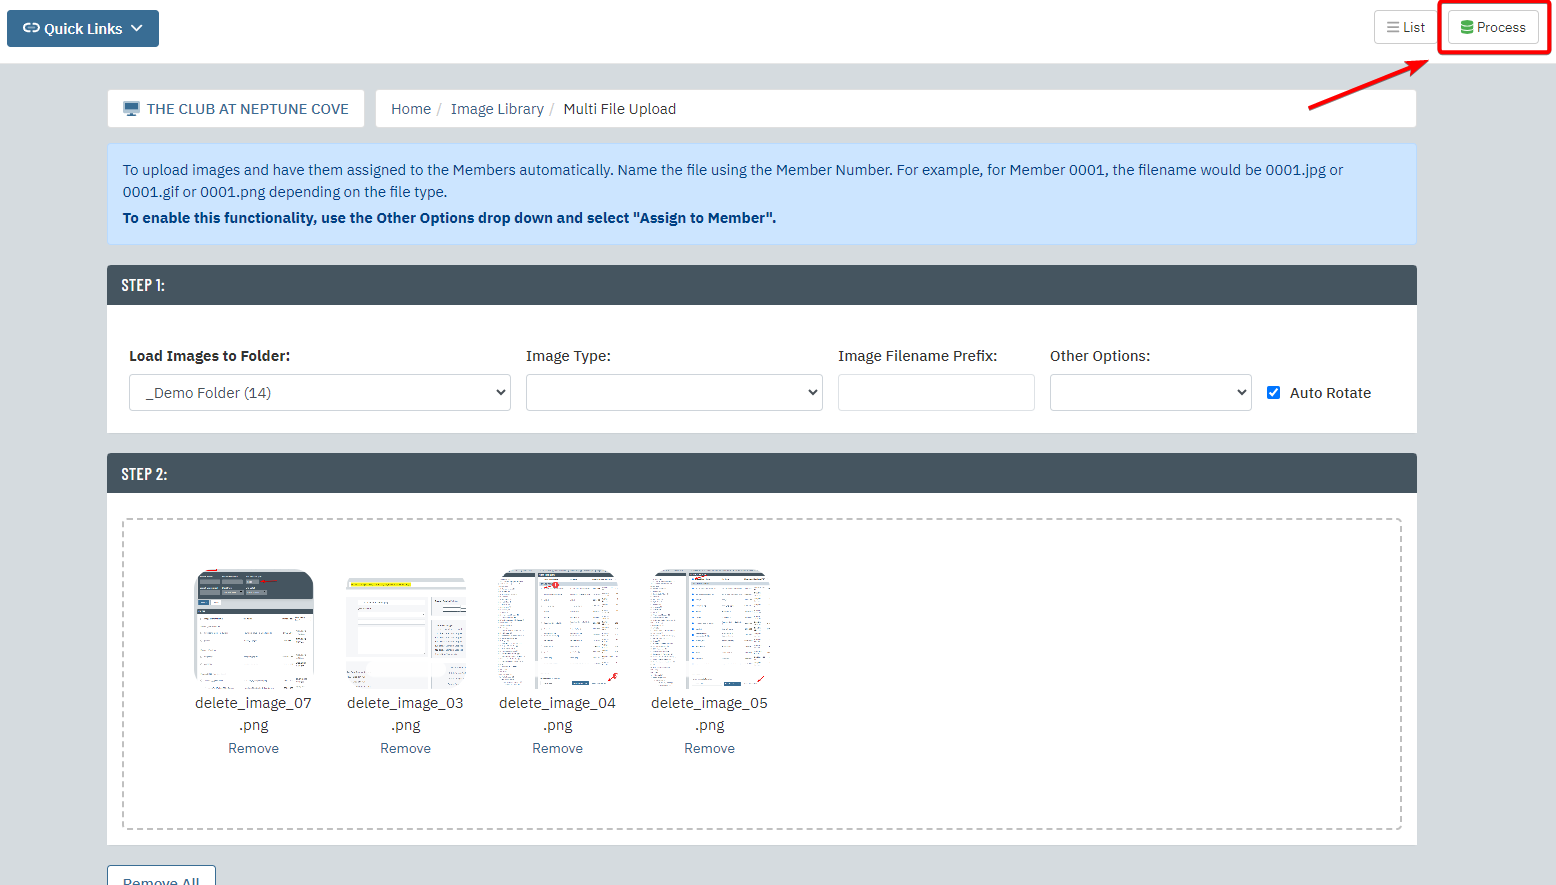 |