Changing the Header/Footer Image in a Local (Club) Template
Before you can add your own image to an announcement template, you will have to upload the image to your website's Image Library. Click here for instructions on how to upload an image to the Image Library.
| Log into Admin Home on your web site. |  |
| Click on Communications in the Applications box, then click on Template Maintenance. | 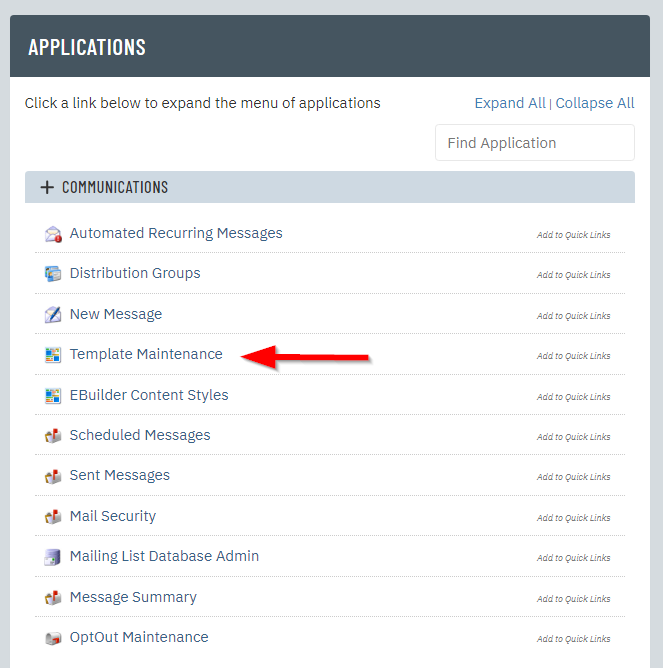 |
| Click Classic Templates at the top of the page. | 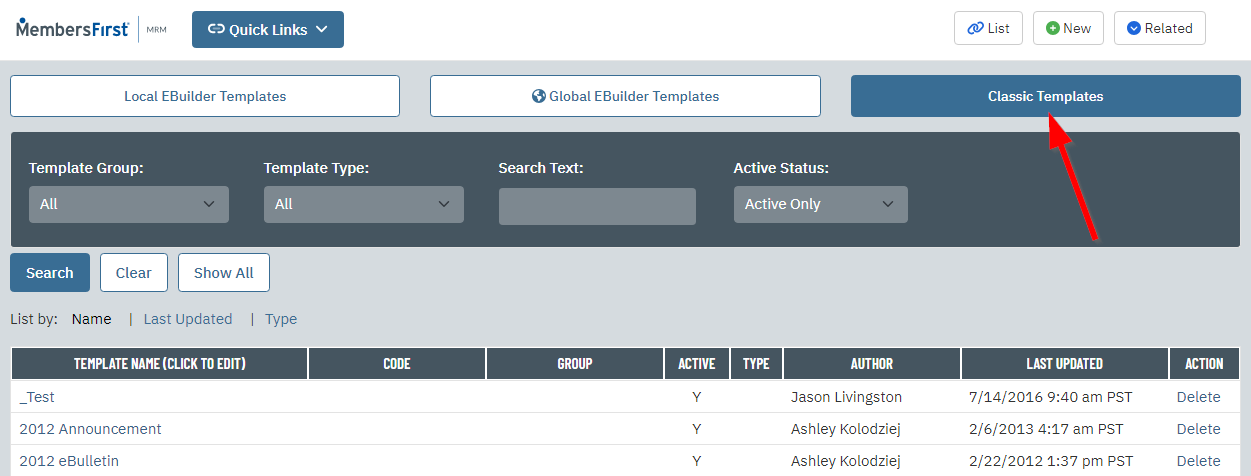 |
| Click New at the top of the page. | 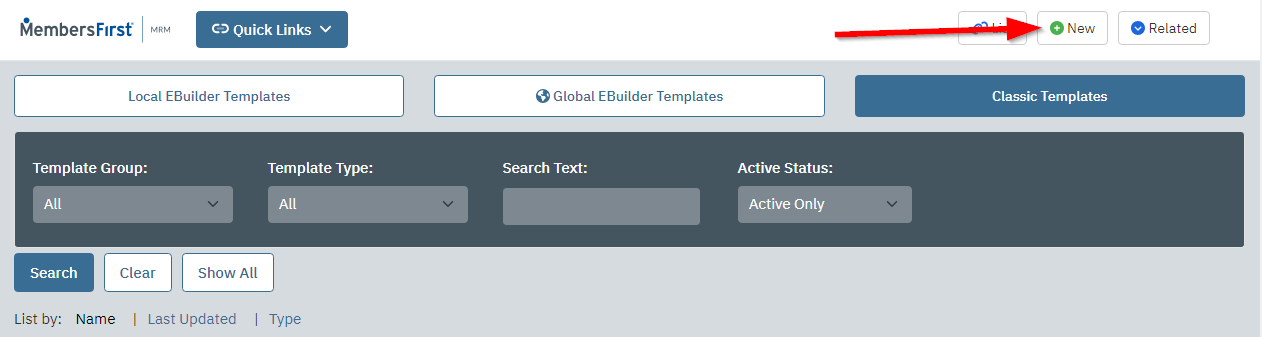 |
| Enter a Template Name. | 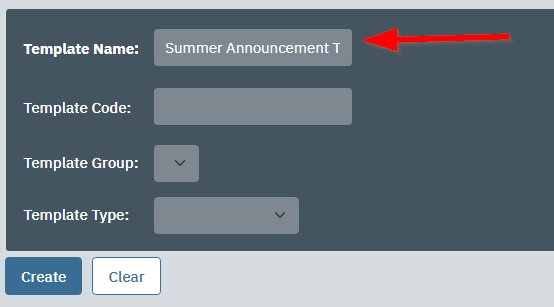 |
| Use the Template Type dropdown to select Email. | 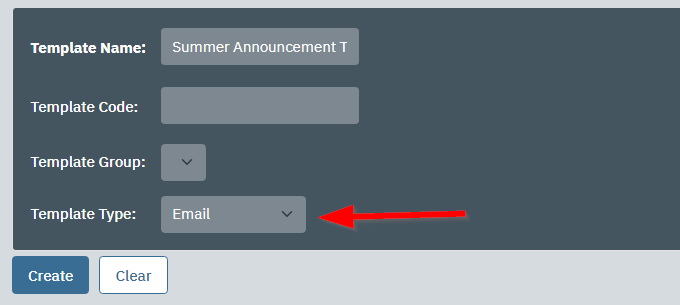 |
| Click Create. | 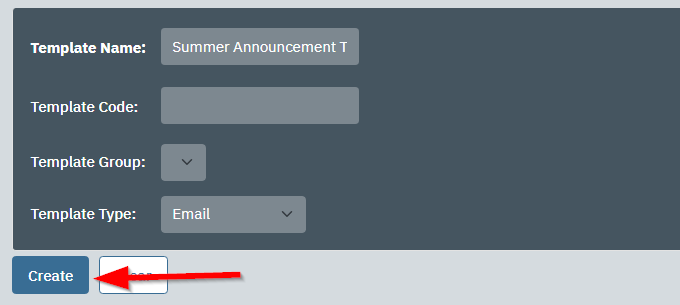 |
| Click the Templates button at the bottom of the editor. | 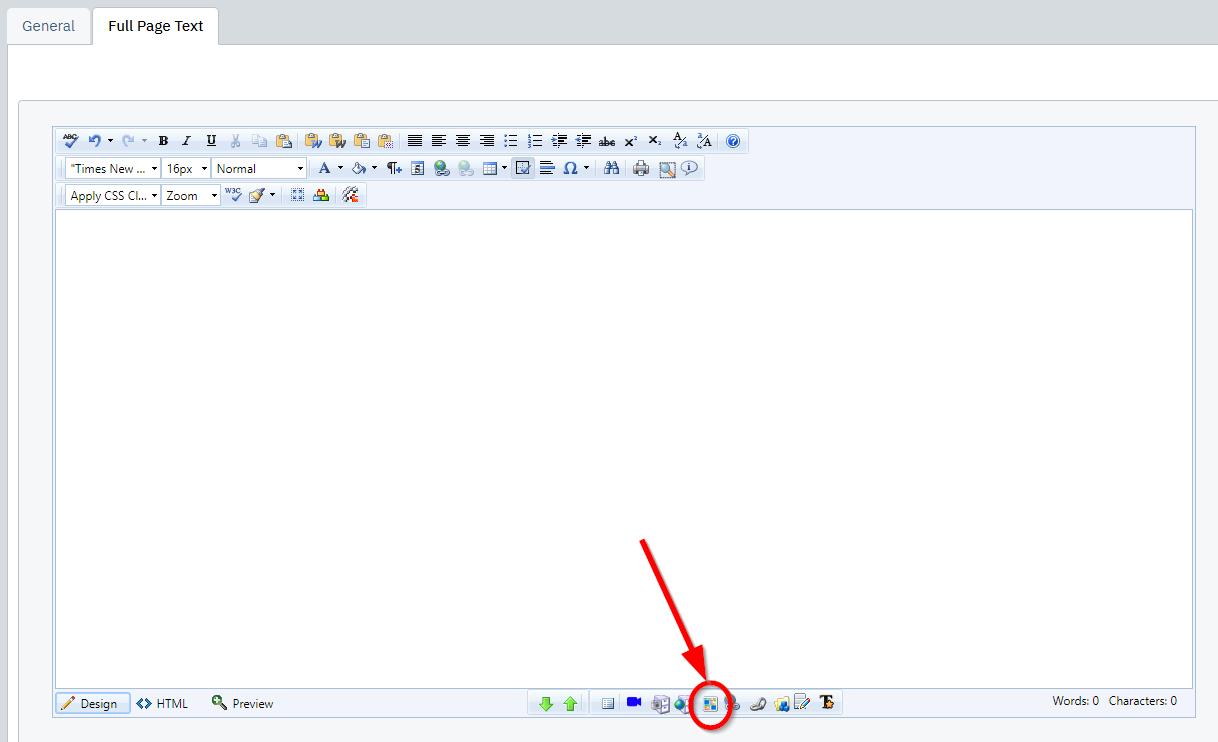 |
| Open the Select Local Template Group dropdown menu and select All Local Templates. | 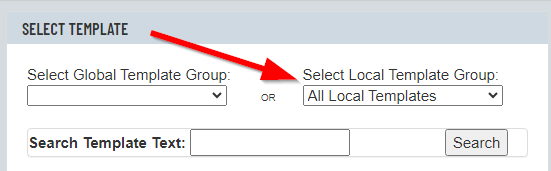 |
| Click the template whose header you would like to swap out. | 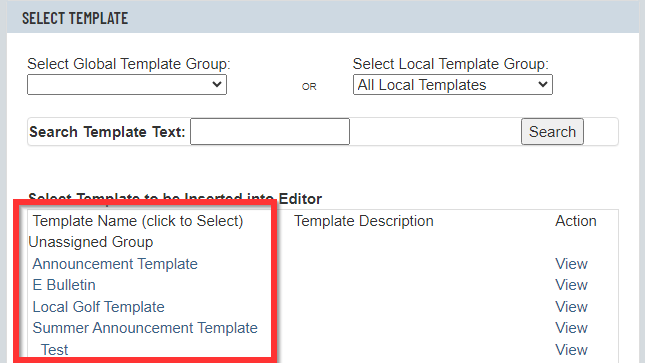 |
| When the template appears, right-click the banner image and select |
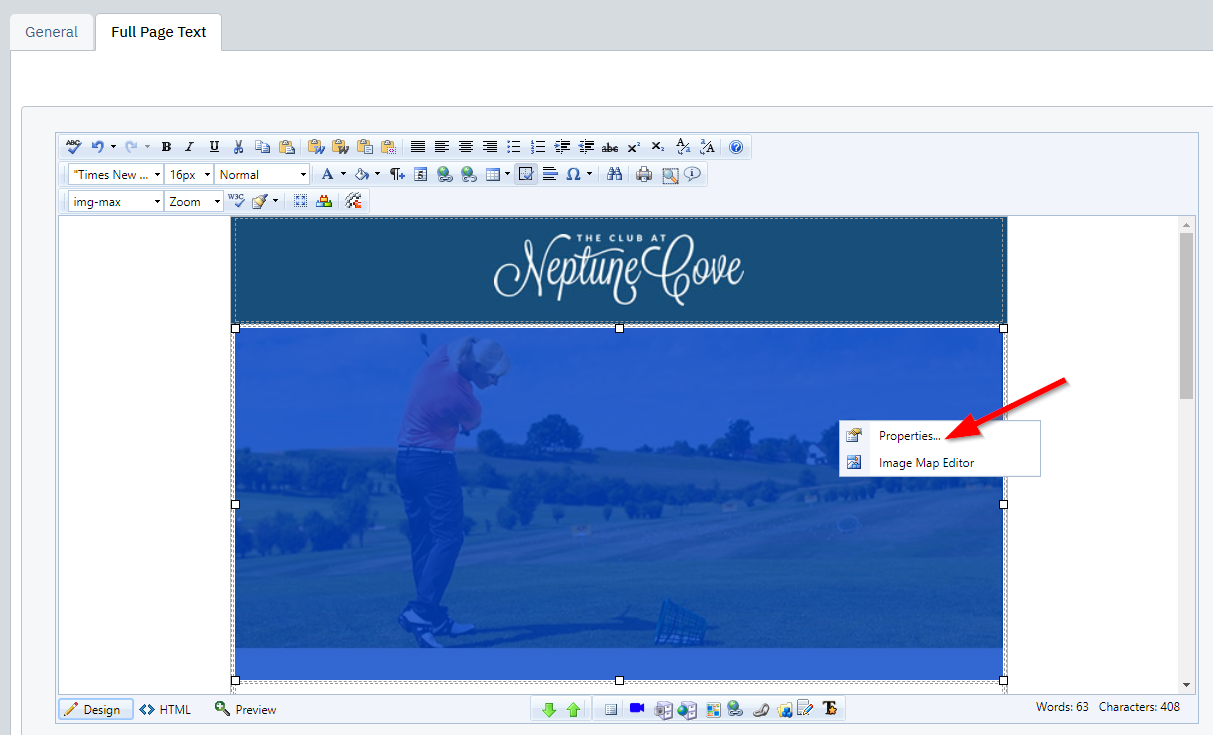 |
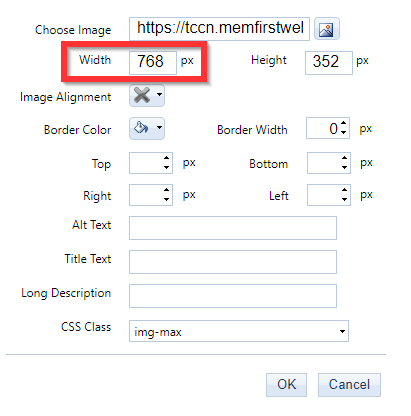
| Take note of the width of your banner - for your generic ones they are either 650 or 550 width. Click the Cancel button to close the pop-up window. |
 |
| Click the banner image once to select it. and then click on the Local Images button at the bottom of the editor. | 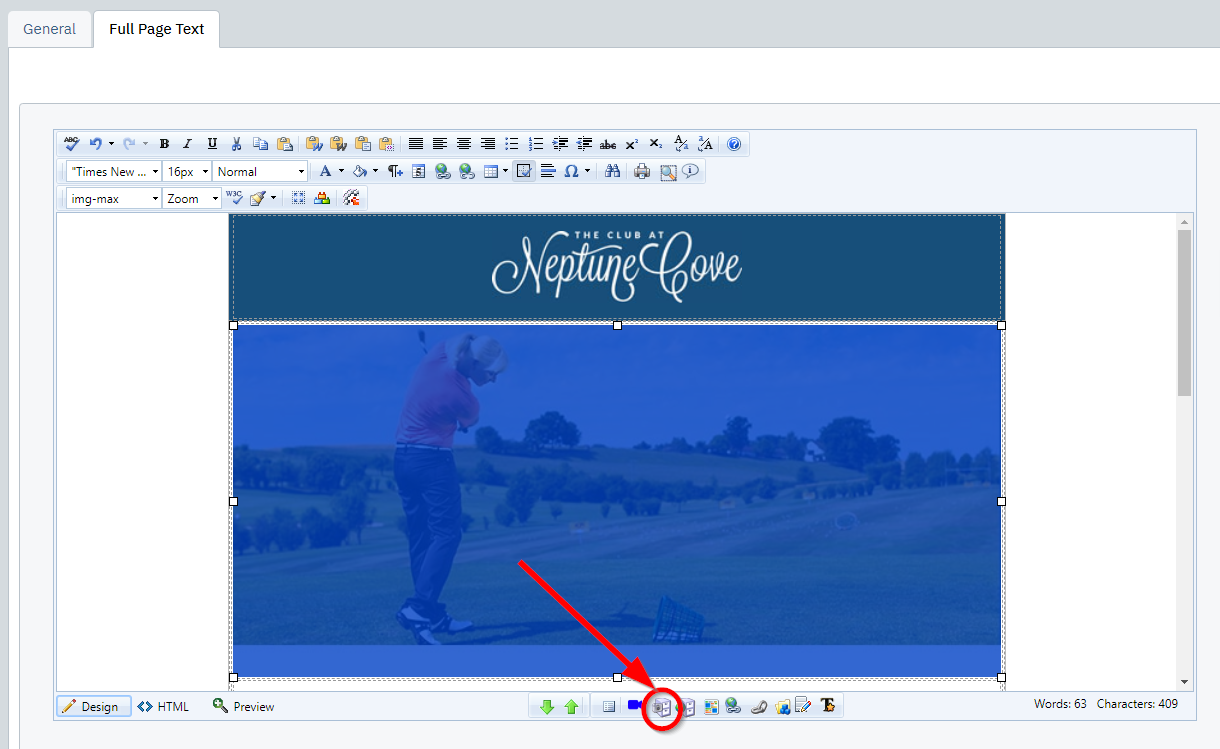 |
| Use the Select Folder dropdown menu to select the folder that you uploaded your new banner image to. | 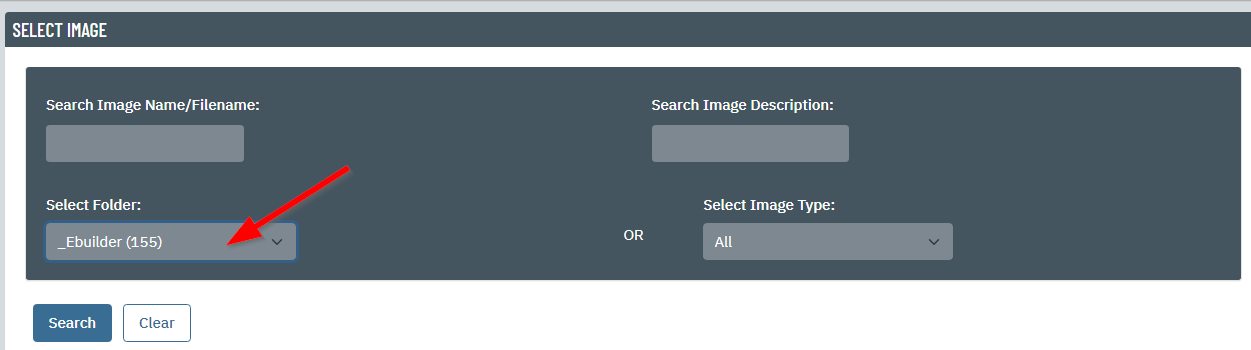 |
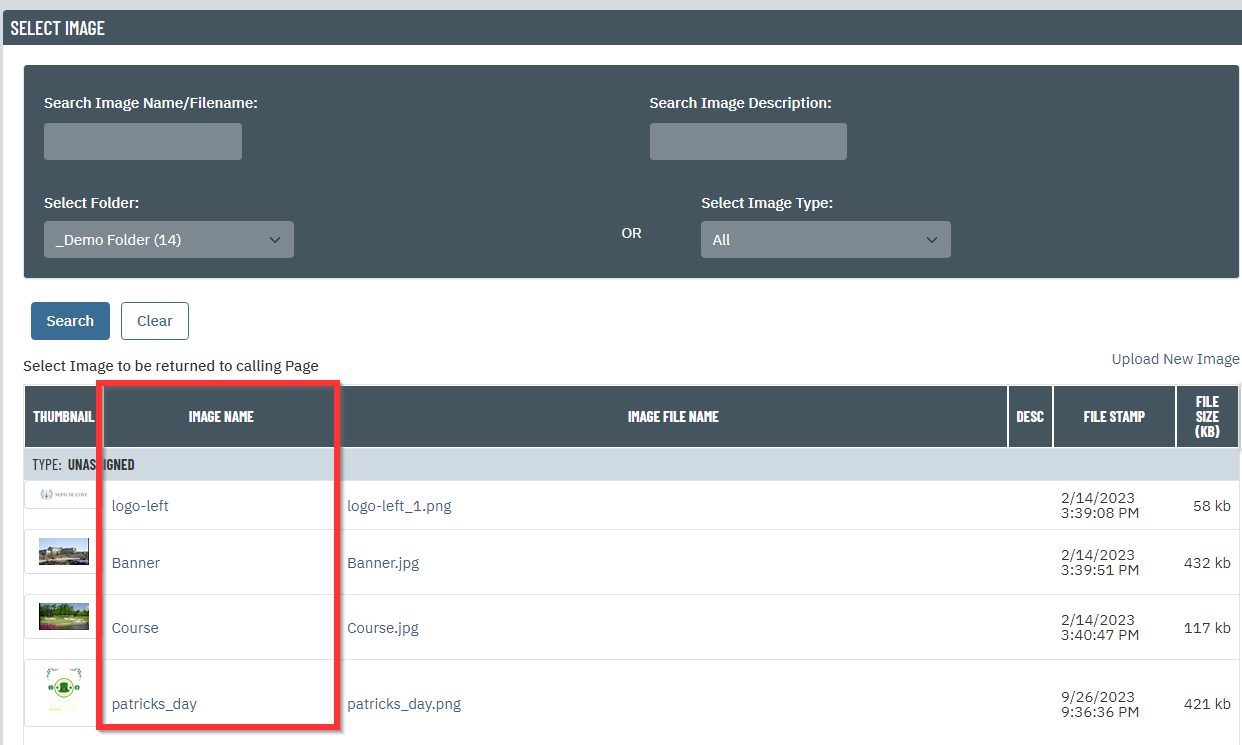
| Locate your image in the list and click the link on the left to select it. The banner will appear in place of your old one. It will be smaller than the original image. |
 |
| Right-click the banner image and select Properties. | 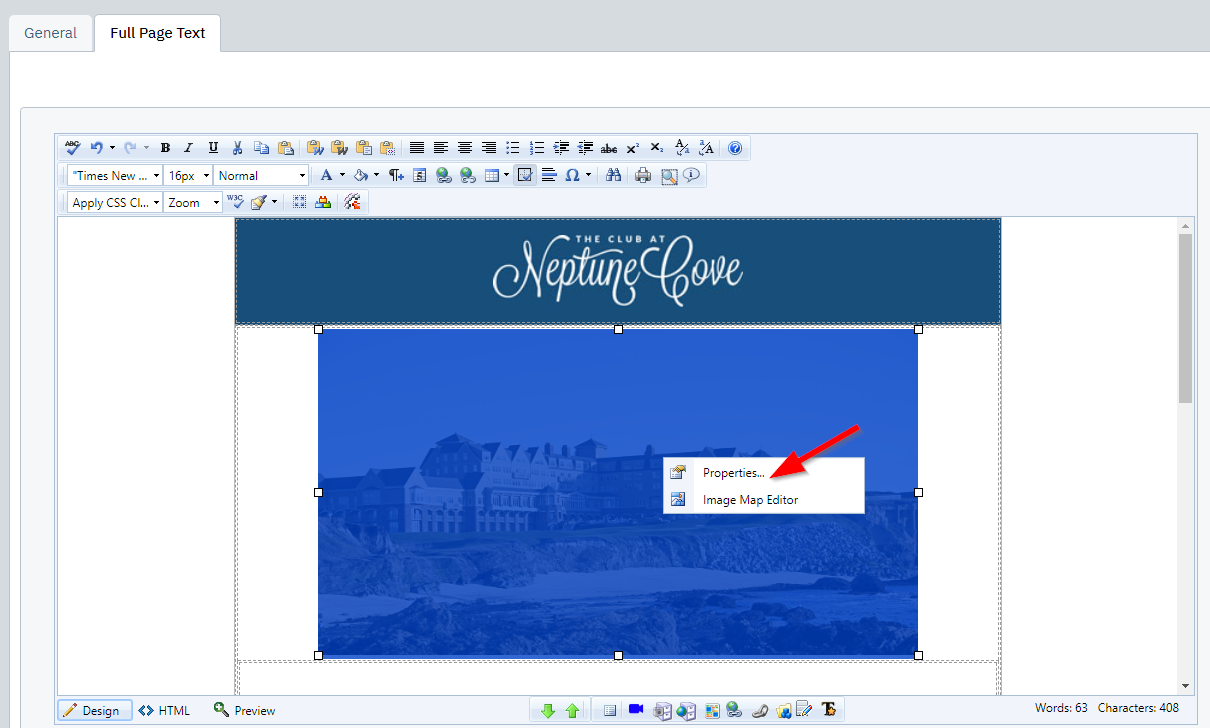 |
| Enter 100% in the Width field and click Ok. | 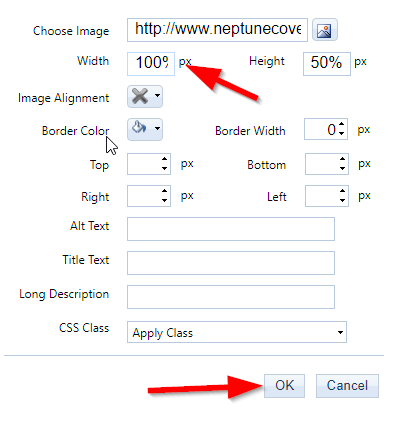 |
| Click Save & Close to finalize your work. | 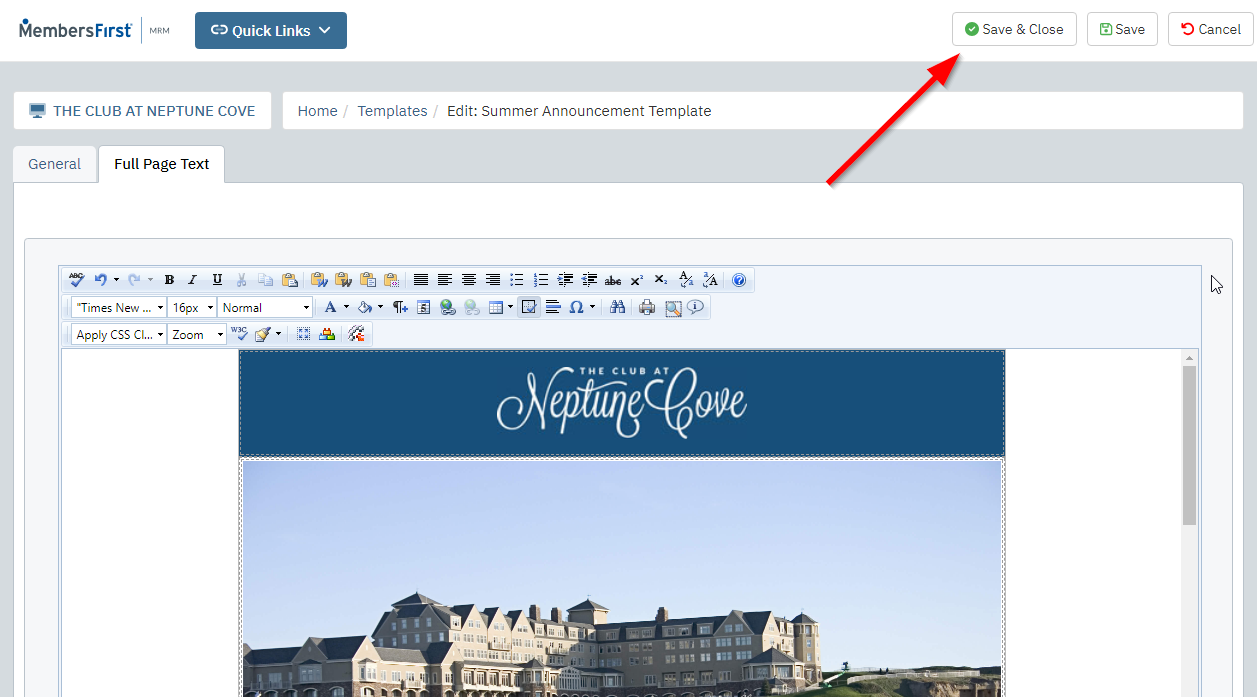 |