How to Send an Email Proof Using a Global Template
These instructions assume you know how to start a new email and get into the Email Body HTML tab. See How to Send a New Email if you are unsure how to do this.
| Log into Admin Home on your web site. |  |
| Click on Email and Related in the Applications box, then click on Create EMail. | 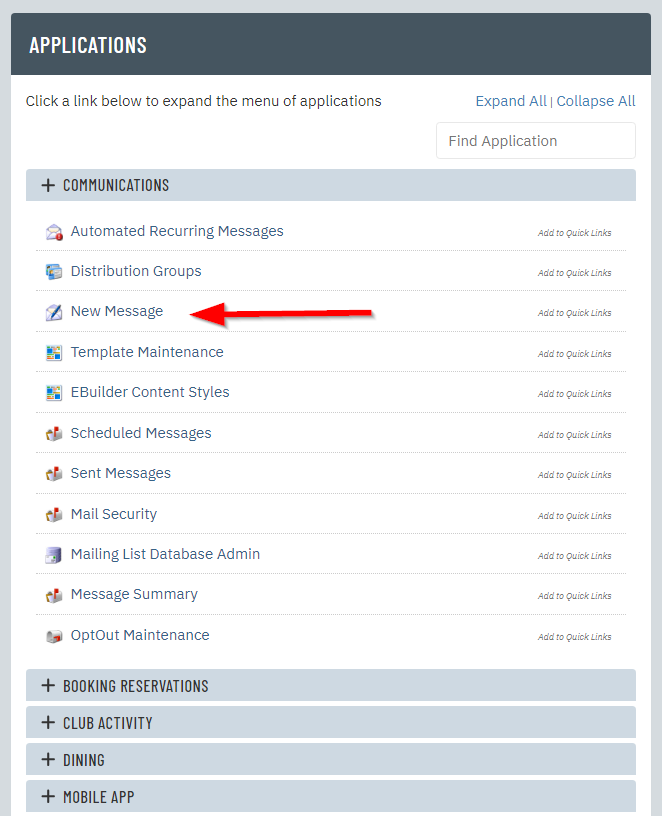 |
| Enter a name for your new email draft and click Create Draft. This is not the email subject. It is a name for your draft, so you can identify it if you decide to save it and return later. |
 |
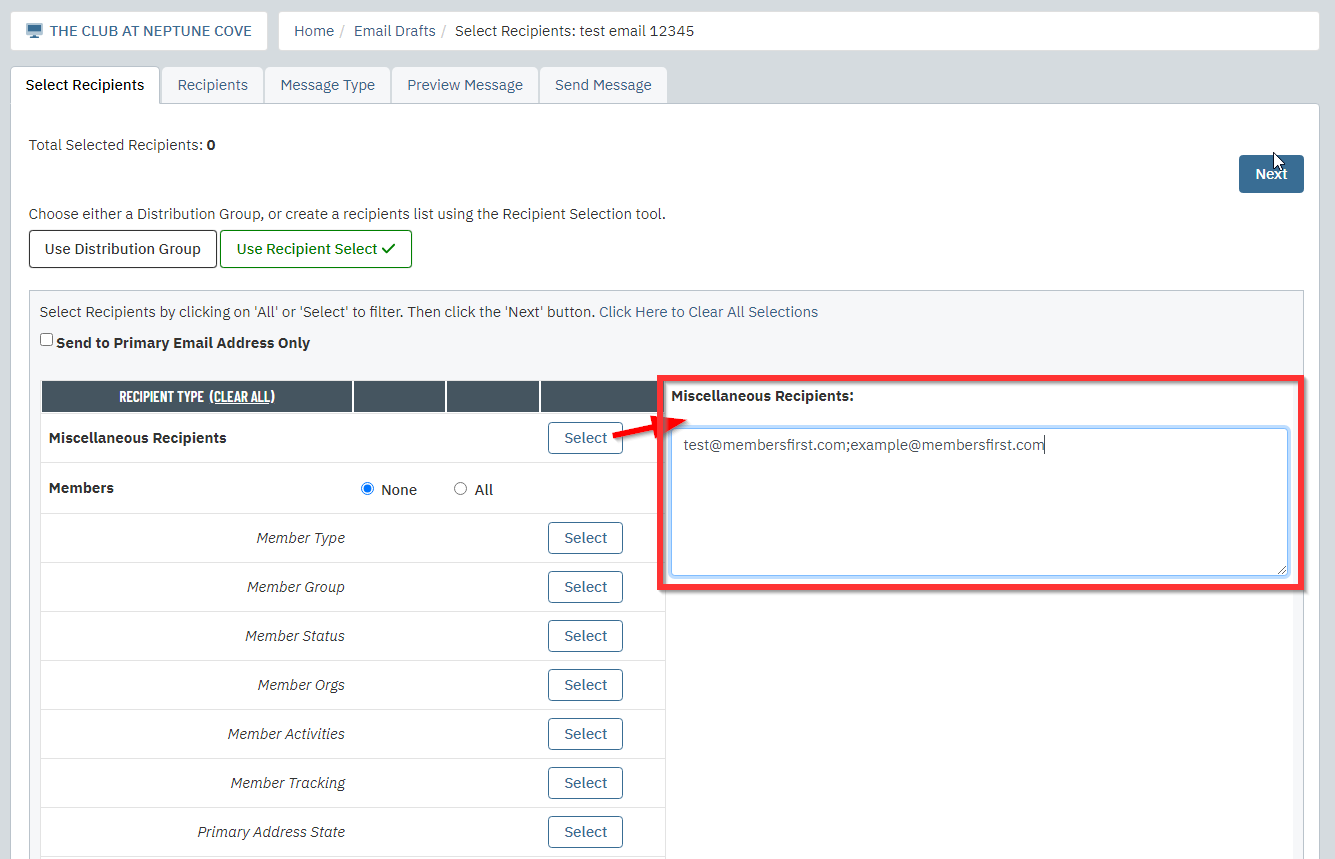
| Now you can select your email recipients. Since we are sending a proof first, click Select next to Miscellaneous Recipients at the bottom. Enter the email addresses that you want to send the proof to. To send an email to multiple miscellaneous recipients, enter each email address on a separate line, or separate them with a semicolon (;) |
 |
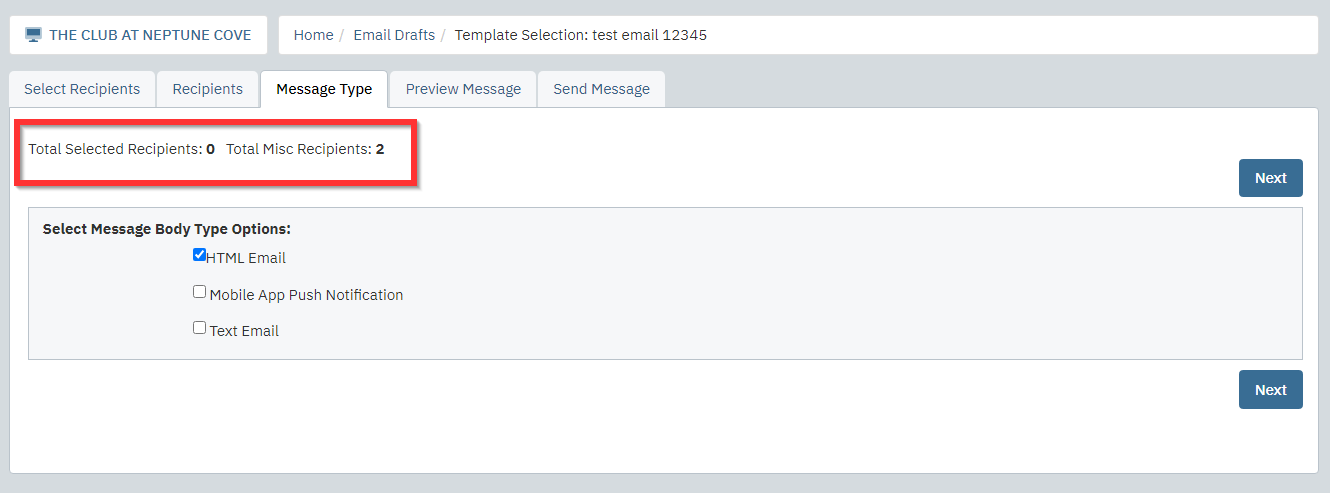
| Click Next. The system will skip over the Recipients tab, since we did not select any recipients. Just below tabs, the Total Selected Recipients should be 0, and Total Misc Recipients should match the number of emails you entered into the miscellaneous recipients field in the previous step. |
 |
| Select the HTML EMail body type and click Next. | 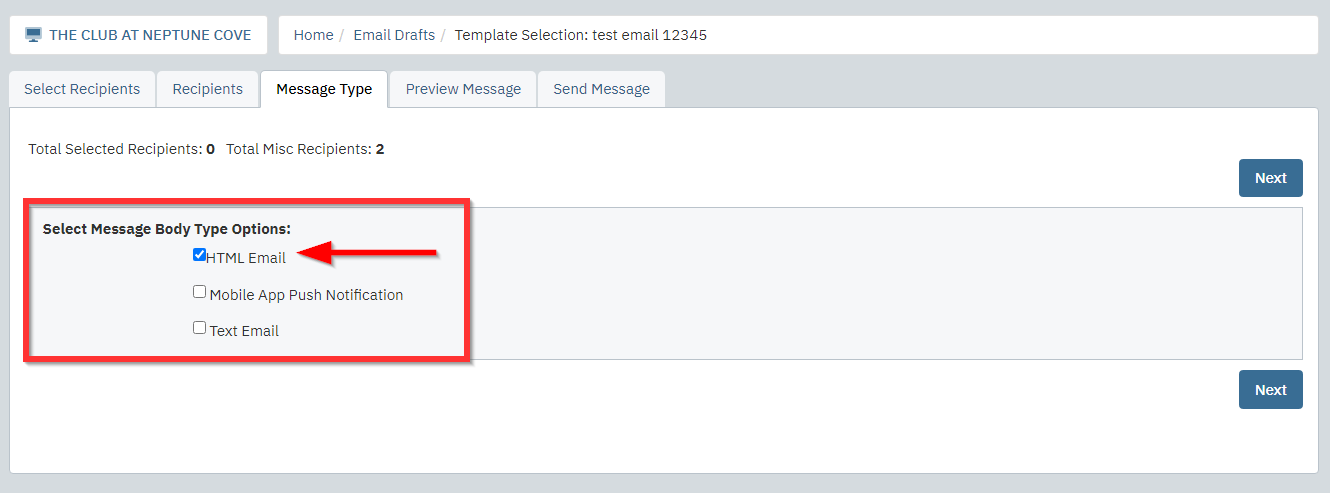 |
| Click the Templates button at the bottom of the editor. A pop-up window will appear. | 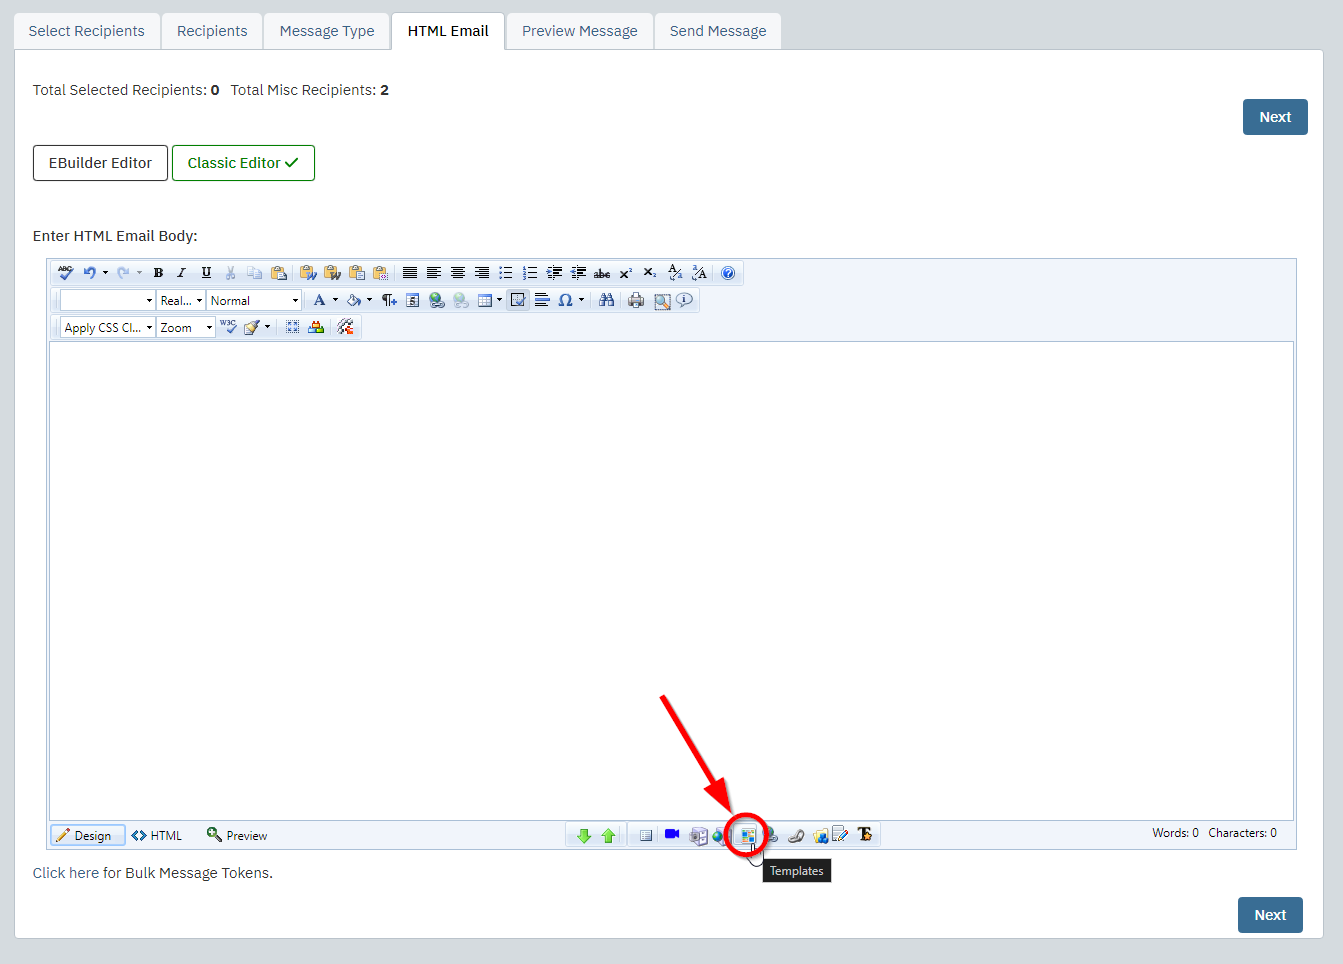 |
| Use the Select Global Template Group drop-down menu to select the type of template you would like to use, such as Holidays - Spring. | 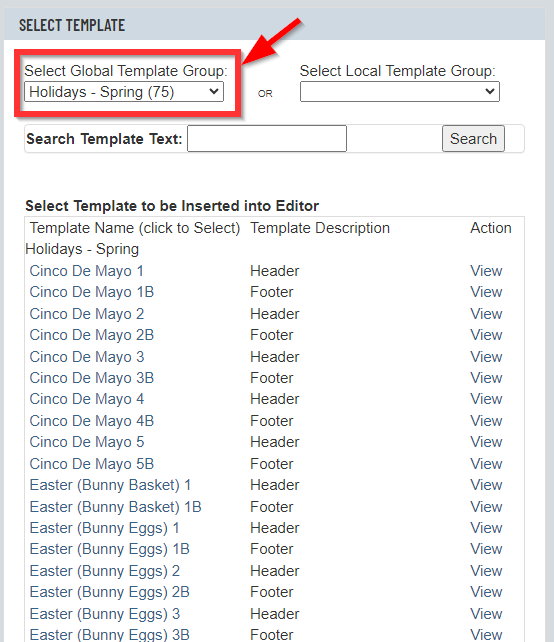 |
| Click the name of the template on the left to select it. You can also click View to the right to preview the template before using it. | 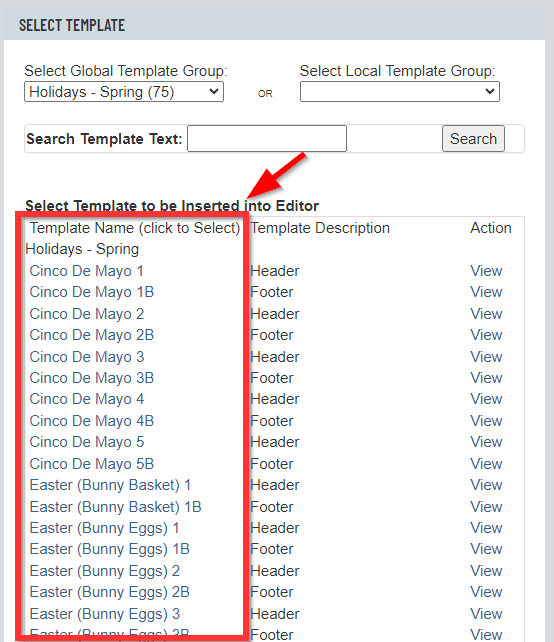 |
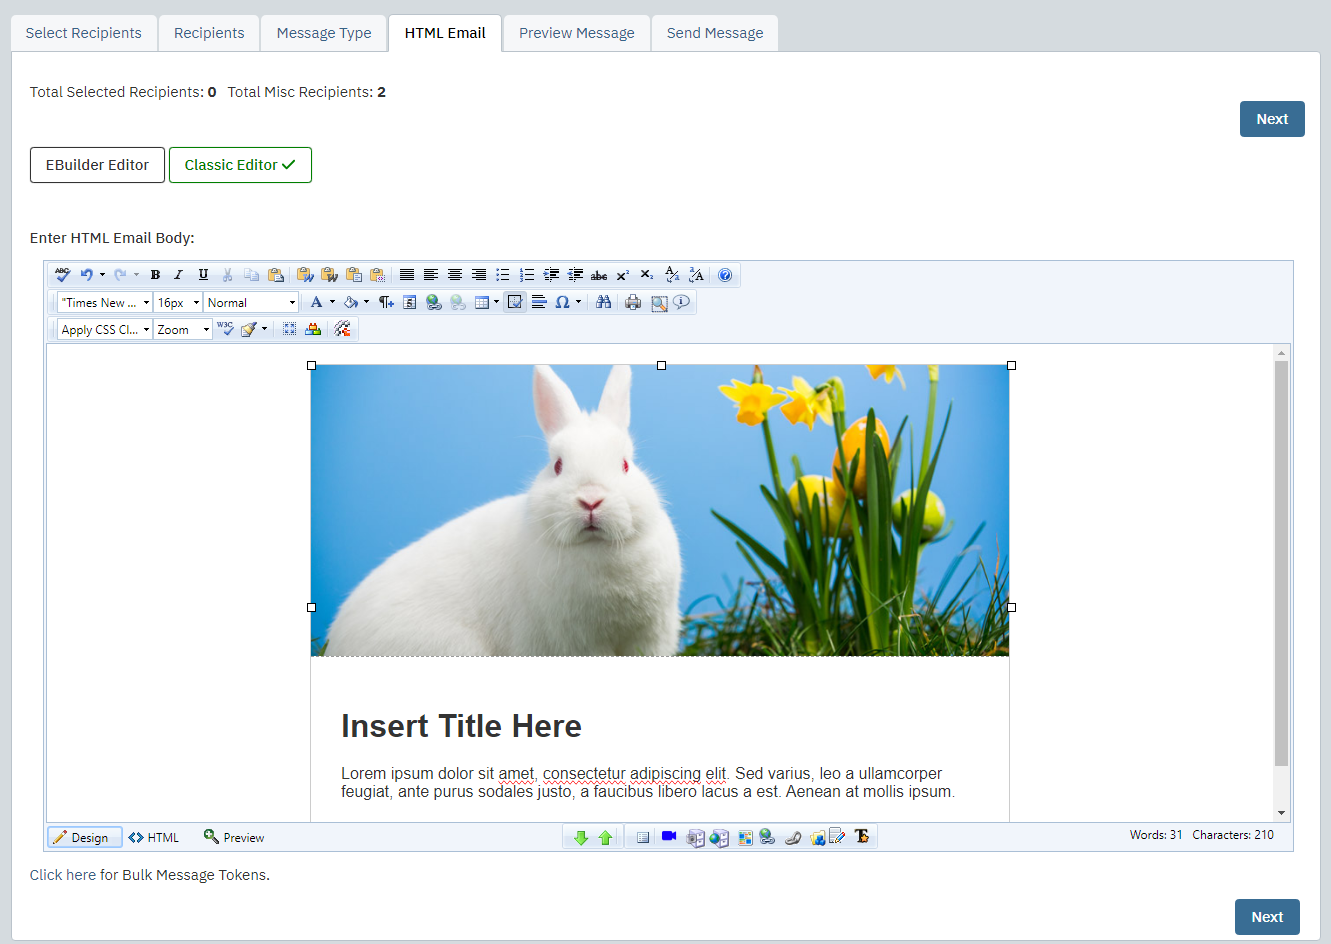
| Now we're ready to edit the template to include our own copy. Carefully highlight the text areas you would like to change and enter your information. Click Next once you have finished editing the email content. |
 |
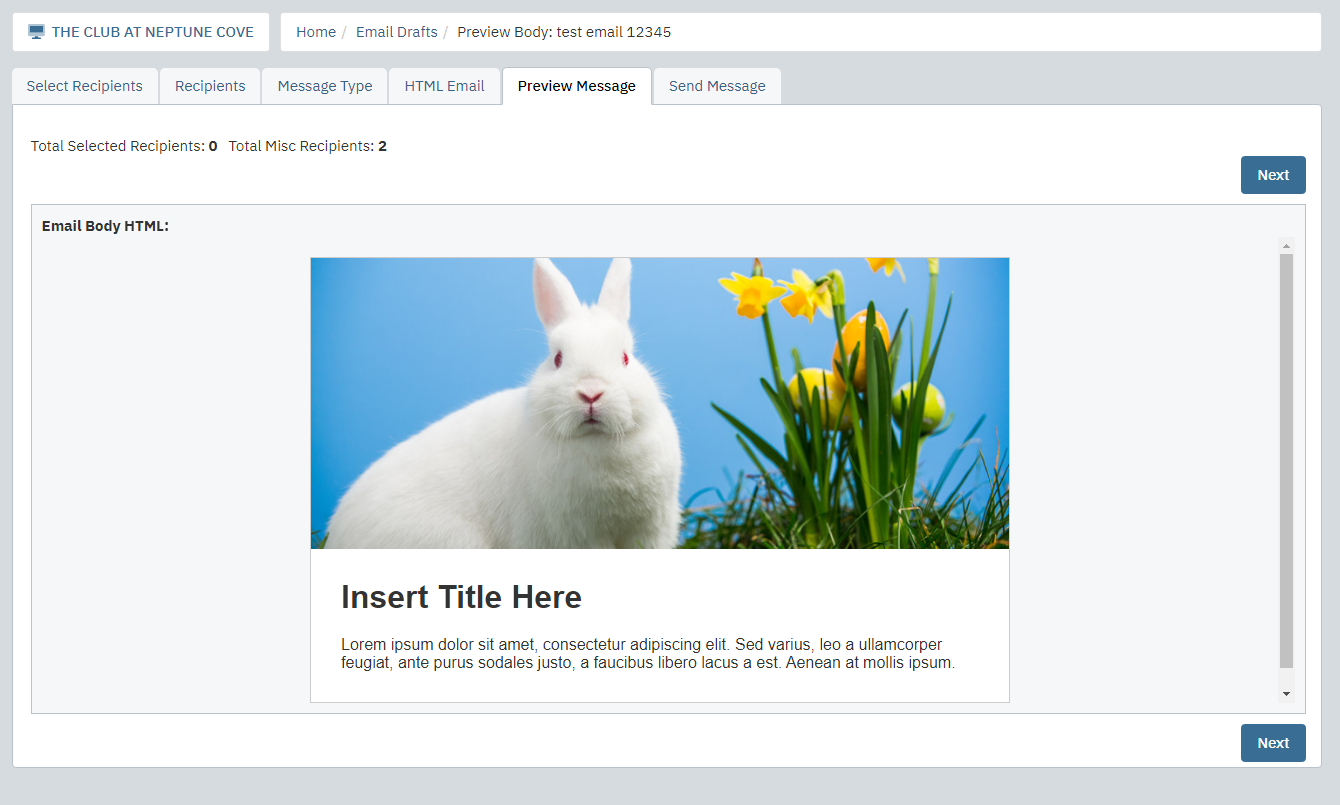
| Preview your message here. Click Next to proceed. |
 |
| Enter the name you would like to have the email appear to be from in the From Name field. | 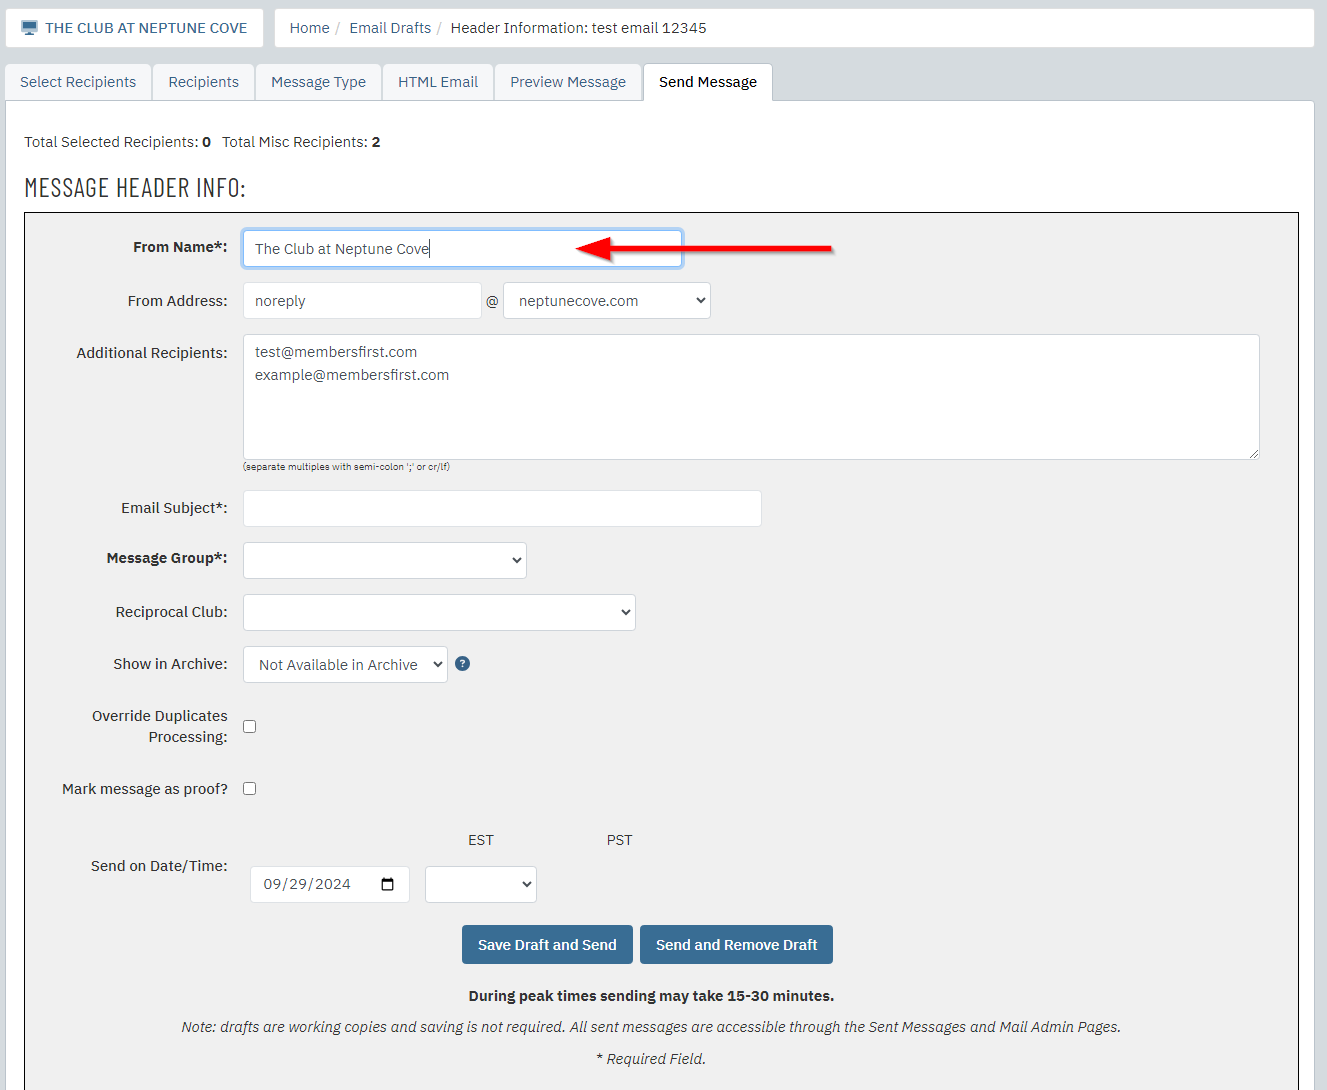 |
| In the From Reply to Email Address field, enter the email address that will appear if a recipient clicks Reply. | 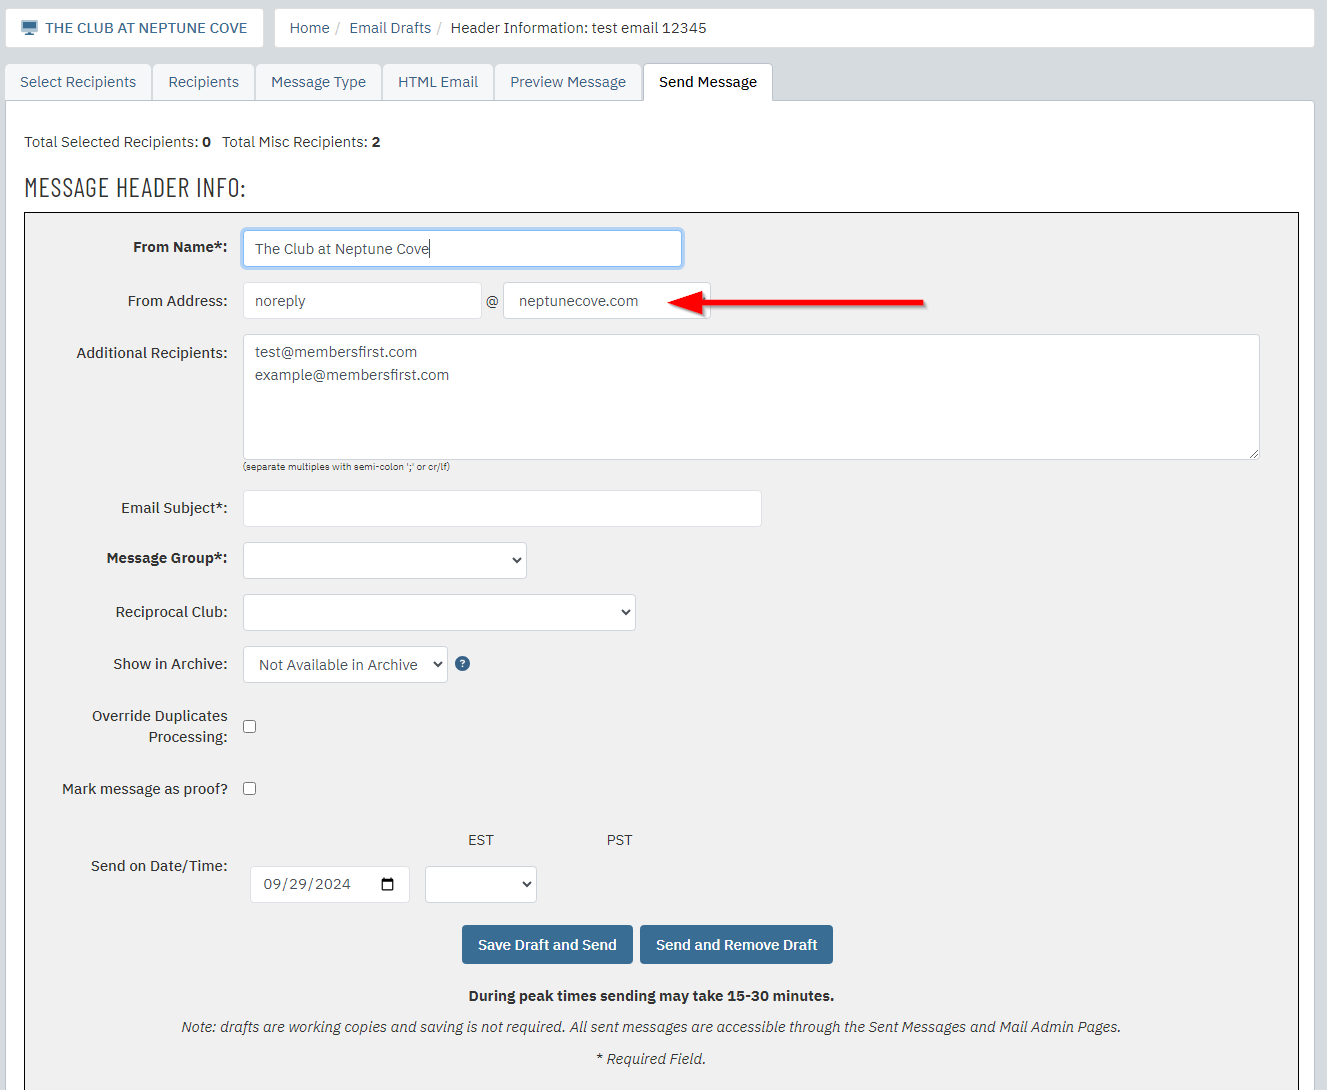 |
| The Additional Recipients box will show the miscellaneous recipients we entered earlier. You can make any changes to miscellaneous recipients here instead of return to the Recipients tab.. |
 |
| Enter the email's subject line into the Email Subject field. When sending a proof, it is helpful to include "PROOF" before the actual subject line. (i.e. PROOF - Message from the President) |
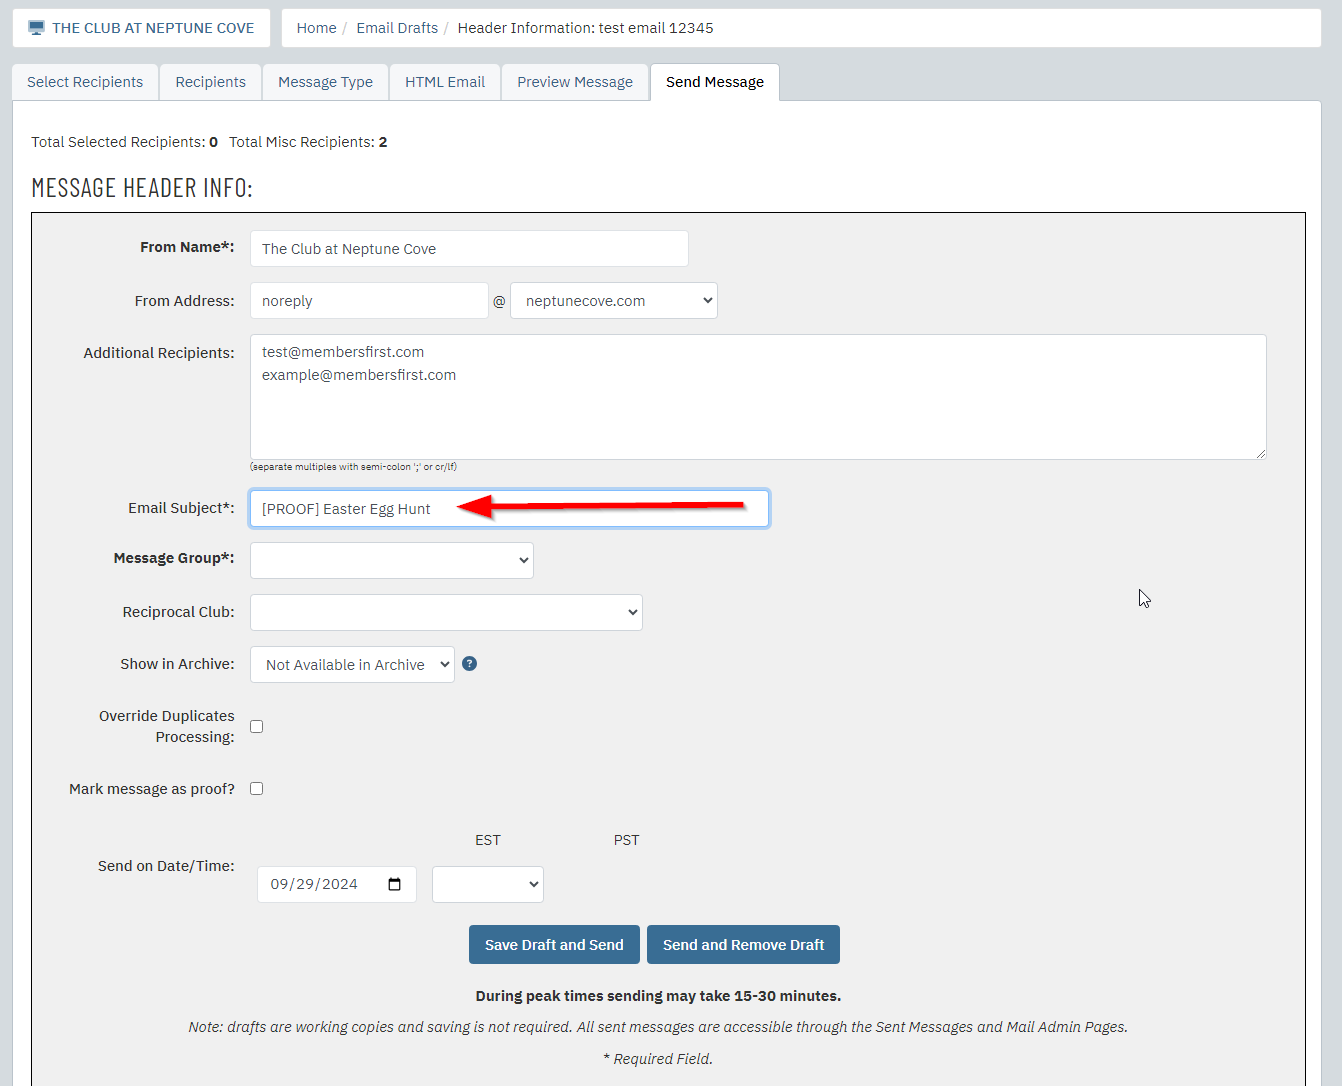 |
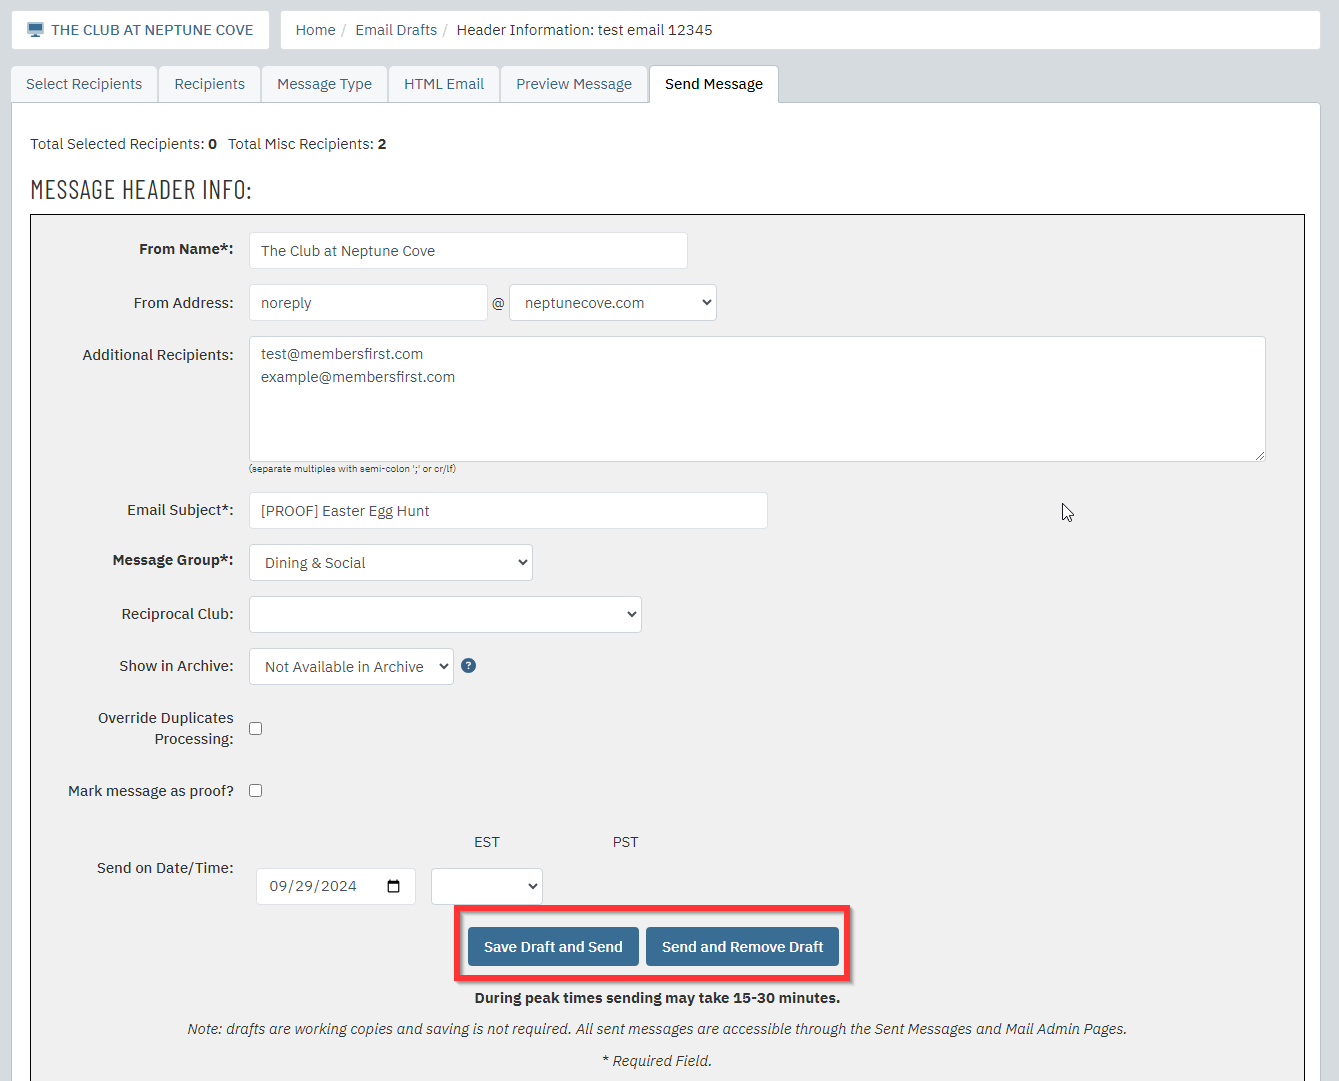
| Click Save Draft and Send to send the email. If you do not want to keep the email draft, you can click Send and Remove Draft instead. |
 |