Creating a Thumbnail for an Insert
| Log into Admin Home on your web site. |  |
| Click on Storage Libraries in the Applications box, then click on Image Library. | 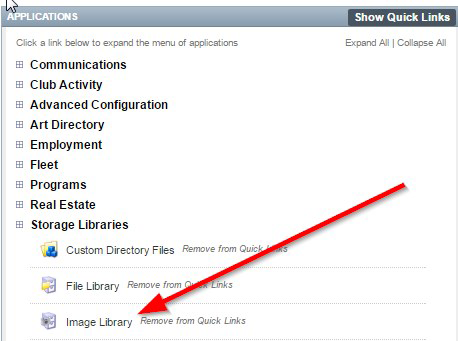 |
| Upload your original image. | 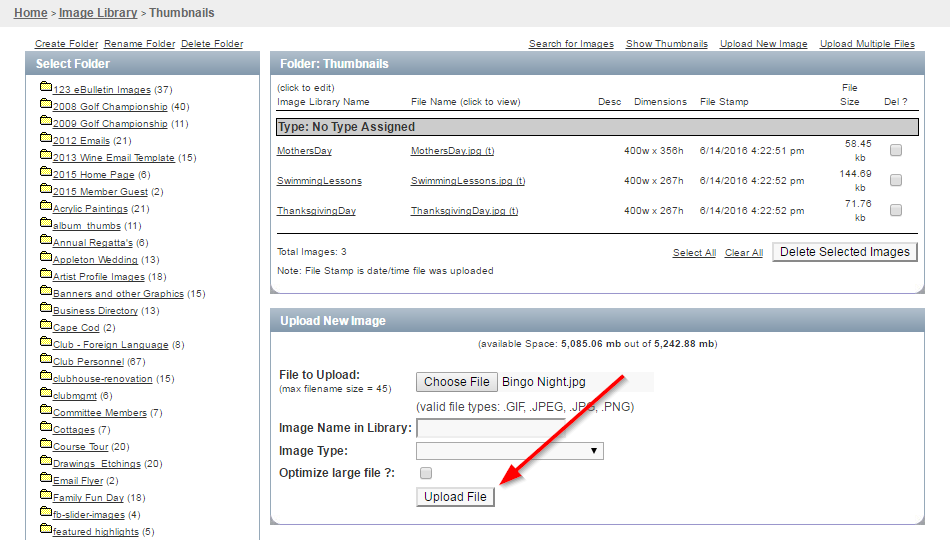 |
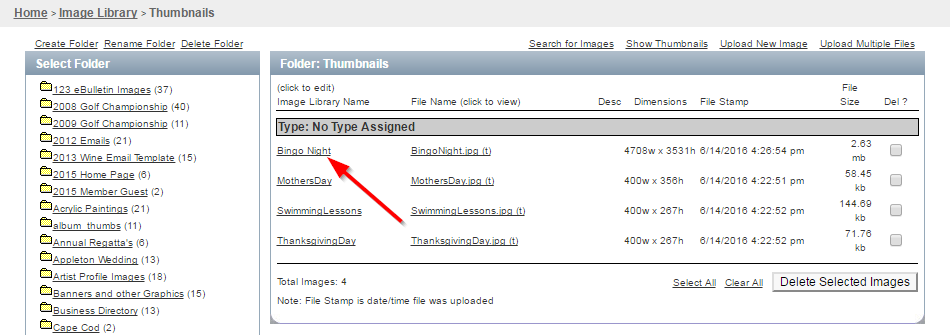
| Click on the image name under the Image Library Name column. This will bring you to the detail page of the image. |
 |
| Click Optimize this Image in the lower right. | 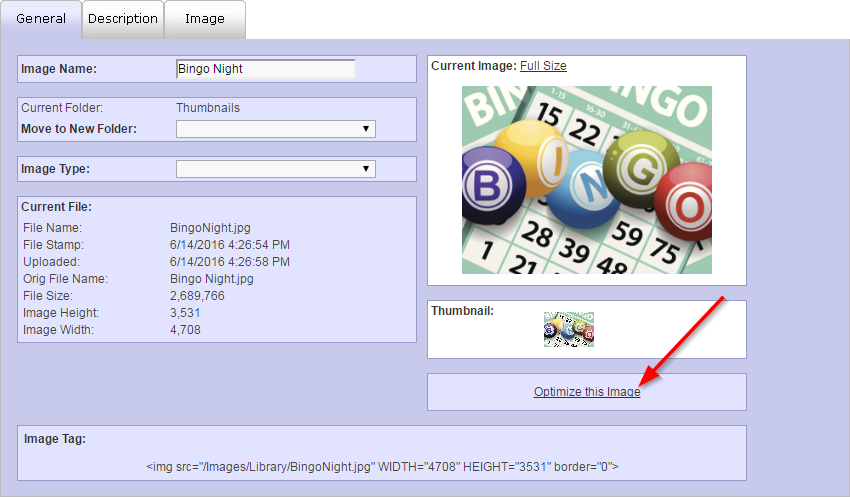 |
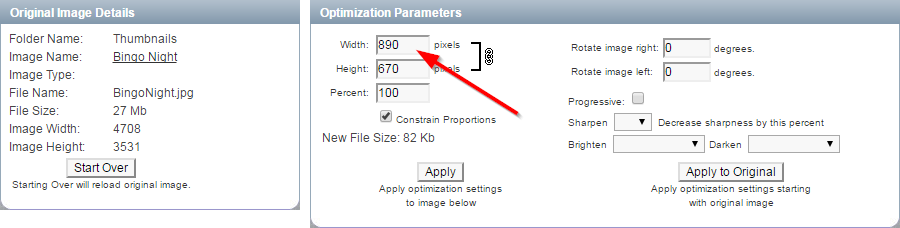
| Change the Width parameter to be "126". This is our standard thumbnail width. |
 |
| Click Apply to shrink the image to this new size. | 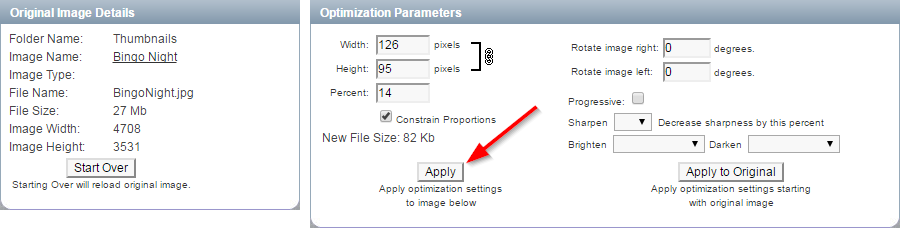 |
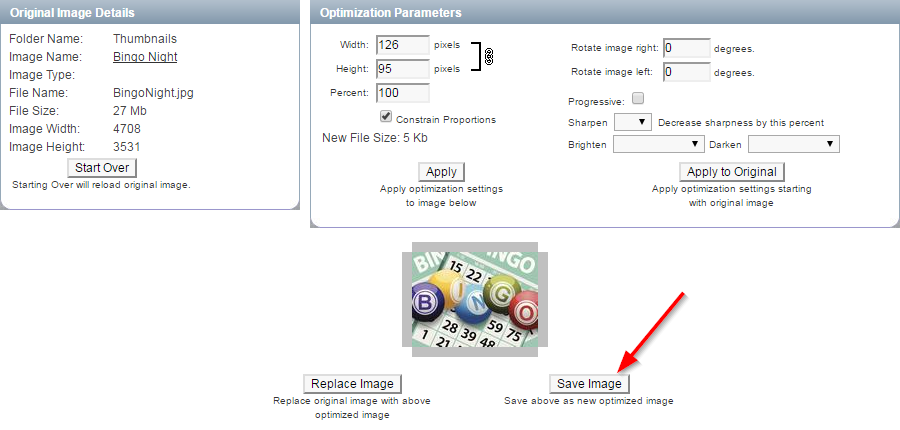
| Scroll down and click Save Image. You have now created a new version of this image that is 126 pixels wide. |
 |
| Now you must attach the image to the insert. Find the insert you want the image to be assigned to. For information on how to create and locate an insert, see How to Create & Manage Inserts. |
|
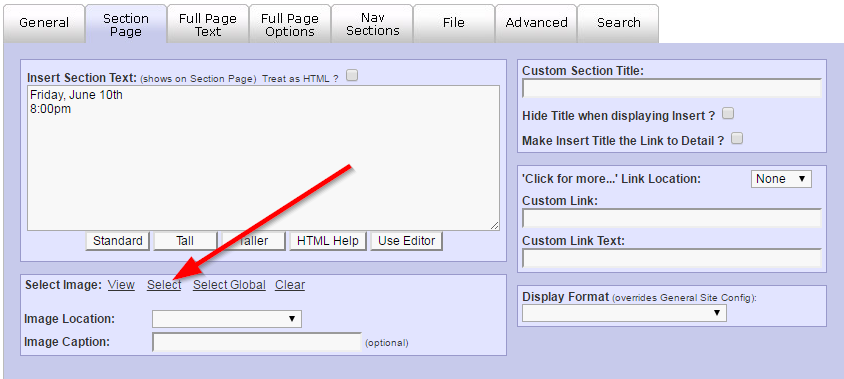
| Click on the Section Page tab. Click Select next to "Select Image". |
 |
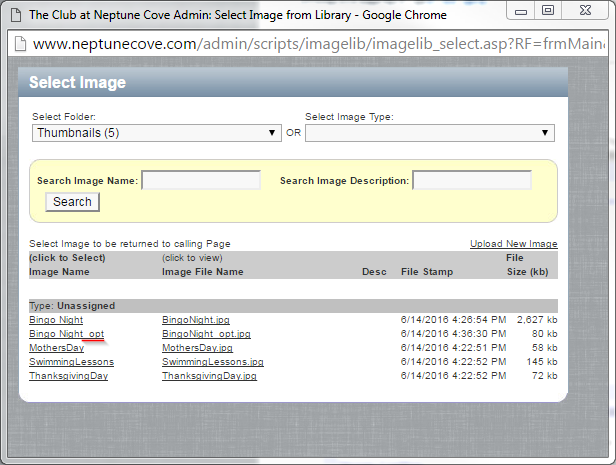
| Find your new optimized image in the Image Library and click the image name. Your new image's name will be the same as the original followed by _opt. |
 |
| Click Save & Close to finalize your work. |