How to Create a Tee Time on the Admin Side
| Creating a tee time for a member is very simple. After logging into the admin site of tee times make sure you are on the tee sheet by clicking on Tee Sheet in primary navigation. This will reset the tee sheet and put you on the current day. | 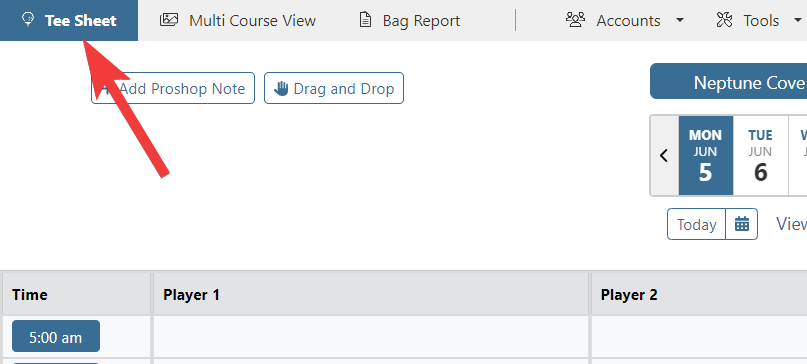 |
| Next, select the day of the tee time requested from the 10-day rolling calendar or from the 2-month calendar. This will update the tee sheet below to display any blocks and/or member tee times of the selected date. | 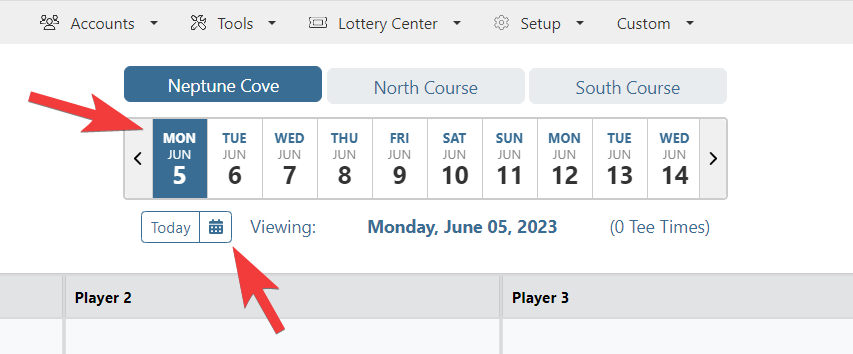 |
| All available tee times are listed down the left side of the tee sheet below the calendar. Scroll to the requested tee time and click on the tee time button you wish to reserve. This will open the tee time reservation detail where you will be able to select the members, guest, and other details associated with tee time reservation. | 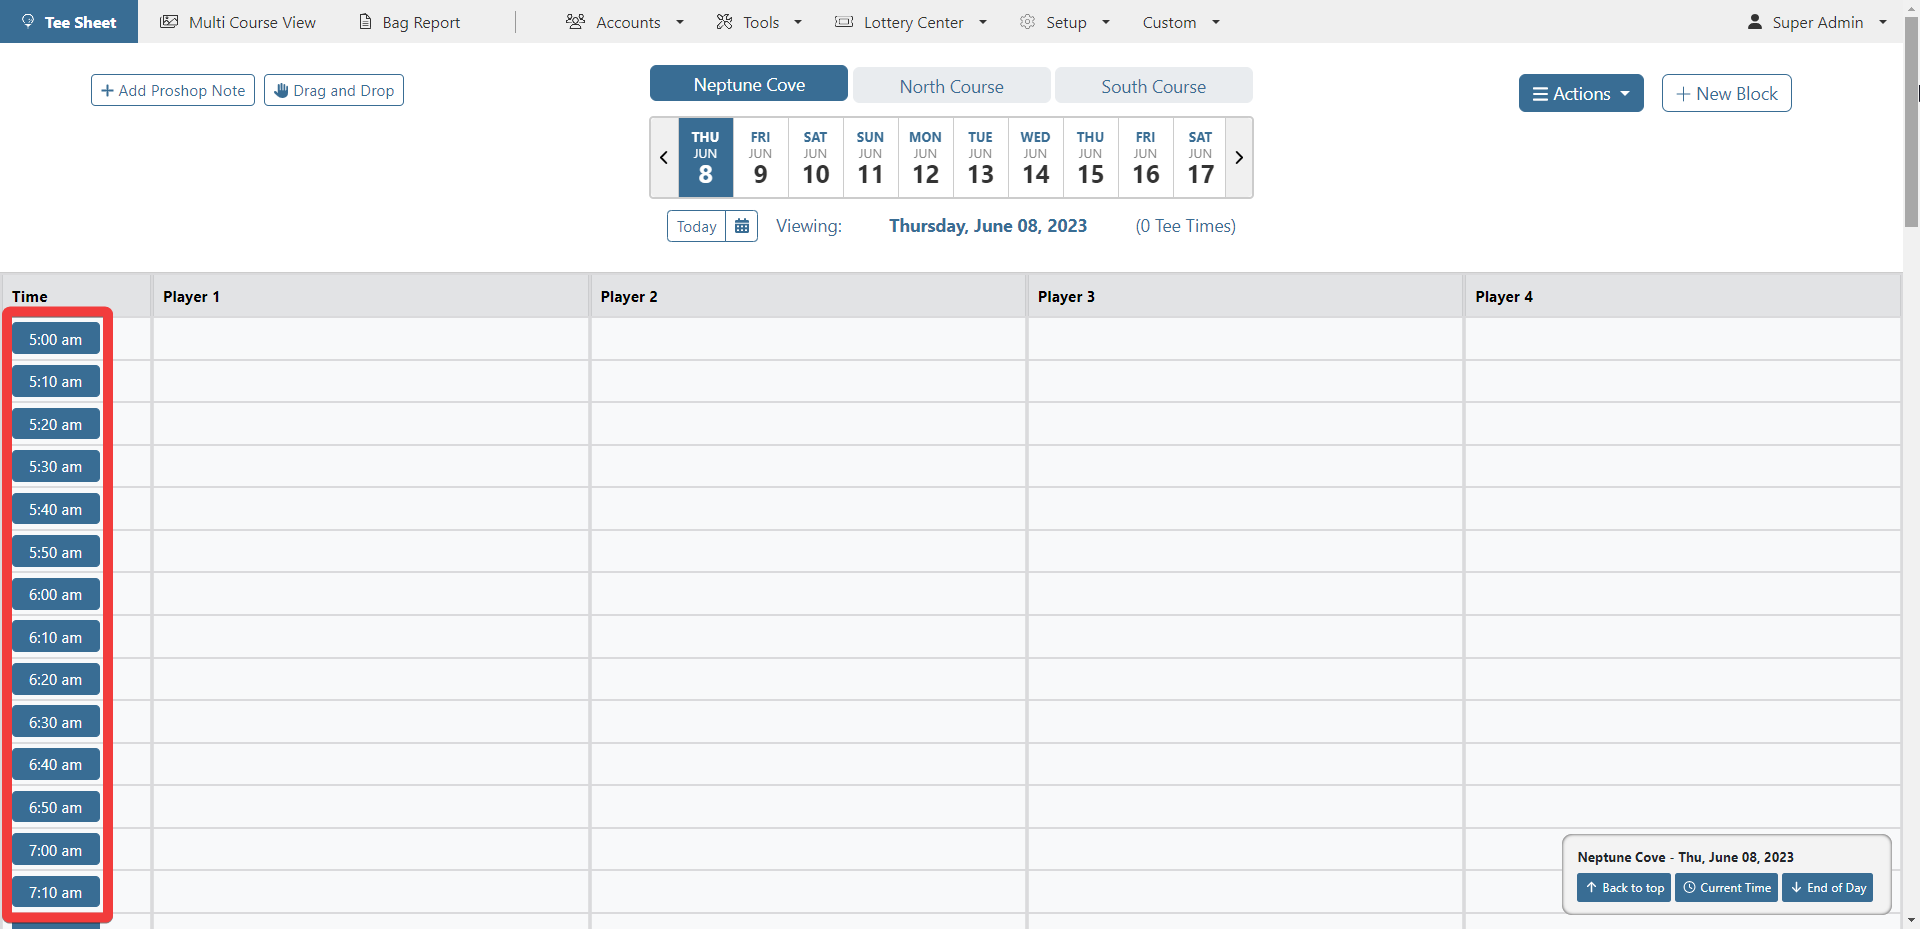 |
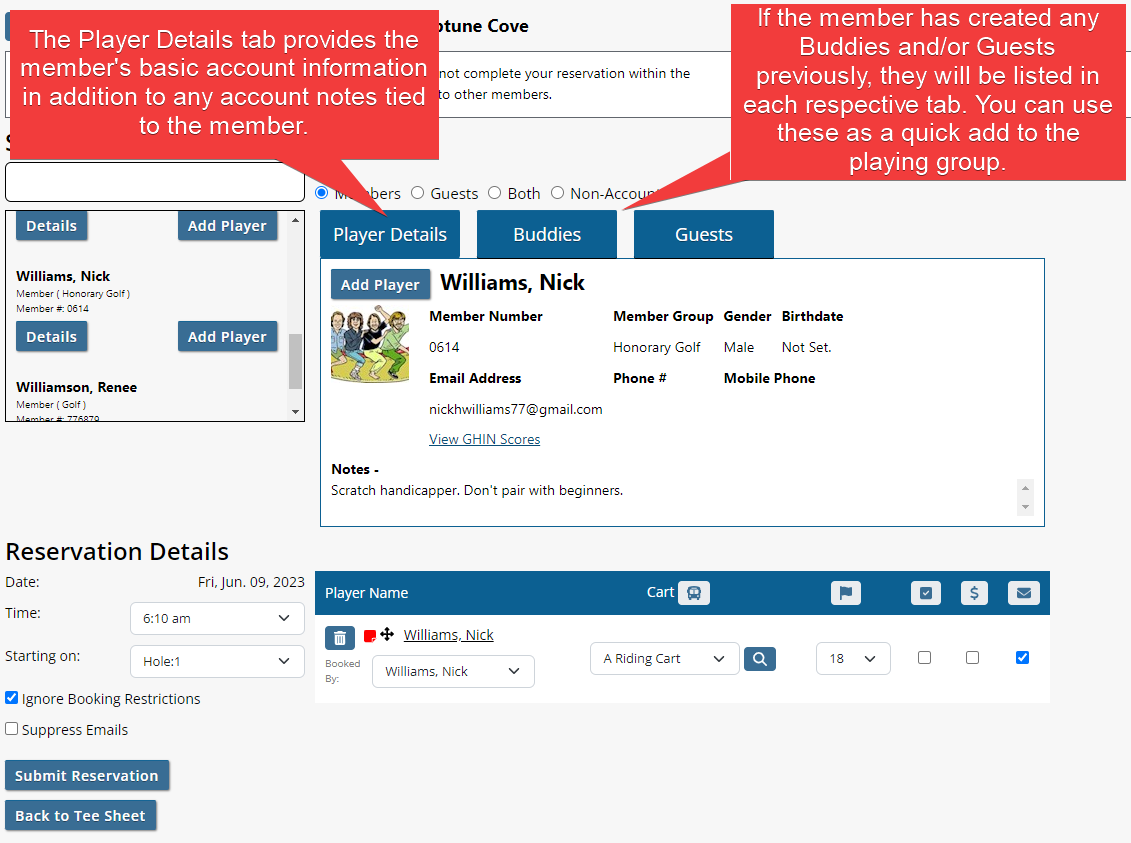
The Reservation Details page allows the admin to create new and mange existing tee times. At the very top of the page in upper left corner, the countdown time indicates the amount of time left to complete the tee time. During this time, the tee time is locked to only the admin. The hold time can be updated to any custom timeframe by admins in System Configuration (see Setup in primary navigation) or by the club's Client Service Manager by emailing [email protected]. This time allotment also restricts any other members from booking this time on the member tee sheet. To add players into the reservation use the Search Players toggle. To add a member, ensure that the Member radio button is checked off to the right of the Search For Players field, then begin typing in the member's name in said field. To add a guest, ensure the Guests radio button is checked off, then begin typing the guest's name in the Search For Players field. You will see results displayed below. Find member/guest name and click Add Player button. The Both option will search members and guests at same time and the results will display both types. Non-Accounts option provides option to use Holds/TBDs and Join Me. |
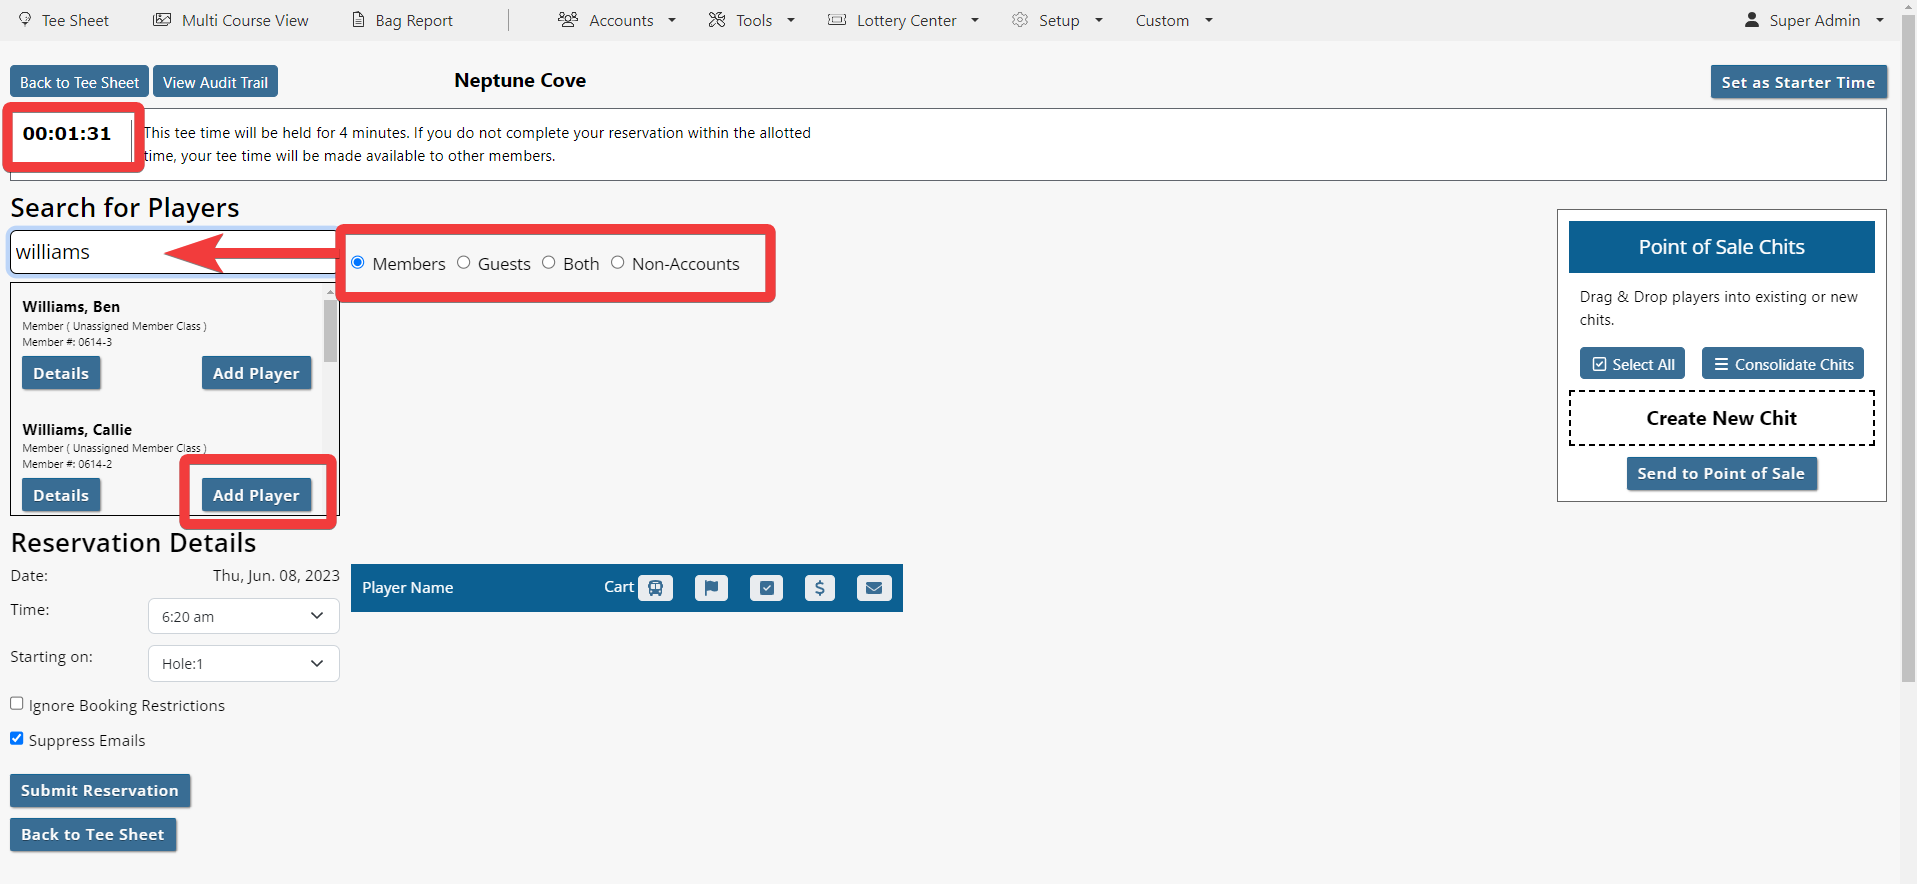 |
After adding a member to the reservation you will see the member info populate to the right. If this member is playing with another member or guest, and has added either of these players in the past as a Buddy or Guest, you can click on the Buddies tab or Guests tab for a quick selection of said player types. Click on Add Player button next to name listed in Buddies or Guests field, and that player will populate below underneath member name. If no players exist in the Buddies or Guests tabs and you want to add another player to the group, follow the previous steps of selecting a member or guest using the Search for Players field. As players are added you will see them populate below. |
 |
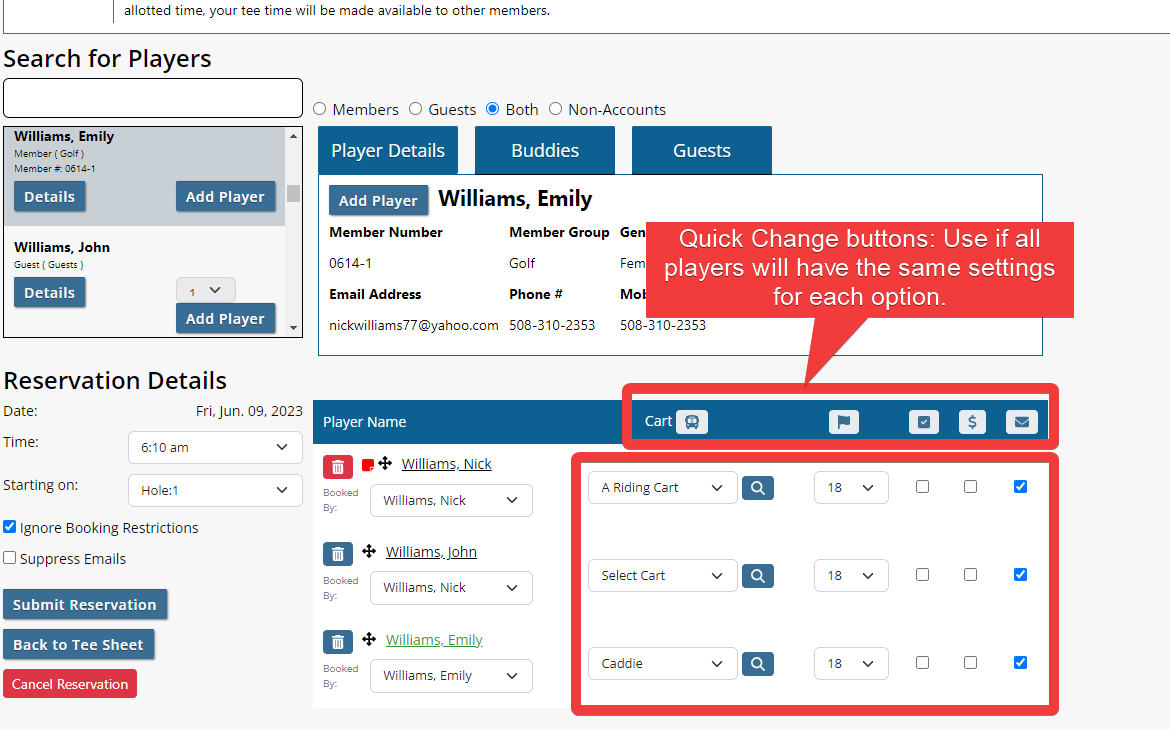
Once you have created your playing group, set the cart type and # of holes to play. Admins can manage it per individual player using the Select Cart and # of holes playing from the drop down menus. Additionally, you can also check off the appropriate boxes, if applicable, for Check In Player, Set as Paid, and Email Player. If all players will be the same, you can use the quick change buttons along the top menu. |
 |
| The last step is to Submit Reservation. To the left of the playing group, review the reservation details. If you want to Ignore Booking Restrictions or Suppress Emails, check off the appropriate boxes. Lastly, click on Submit Reservation button to add the reservation to the tee sheet. |  |
| Upon submitting your reservation, the Tee Sheet will display to the time created that shows those players in the group. | 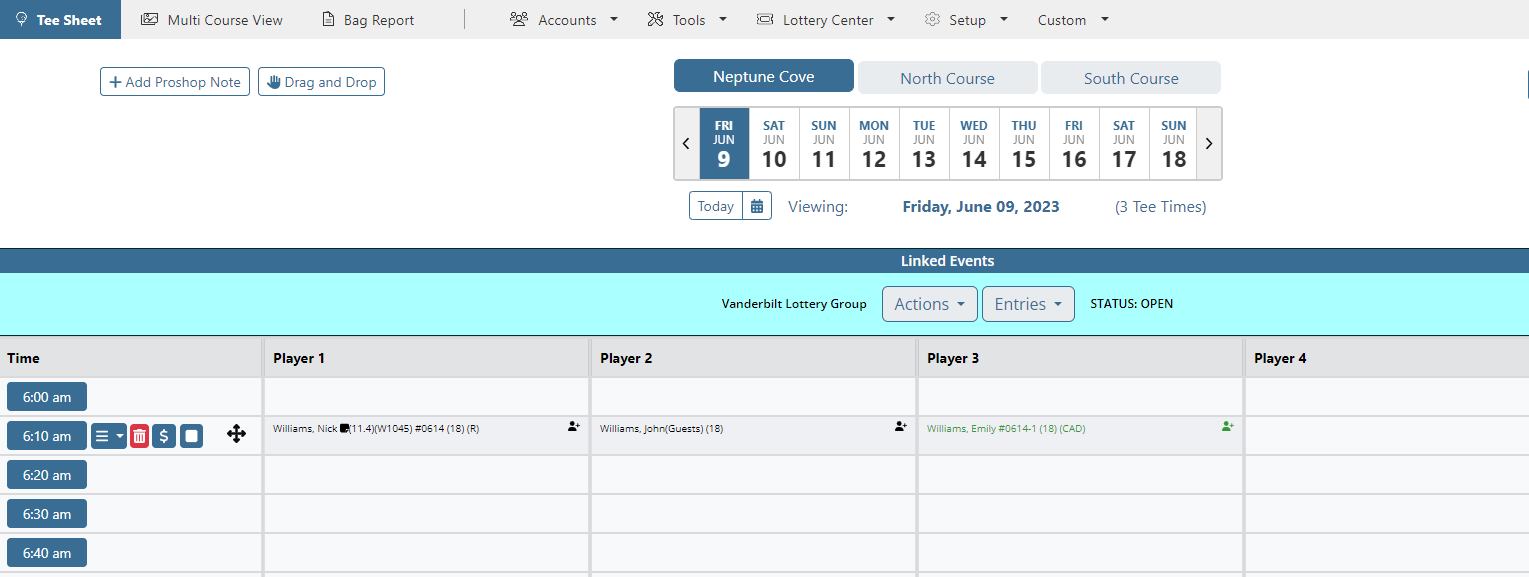 |