How to Add Real Estate (Property) Listings
| Log into Admin Home on your web site. |  |
| Click on Real Estate in the Applications box, then click on Property Maintenance. | 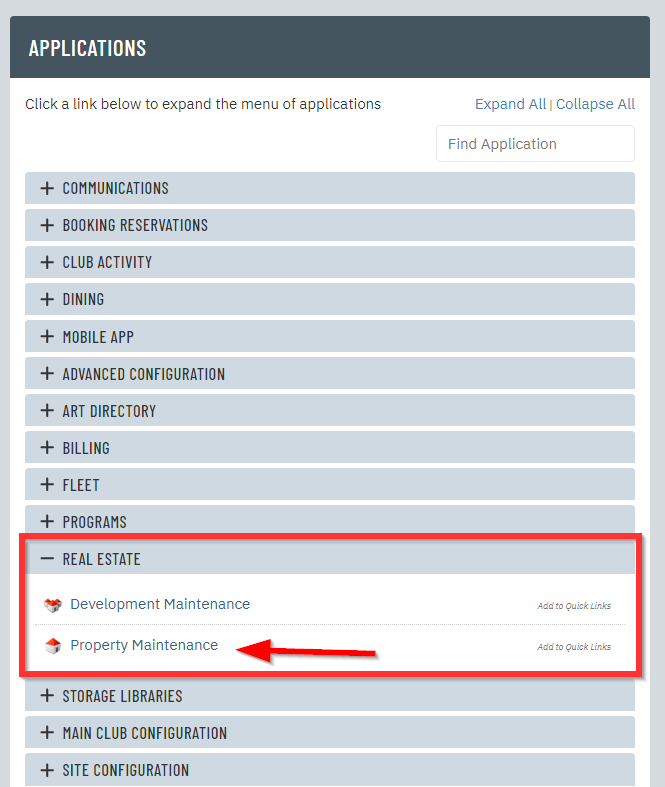 |
| Click New at the top of the page. | 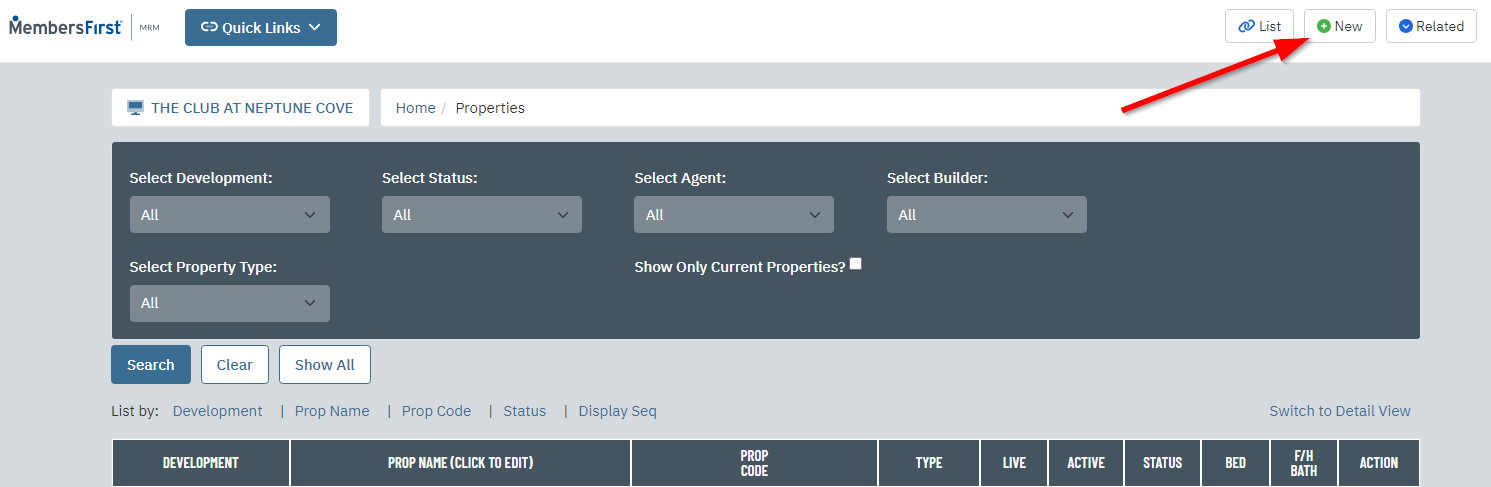 |
| Enter the Property Name and select the Development that the property belongs to. Select a Property Type if applicable. Then click Create. | 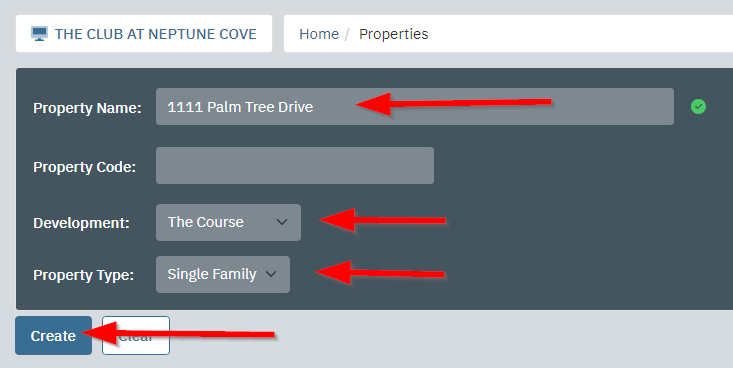 |
| Now you will be on the General tab for the property listing. Use the Status dropdown menu to select the property status. If you would like to provide a posting date for the property, you can click the calendar to the right of the Posting Date field and select the date. If you would like for the property to display on the listings page immediately, you can leave the Effective Date blank. If you'd like the property to disappear from the listings page after a certain date, you can click the calendar beside Expiration Date and select the last day you want to have it display on your site. |
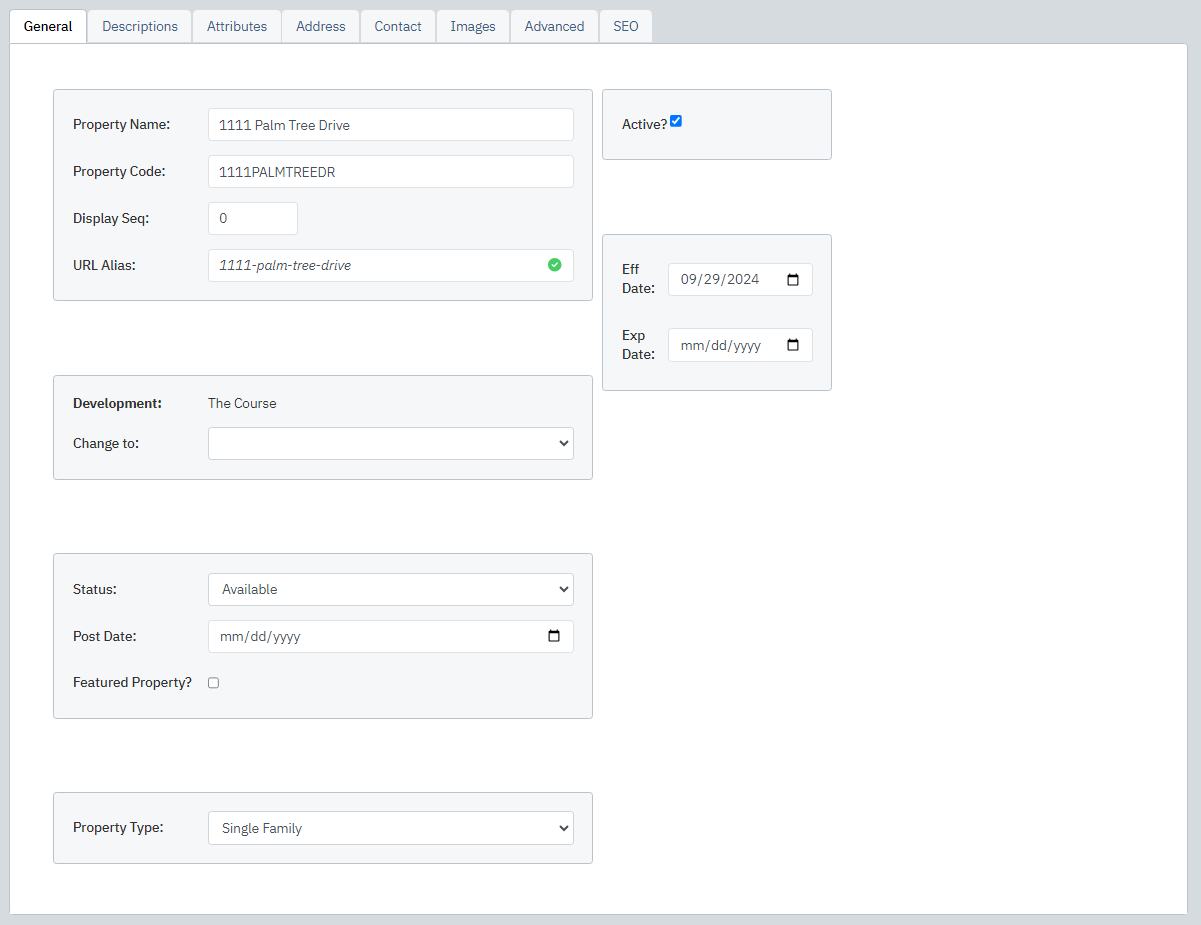 |
| Click the Descriptions tab. Here you can enter a description of the property in the Property Description field and a virtual tour link in the Link URL field. The virtual tour link must begin with http:// or https:// |
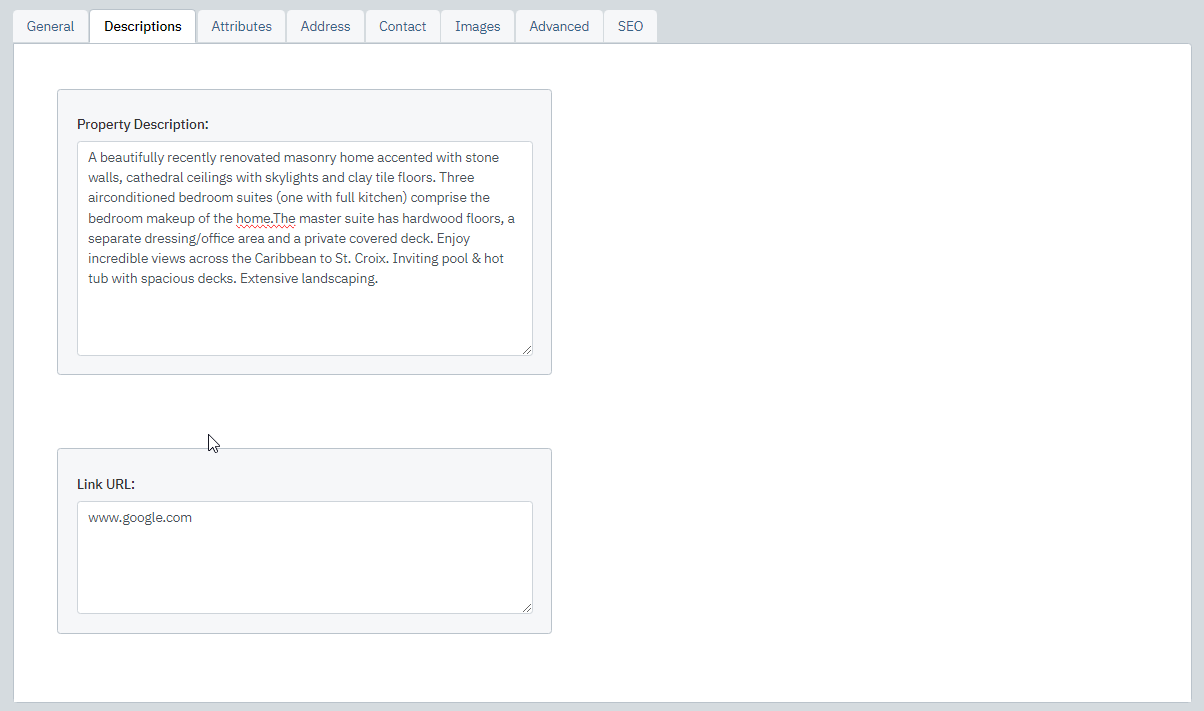 |
| Click the Attributes tab and fill out all of the details. Most fields here should be self-explanatory. Please check with your Client Services Manager to see if any fields are adjusted to fit another purpose. |
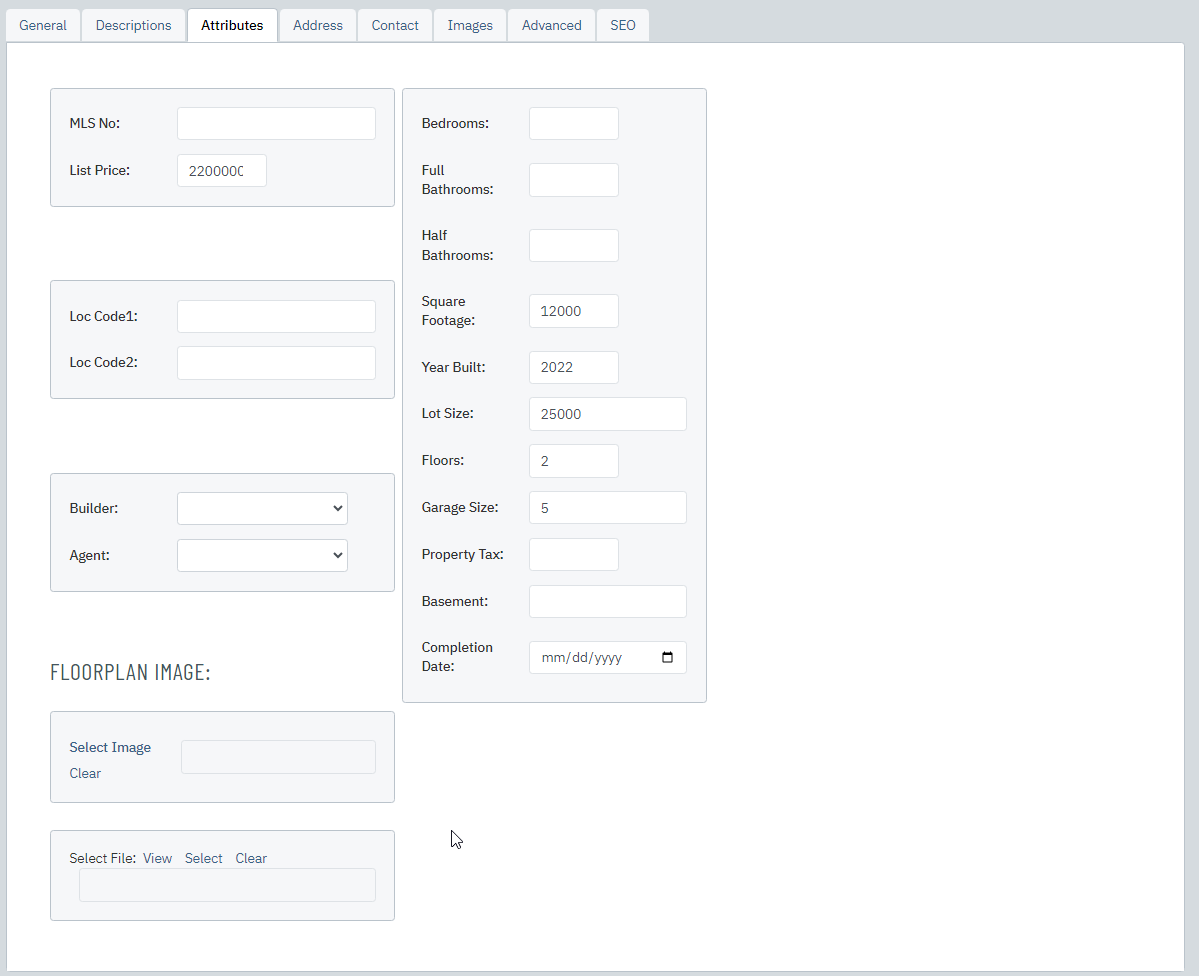 |
| Click the Address tab and fill out all address details. | 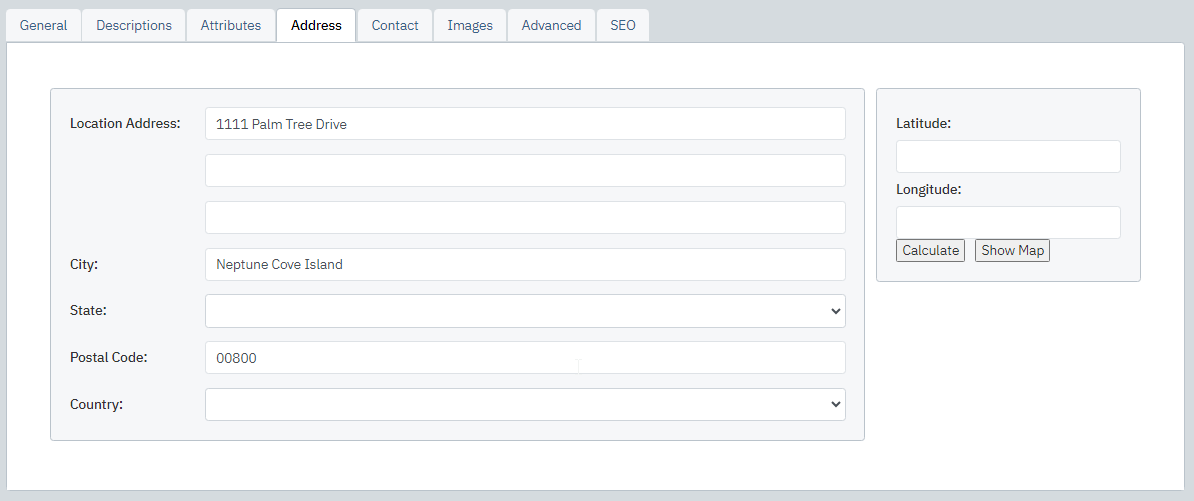 |
| Click the Contact tab and enter the contact information for that piece of real estate. (realtor, contact at the club, etc.) | 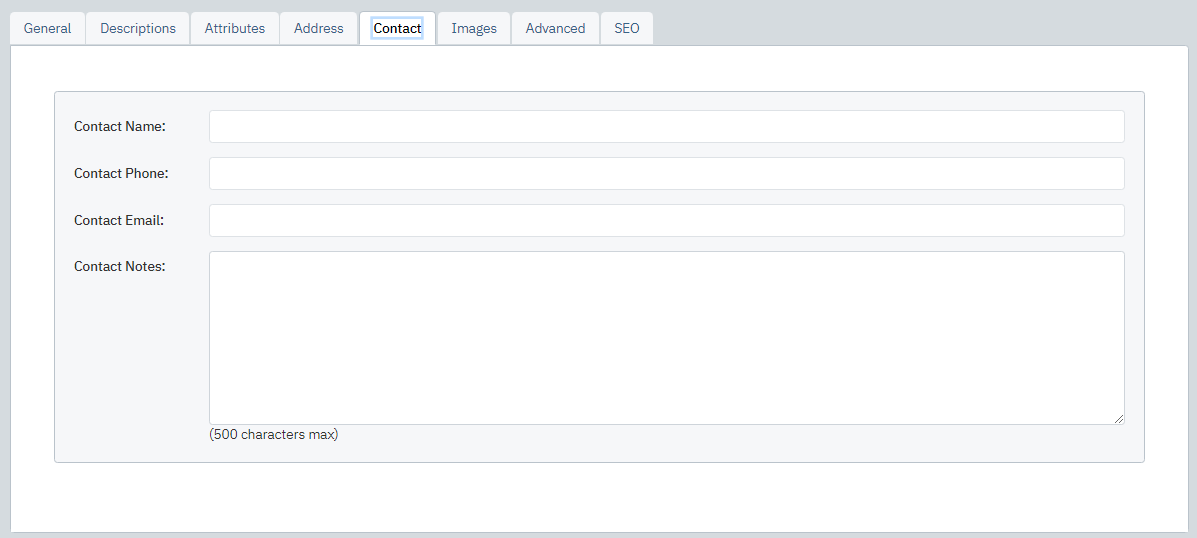 |
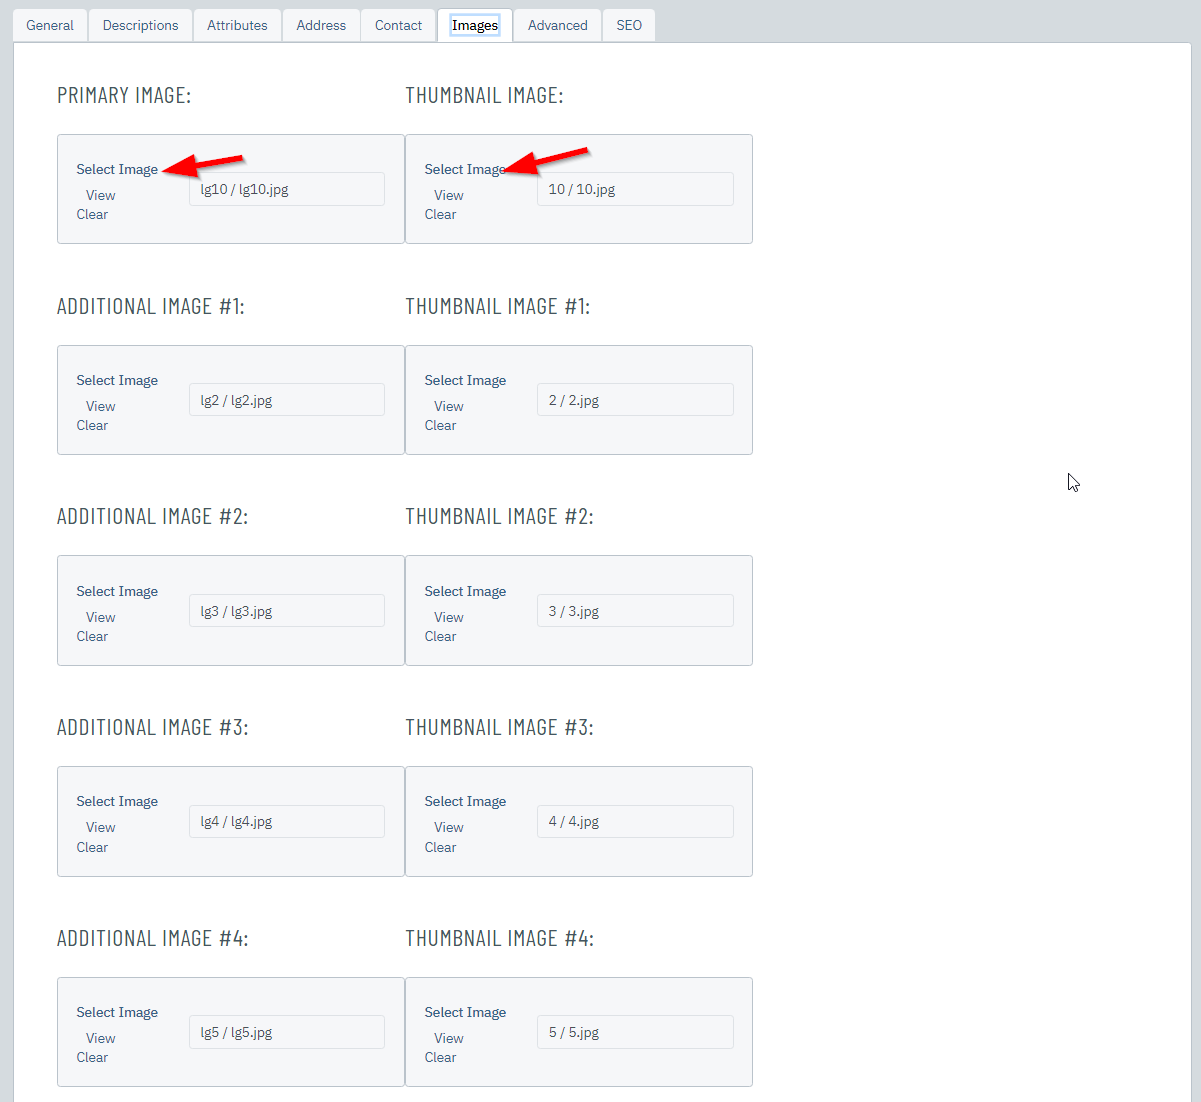
| Click the Images tab. Before adding images, you will need to upload images of the property to the Image Library. Under Primary Image click Select A pop-up window will appear. You can conduct an Image Library search using the Search Box or use the Select Folder dropdown to select the folder containing the property image you would like to use. Once you find the image you want to use click the left-most link to select it. Repeat these steps for Thumbnail Image. Optional Steps: Under Additional Image #1 - #5: repeat the steps above to add more images. |
 |
| Click Save to finalize your work. | 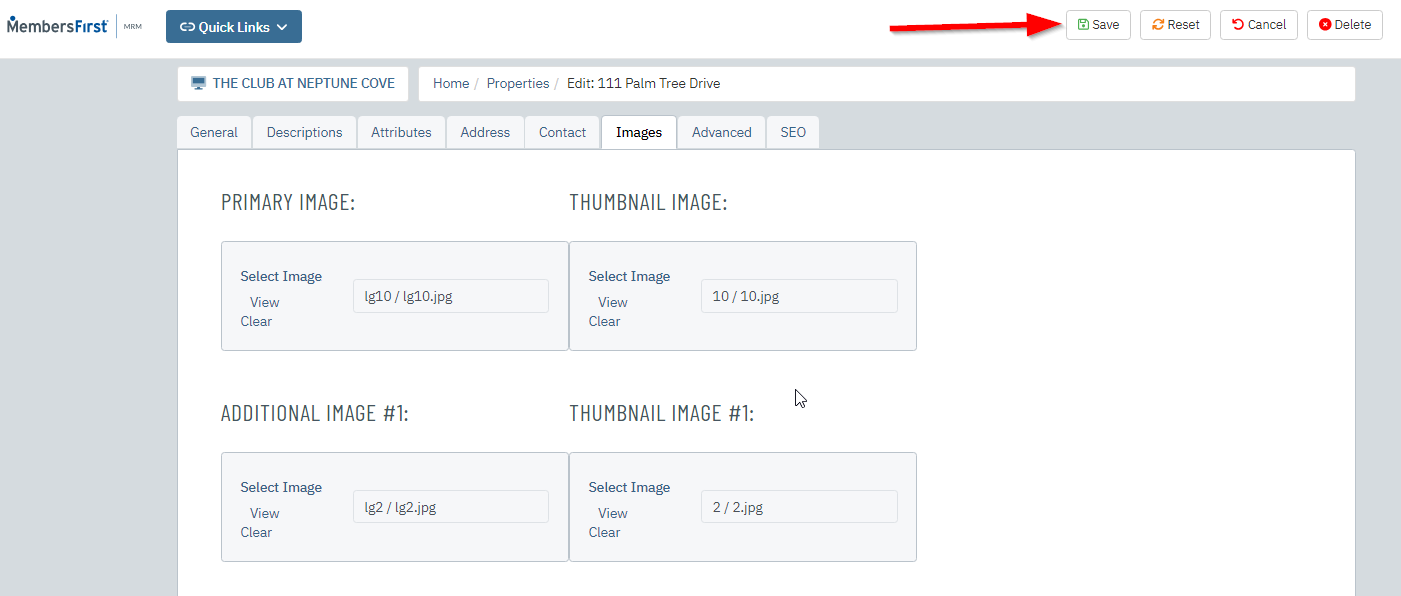 |