HubSpot CRM: Making Your Inbox Connection
One of the biggest benefits of the CRM (among others) is using automation when emailing your leads. In order to make this happen, we first need to connect HubSpot to your email.
Find your email provider below, then follow the instructions to complete the connection. Your IT may be helpful in completing these steps if you’re having trouble. The technical requirements are a useful resource if your IT provider needs them. Find the requirements at this link.
Office 365
Log into your HubSpot account using your credentials, and then click the link provided by MembersFirst in order to complete the inbox connection.
Next, install the desktop add-in for receiving notifications at this link.
Finally, configure your desktop add-in default settings using the instructions at this link.
Gmail
Log into your HubSpot account using your credentials, and then click the link provided by MembersFirst in order to complete the inbox connection.
Next, do you sync your emails from Gmail into Outlook? If yes, follow these steps as well:
Install the desktop add-in for receiving notifications at this link.
Finally, configure your desktop add-in default settings using the instructions at this link.
Other Email Providers (Rackspace, etc.)
Open your completed CRM Implementation Questionnaire; you will need to reference this later.
Log into your HubSpot account using your credentials, and then click the connection link provided by MembersFirst.
Use the IMAP and SMTP information you provided in the questionnaire to fill out the required fields and make your inbox connection.
Next, do you sync your emails from from your actual provider into Outlook? If yes, follow these steps as well:
Install the desktop add-in for receiving notifications at this link.
Finally, configure your desktop add-in default settings using the instructions at this link.
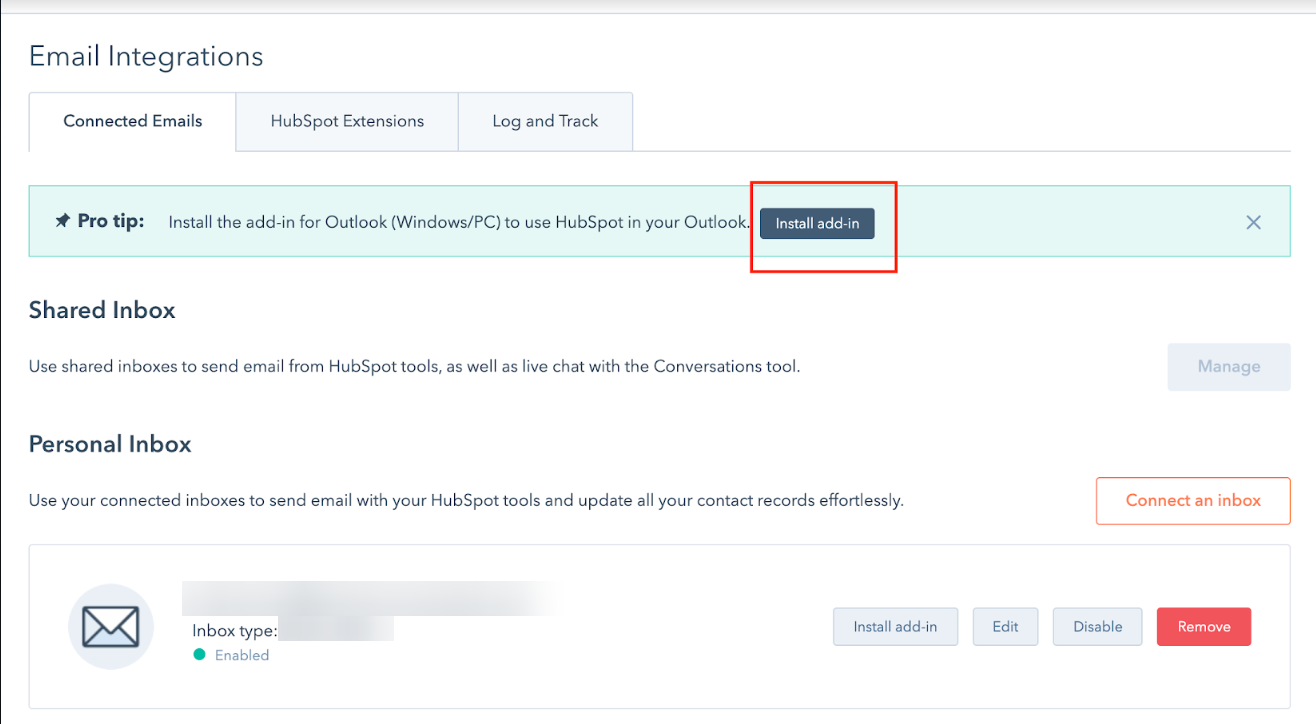
Click on Install add-in (below), then and follow the instructions.
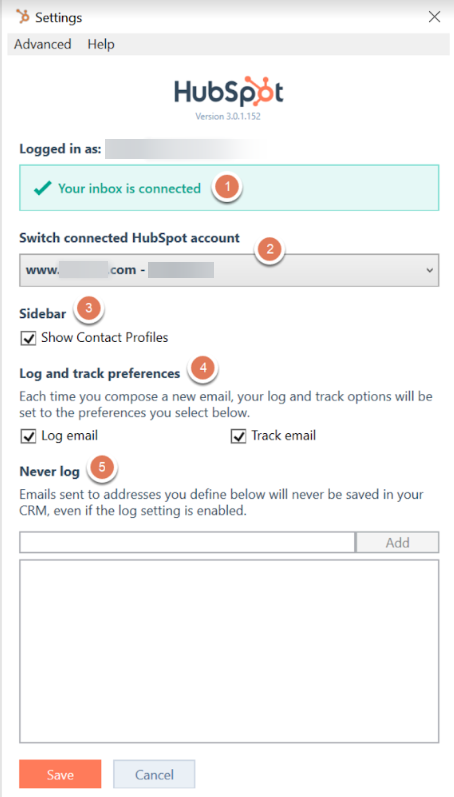
Once you have the extension, next you will need to update the settings. You will see the HubSpot add-in on the top of your outlook toward the right side. Click on it to change the settings.
Log and track preferences: select the Log email and Track email checkboxes if you'd like your emails to be logged and tracked by default. NOTE: When sending an email to someone internally or that is not for an event you will manually have to deselect to not log and track in that email.
When you're finished configuring your desktop add-in, click Save at the bottom.