| Log into Admin Home on your web site. |
 |
| Click on Dining in the Applications box, then click on Dining Venues. |
 |
| Locate the venue you wish to edit. In the same row, click Edit beneath the Meal Periods column. |
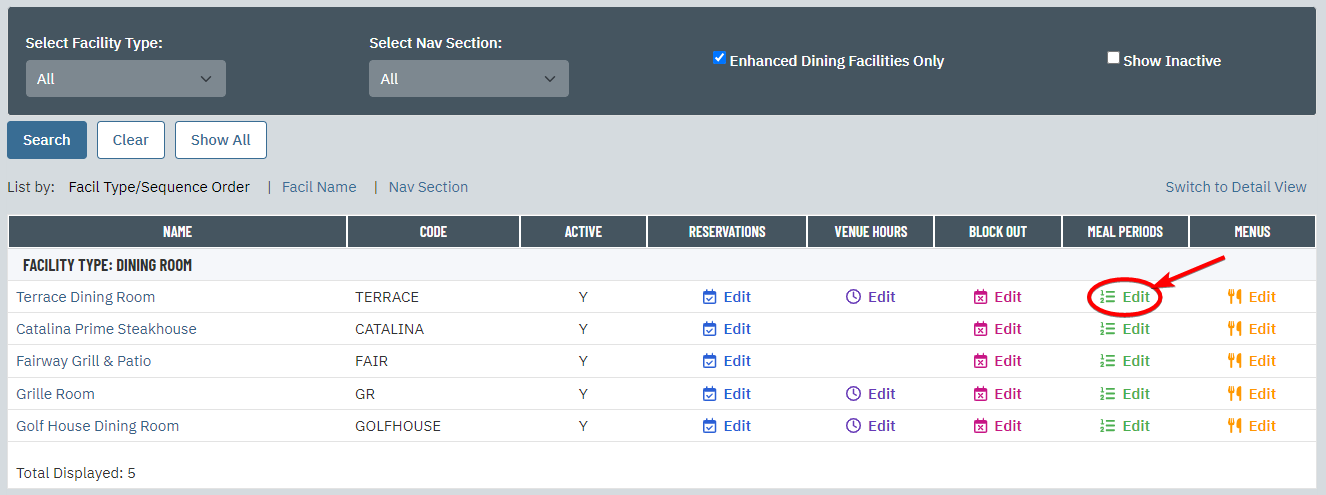 |
| Click New. |
 |
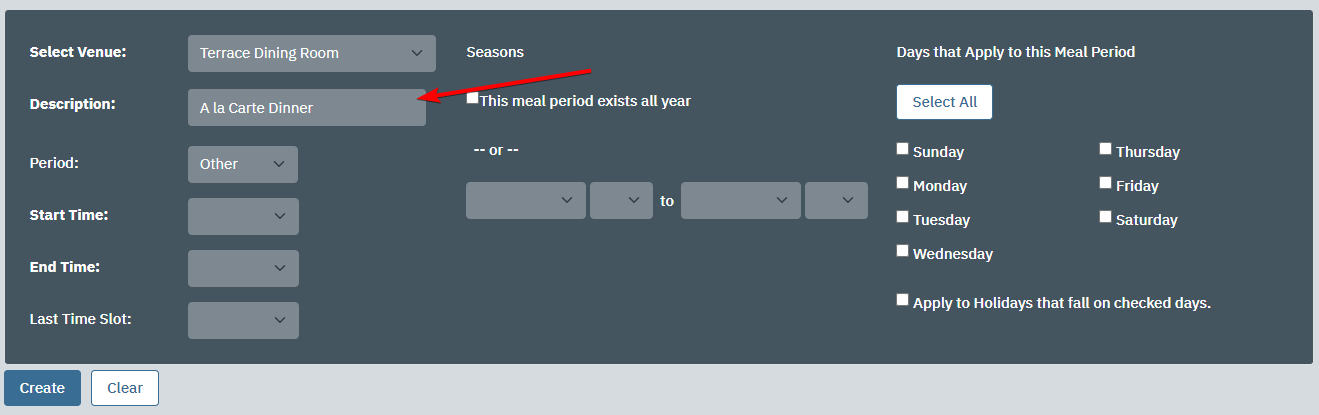
| Select your venue from the Select Venue drop down list if it is not pre-selected. |
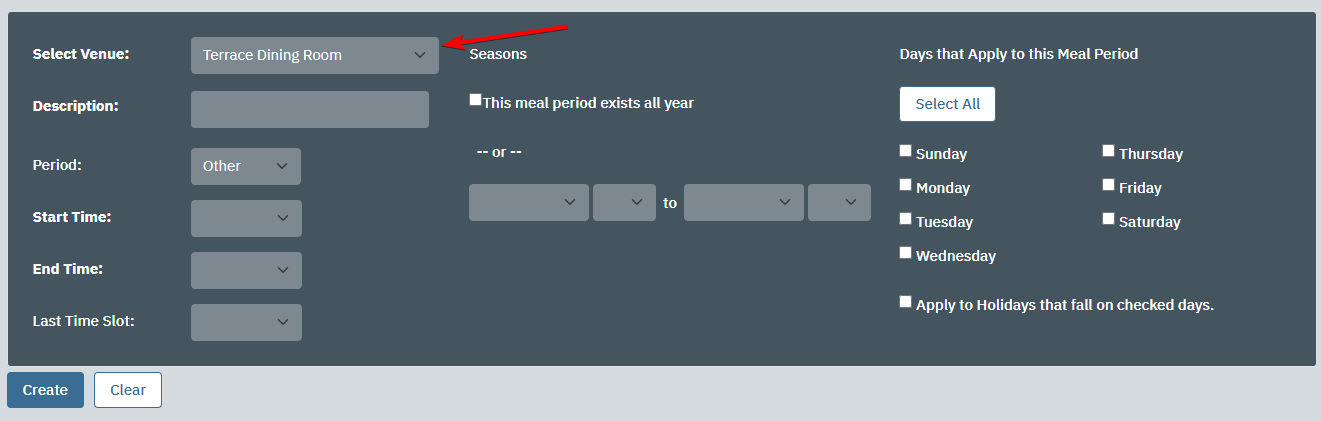 |
| Enter a description for your meal period (e.g. breakfast, lunch, dinner, etc.) into the Description field. |
 |
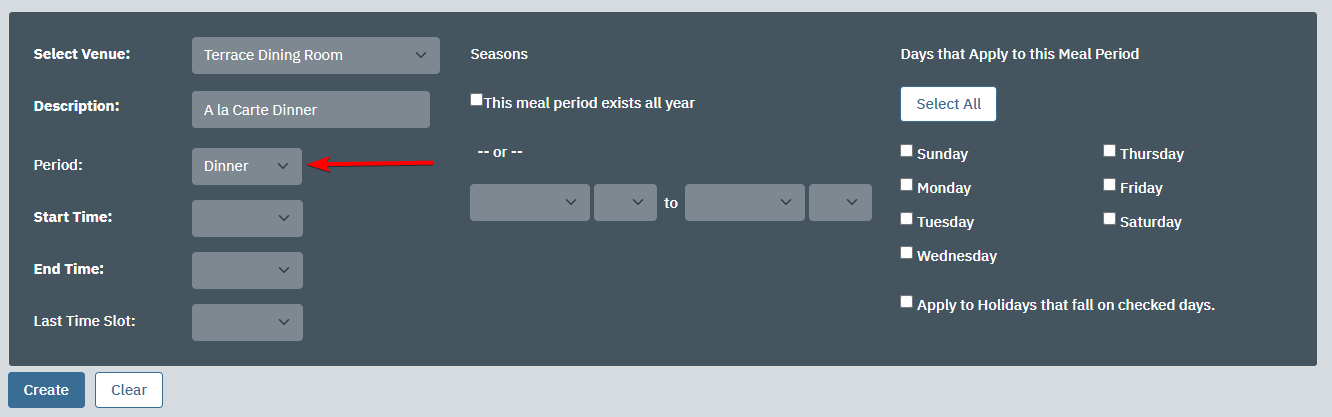
| Select a meal type for your meal period into the Period field. |
 |
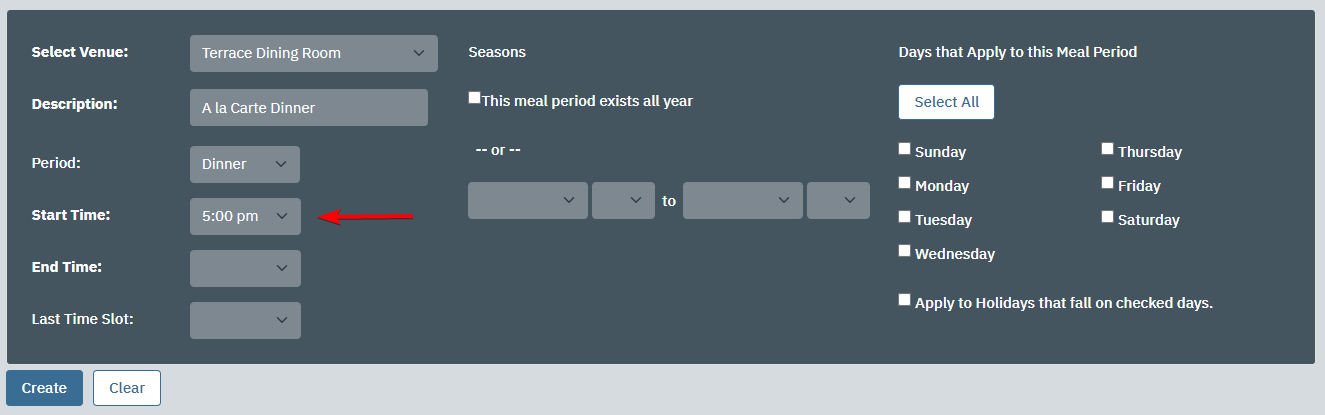
| Enter the first seating time into the Start Time field. This is the time at which members can begin making reservations. |
 |
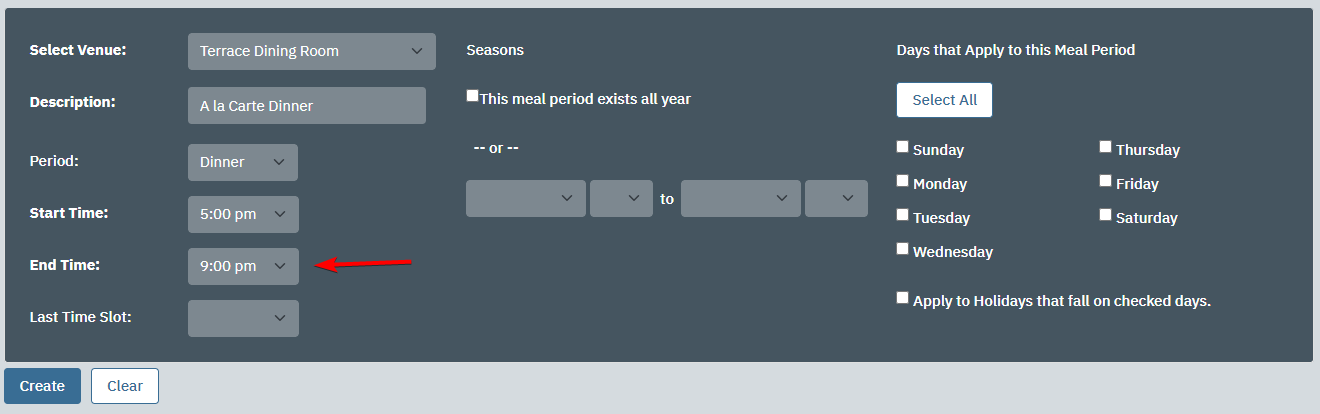
| Enter your venue's closing time into the End Time field. This is the time by which all members should be done dining. |
 |
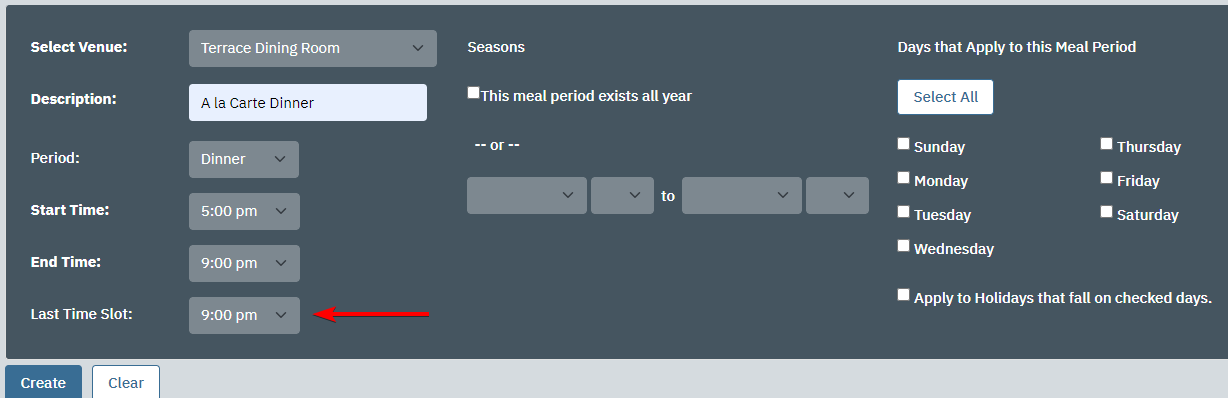
| Enter the last seating time into the Last Time Slot field. This is the last time slot members may select when making a reservation forr the meal period. |
 |
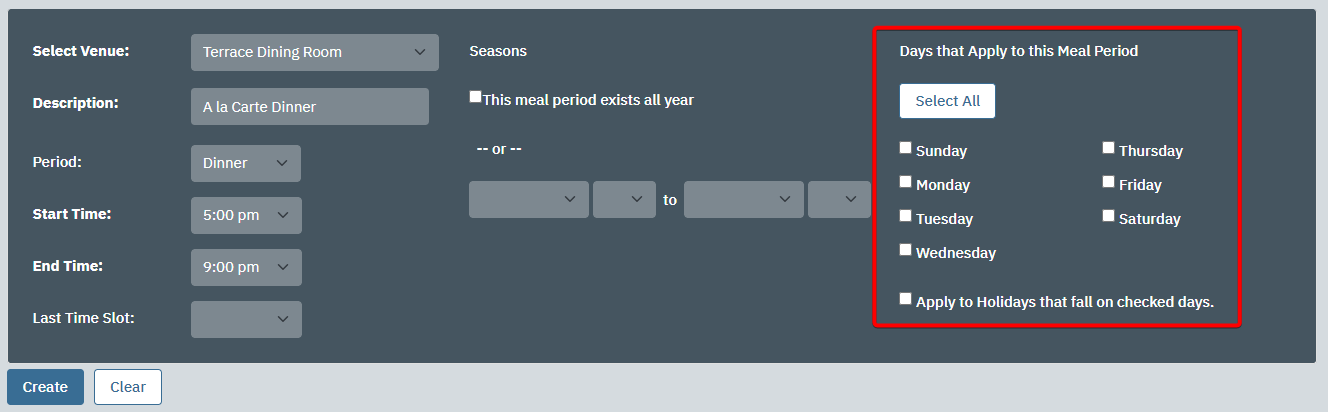
| Select the days of the week for which your meal period is offered. Your meal period will only be open and available for reservations on the selected days. |
 |
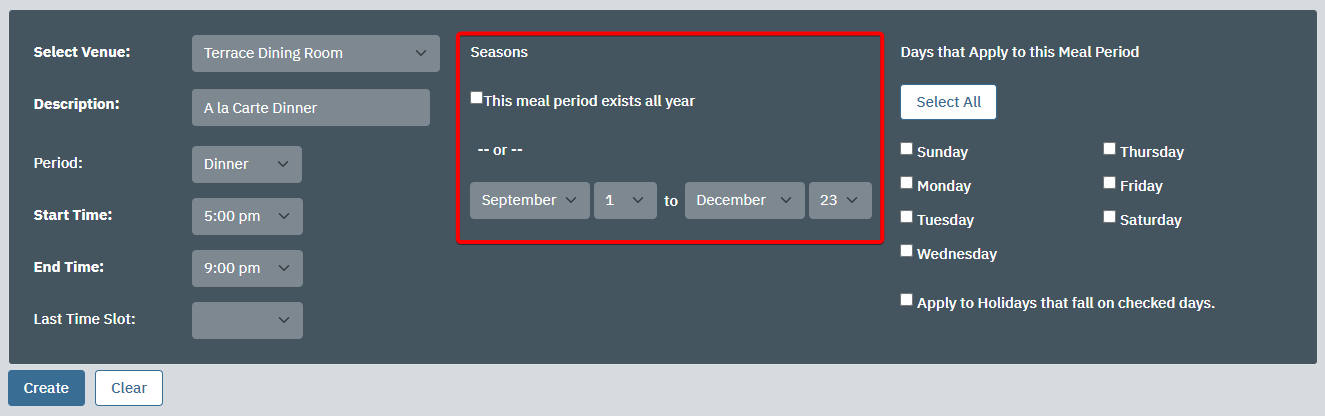
| If your meal periods are seasonal, set the season using the Season Start and Season End fields. The meal period will not offered outside of the season you select. |
 |
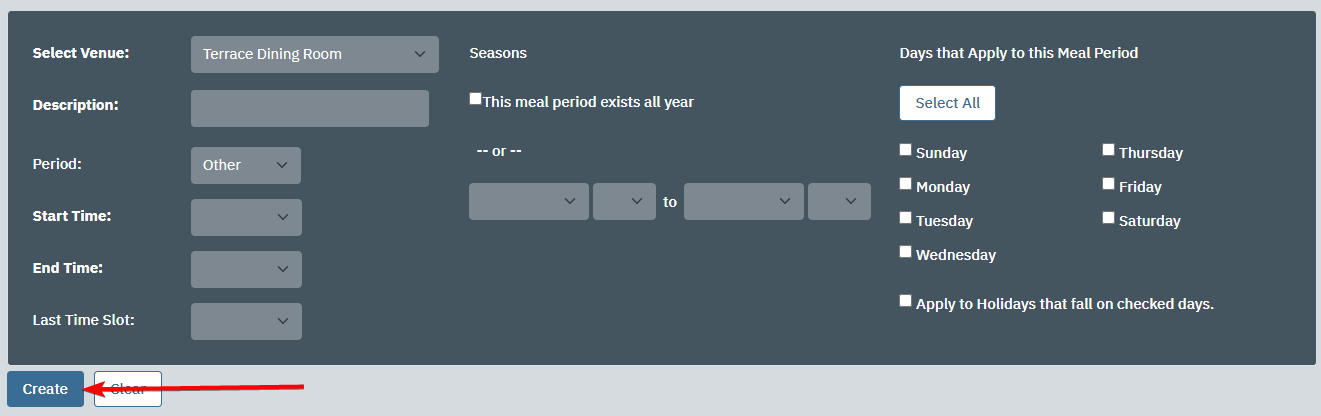
| Click Create.
|
 |
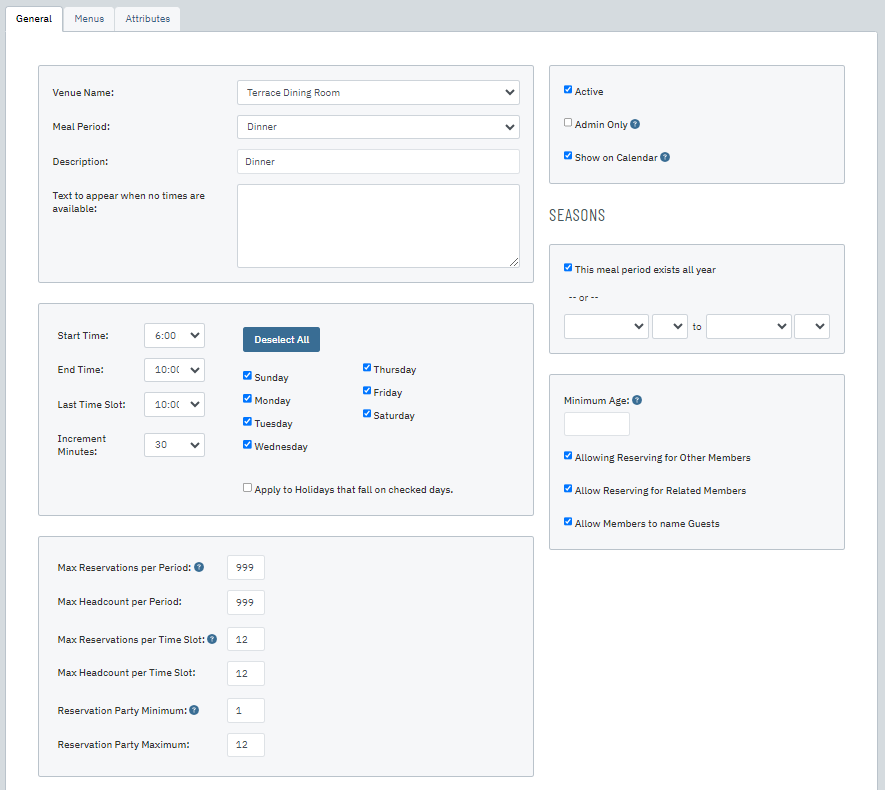
On the General tab, you can control the number of reservations and covers allowed during the meal period (or each time slot during the meal period) using the Max Reservations and Max Headcount fields. You can also control party size with the Reservation Party Minimum and Reservation Party Maximum fields.
To change the seating increment from the default 30 minutes, select a new turn time from the Increment Minutes field.
To set how far in advance a member may make a reservation, set the number of days or hours in the Reservation period starts field. You can also set a desired time if you want all the reservations to open at one. For example, if members should be allowed to book reservations 14 days in advance, the setting would read: Reservation period starts 14 days before at 12:00 am.
If you require lead time before a reservation (e.g. members must book 24 hours in advance), use the Reservation period ends field to set the number of day or hours required prior to the start of a reservation or a specified time (e.g. all reservations must be made by 8 p.m. 1 day before).
To allow members to cancel reservations, flag the Allow User to Cancel Reservations check box and set the number of days or hours prior to the reservation (or specified time) that members may cancel.
If you need to set a minimum age for seating (e.g. the venue is a bar), you can do so with the Minimum Age field.
Finally, if you only allow club staff to make reservations for this venue or meal period, be sure to flag the Admin Only check box.
Once you have made the desired changes, flag the Active check box if it is not flagged already.
|  |
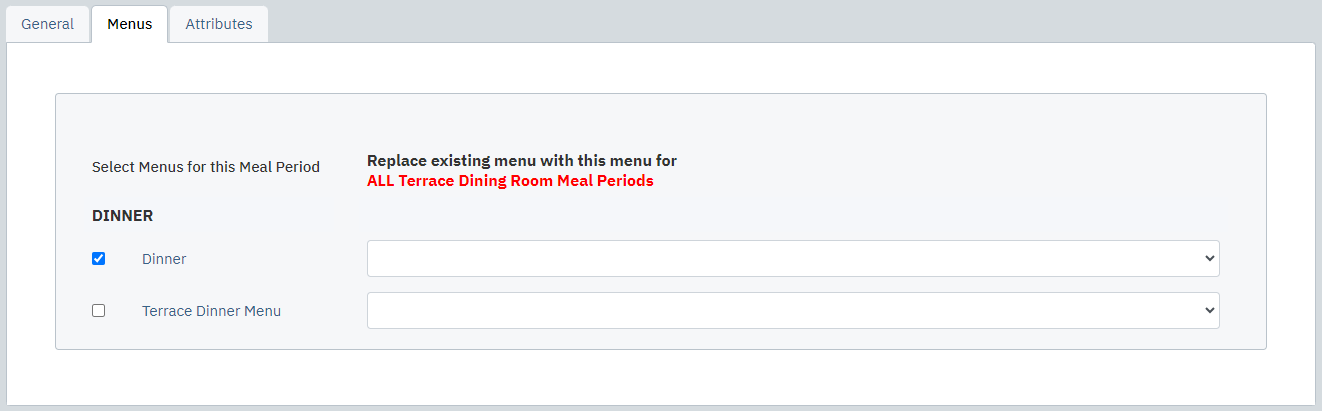
On the Menus tab, flag the Menus that apply to the meal period.
Note: if you do not see your menu listed, follow these instructions and return to this guide. |
 |
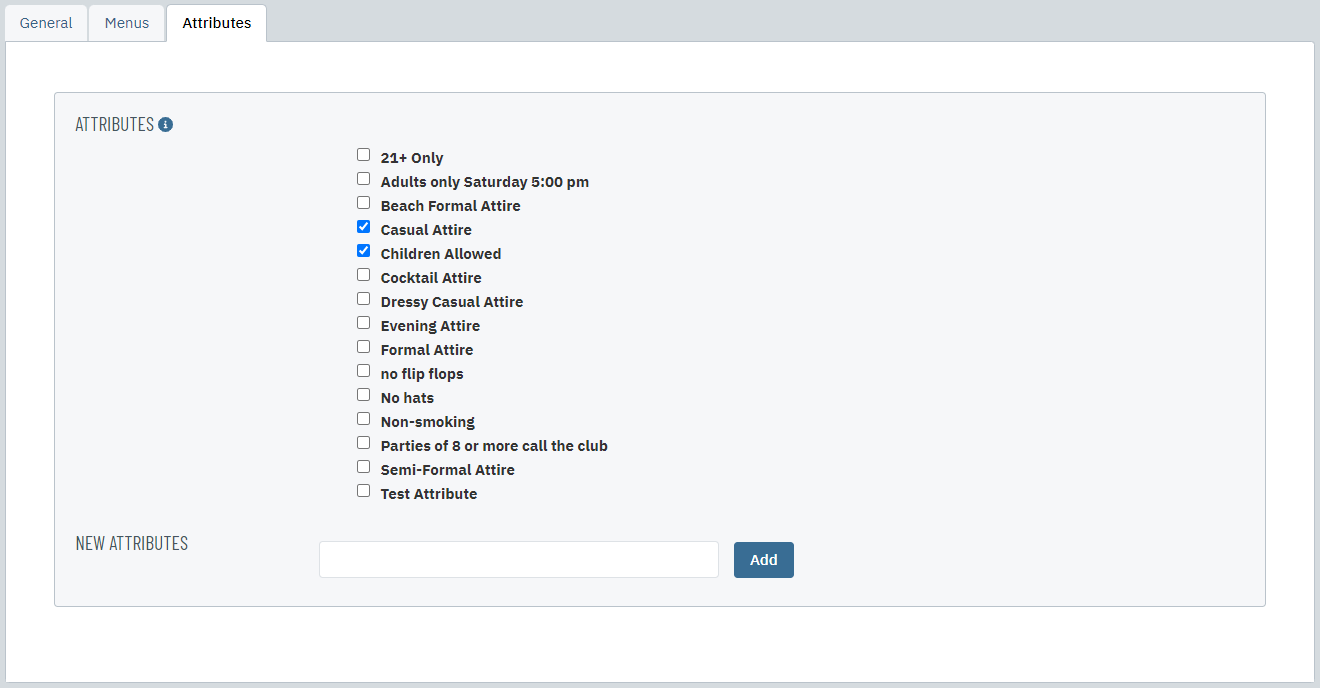
On the Attributes tab, flag the attributes that apply to the meal period. Attributes should describe the food or atmosphere of the venue and meal period, as these are displayed to members when they make their reservations.
To add a new attribute, enter a description into the New Attribute field and click Add. |
 |
| When you are done editing the meal period, click Save & Close. |
 |