How to Add Dining Menus
Dining Menus can be added to venues and meal periods so members can see the menu at a glance whilst making reservations.
| Log into Admin Home on your web site. |  |
| Click on Dining in the Applications box, then click on Dining Venues. |  |
| Locate the venue you wish to edit. In the same row, click Edit beneath the Menus column. | 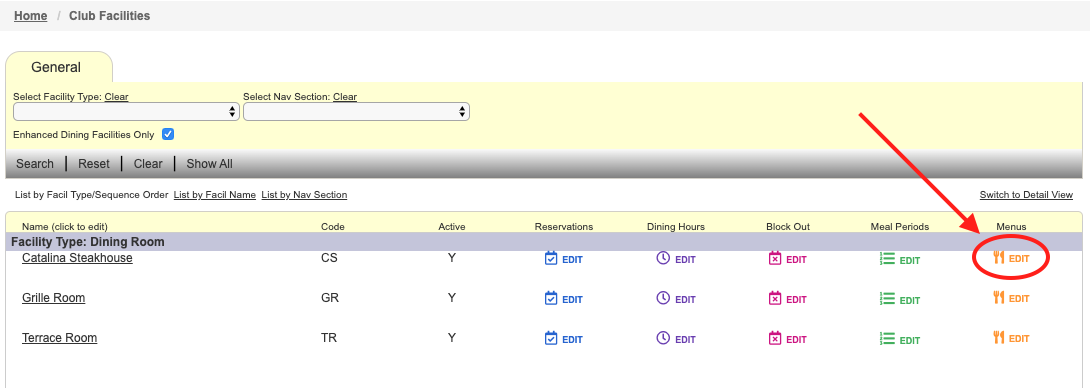 |
| Click New. |  |
| Select your venue from the Select Venue drop down list if it is not pre-selected. | 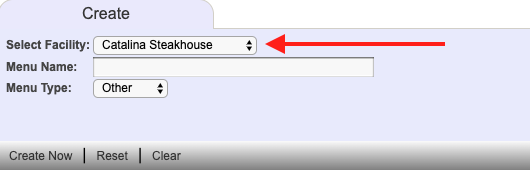 |
| Enter a name for your menu (e.g. breakfast buffet, lunch specials, dinner a la carte, etc.) into the Menu Name field. |  |
| Select the meal type that best applies to your menu in the Menu Type field. | 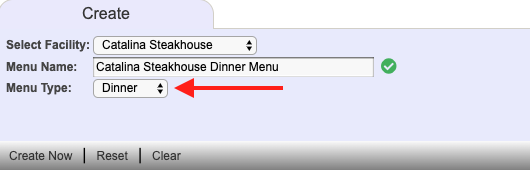 |
| Click Create Now. |  |
| (Optional) On the Full Page Text tab, use the editor to copy and paste your menu directly into the site and format as needed. Note: many Clubs choose to skip this step and upload a PDF of their menu instead, following the steps below. |
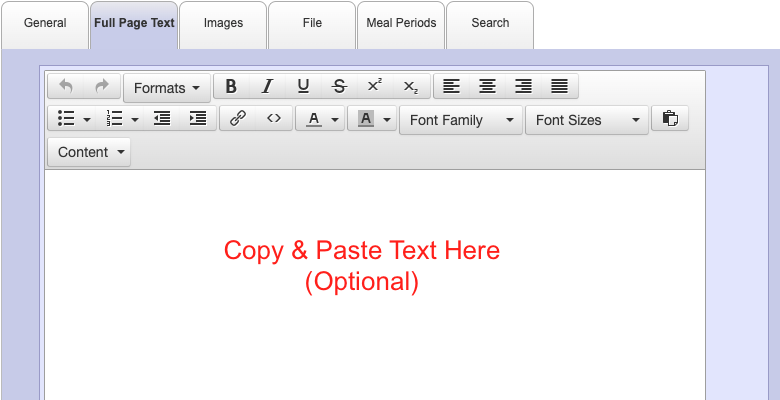 |
| (Optional)On the Images tab, you can select up to images from your Image Library to attach and display with your online menu (see step above). | 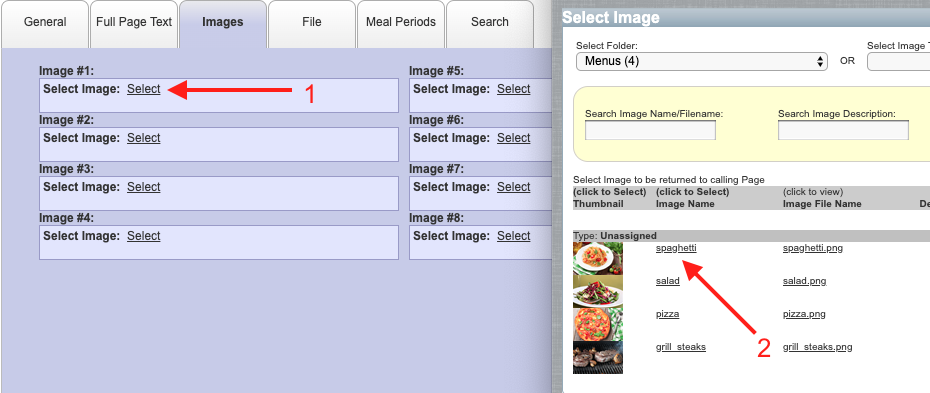 |
| On the File tab, locate a PDF of your menu in the File Library using the Select tool. Search for your menu within the folders and click on the file name to attach it. Note: if your menu does not appear, follow the instructions in this guide to upload the PDF to your File Library. |
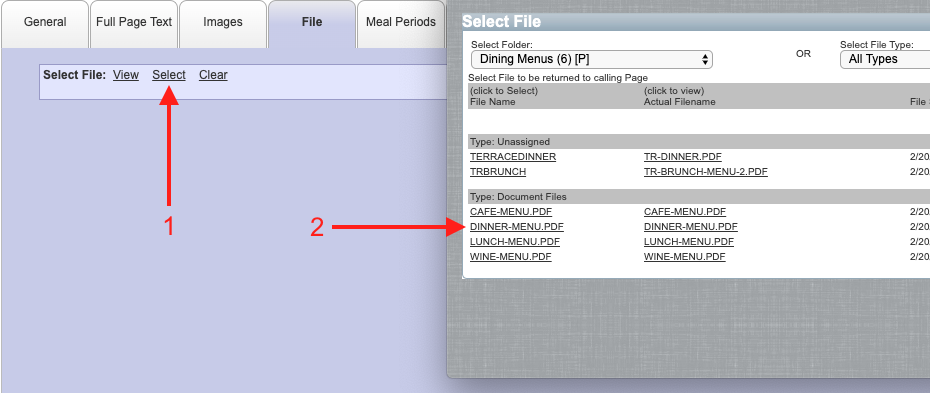 |
| If meal periods are configured, click on the Meal Periods tab and flag the meal periods to which your menu applies. | 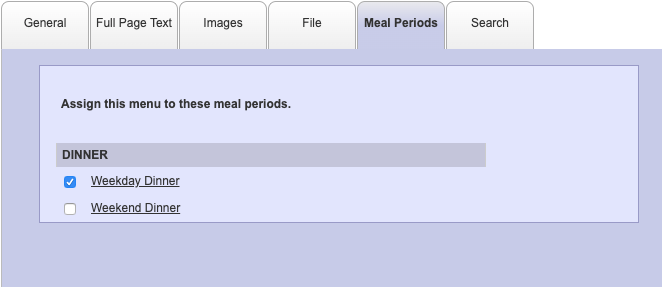 |
| Click Save & Close. | 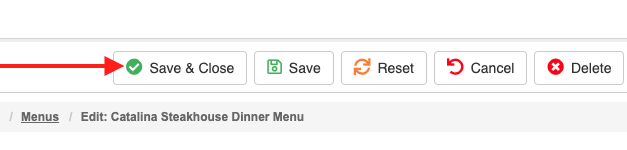 |