How to Restrict Website Content
Content restrictions allow you to determine who can or cannot access your website's content. Inserts and announcements can be restricted by members type, and calendar events, file library files, library documents, and surveys can be restricted by member type and member organization. Follow the steps below to hide and protect your content.
Note: contact your Client Services Manager if you do not see a "Restrictions" tab on your website. When viewing the member side, you will only have access to restricted content if you are impersonating a member with permission to view the content. We recommend testing a member who is NOT part of the member organization to confirm that the content is NOT accessible to those who are not intended to see it. Restricted calendar events will not appear in a member's calendar feed (Apple/Google calendar).
| Click on the Restrictions tab. | 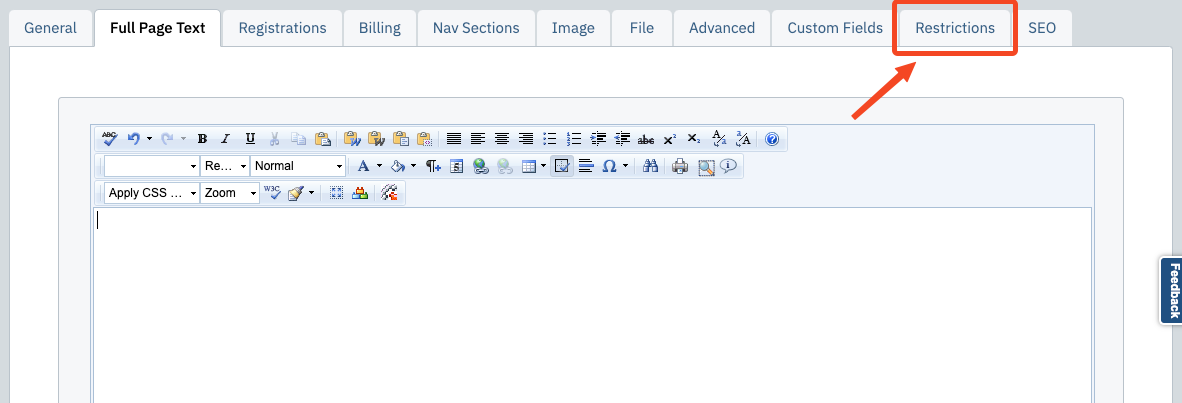 |
| In the Member Type Limits field, flag the check boxes next to each member type that should have access to the content. Members who are not associated with the member types will not be allowed to view the content. | 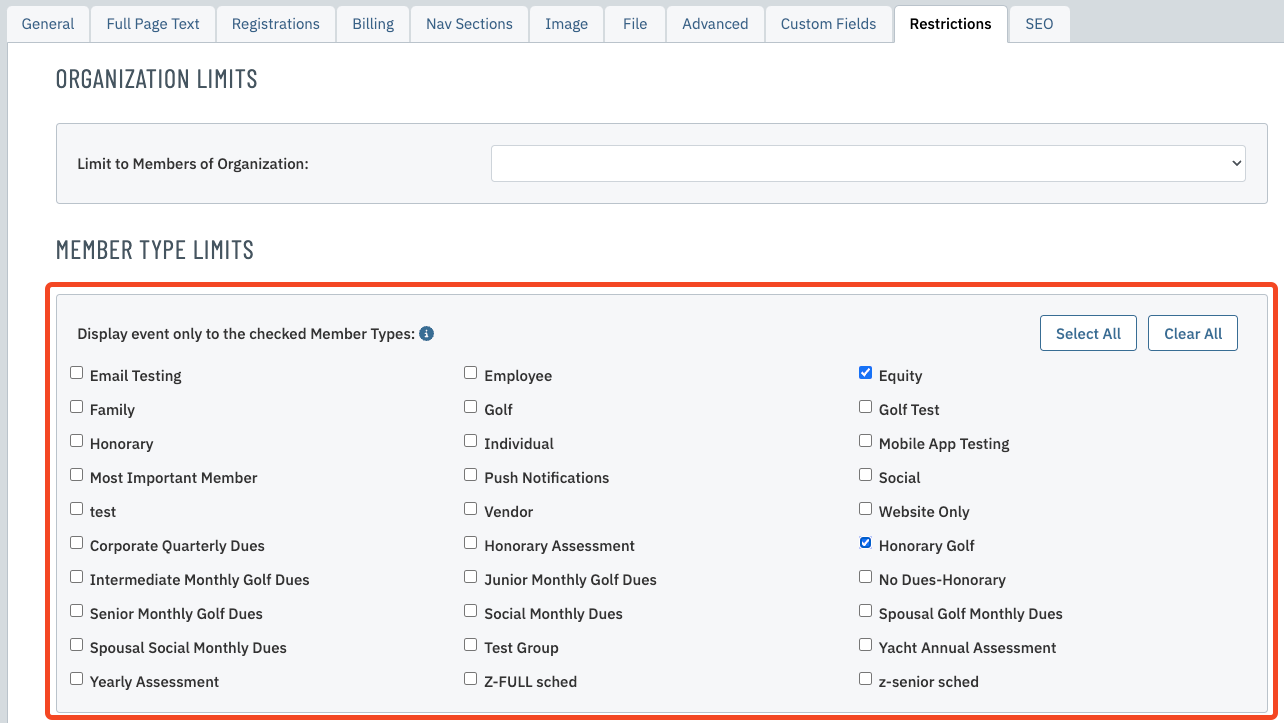 |
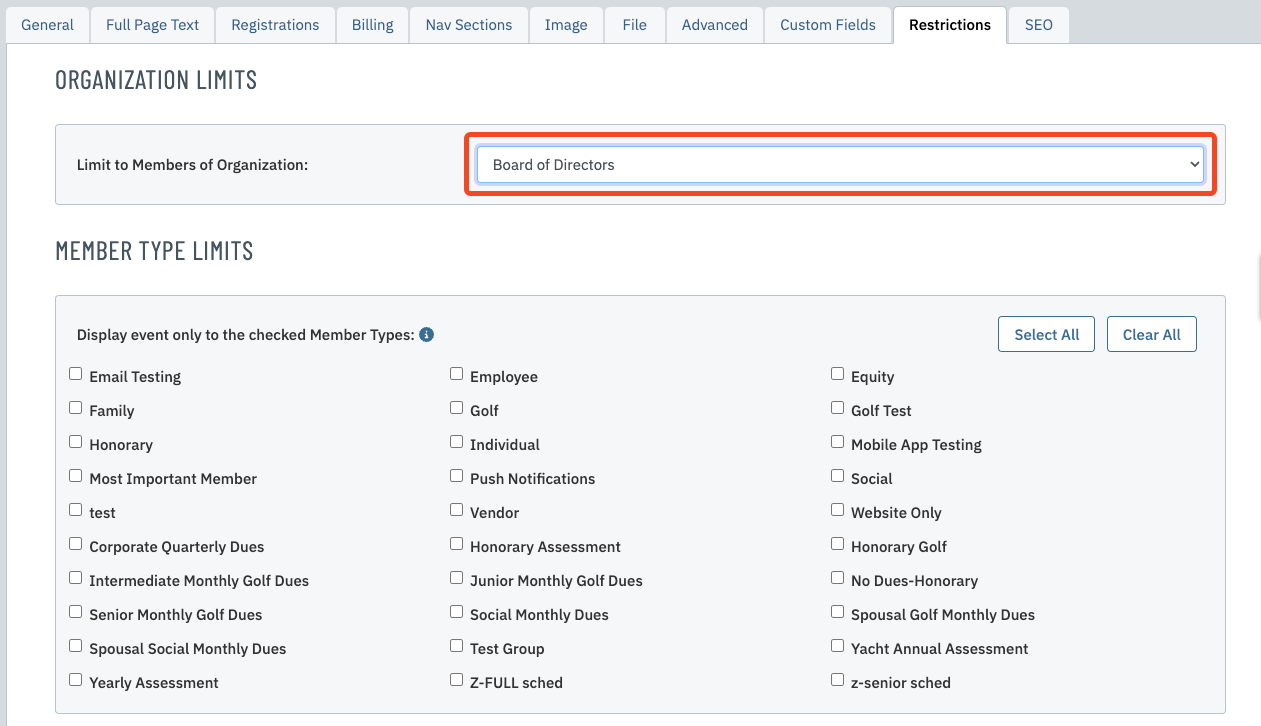
| If you editing a calendar event, file library file, or survey, you will also have the ability to restrict your content to a member organization. Using the Restrict/Limit to Member Organization drop down, select the member organization that requires access to the content. No other members or organizations will be allowed to view the content. Note: you can only restrict content to one member organization at a time. You may need to flag additional check boxes, such as Restrict Survey By Member Type, in order for this field to appear. |
 |
| You can also restrict library documents by member organization. To do this, go to the General tab and select the member organization from the Limit to Members of Organization drop down field. | 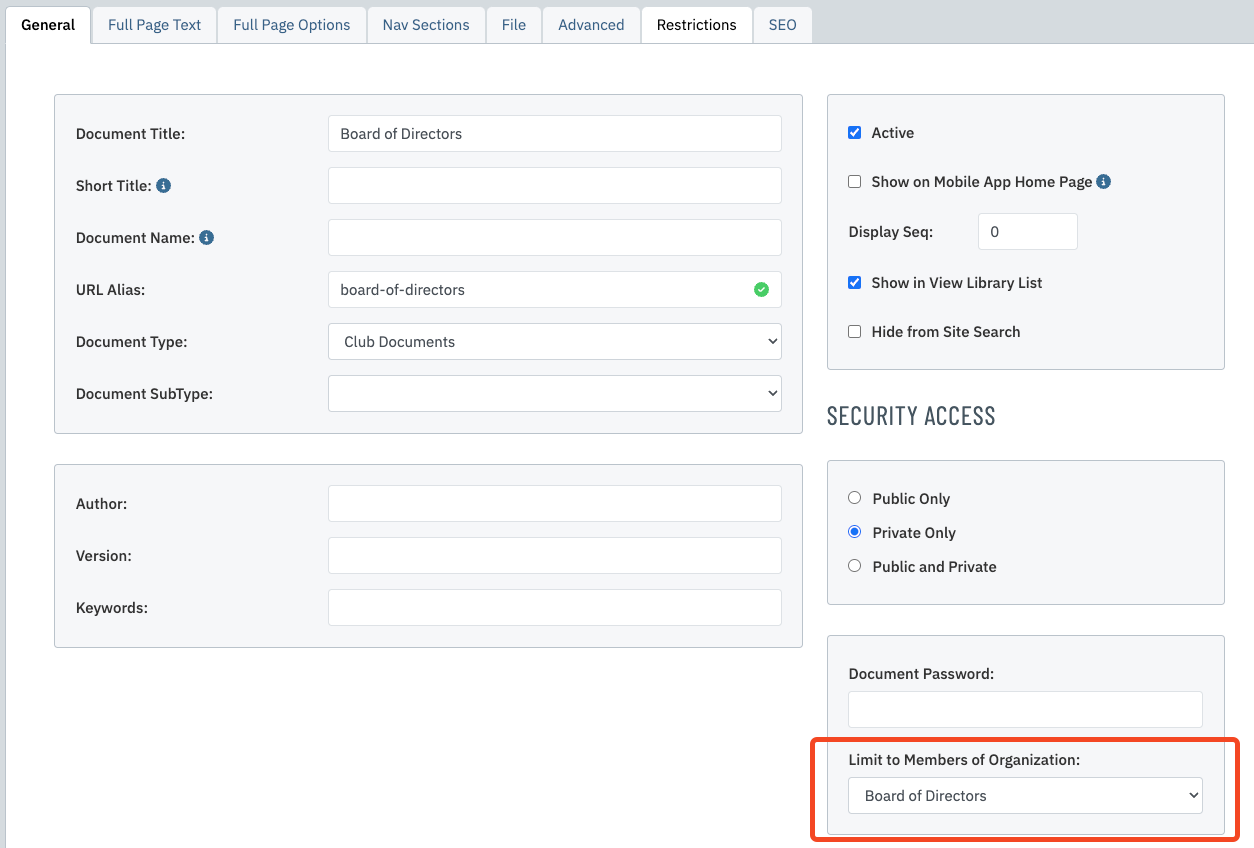 |
| Once you have made your selections, click Save & Close. |  |
| Some content types, such as announcements, allow you to check the permission a member has based upon the settings you selected and saved. Type in the member's name or member number and select their name from the drop down list that appears. If the member is allowed to view your content, a green message will display to the right. If not, a red message will appear instead. | 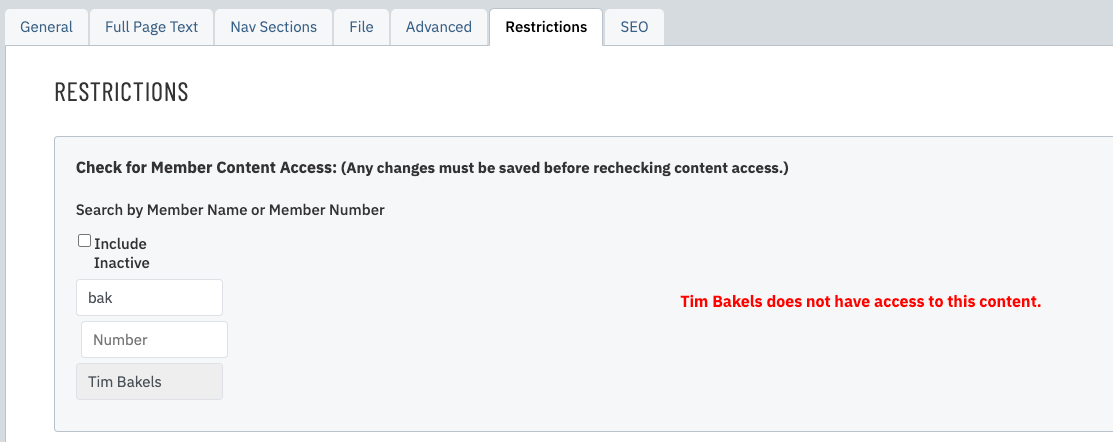 |