How to Create Insert Buttons
Insert buttons are a great way to quickly link to important content on your section pages. They will appear to the right of your inserts, above the upcoming events section.
| Log into Admin Home on your web site. |  |
| Click on Club Content in the Applications box, then click on Inserts Maintenance. | 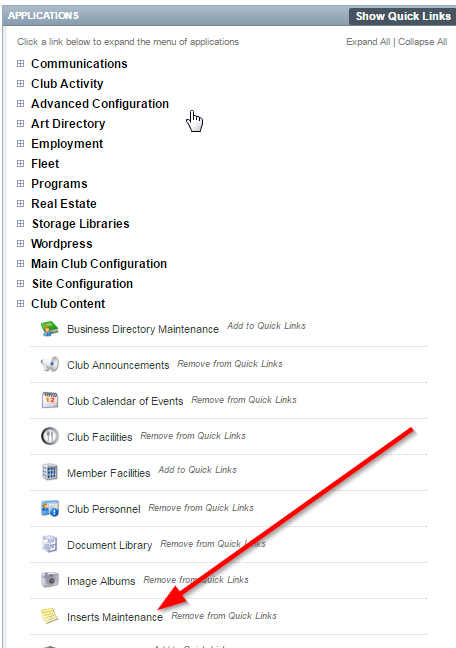 |
| Click New at the top of the page. | 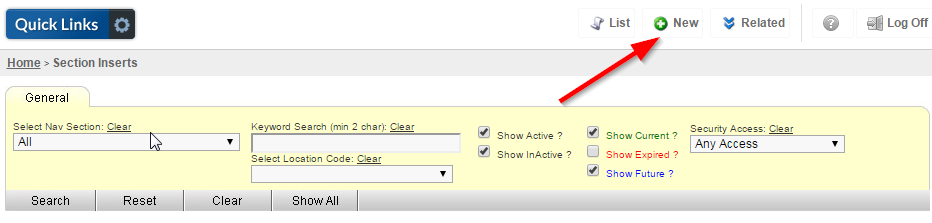 |
| Enter the name of your insert button into the Insert Title field. This will not appear on the website, so feel free to use a name that is admin-friendly. |  |
| Use the Select Nav Section dropdown to select a nav section for the insert button to display on. You can select additional navigation sections later. |
 |
| Click Create Now. | 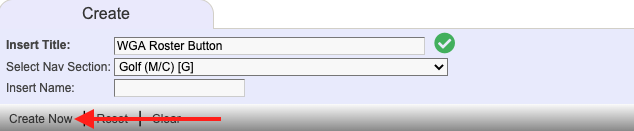 |
| You will now be on the Full Page Text tab. Type in the name of your button. This is what your button will say on the member side of your site. | 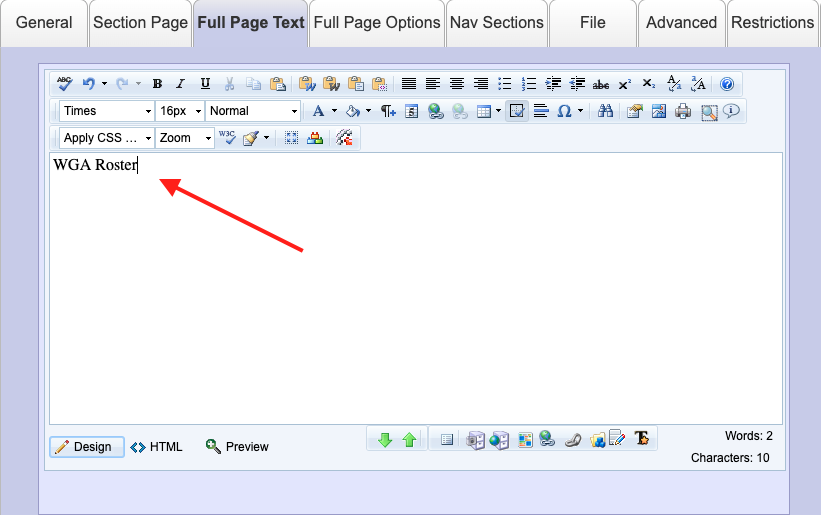 |
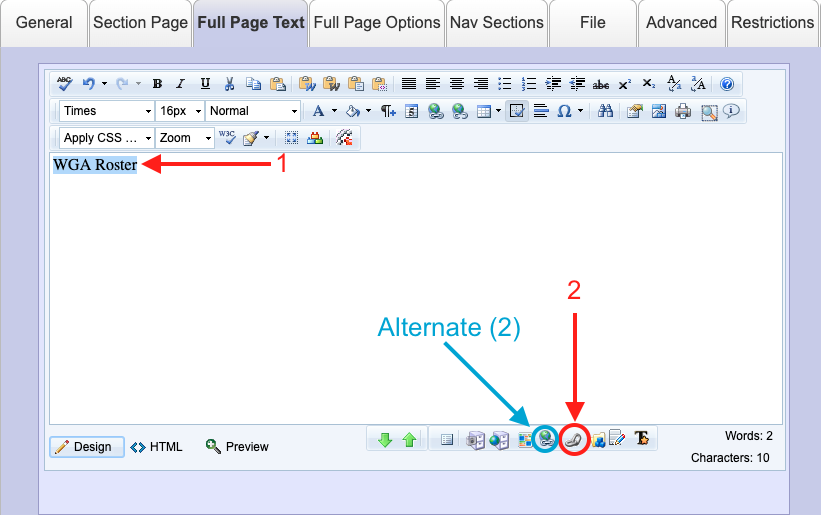
| Select/highlight the text and click the Content Hyperlink Tool. Note: if you wish to link to an external page, click the Hyperlink Tool instead and follow the note in the step below. |
 |
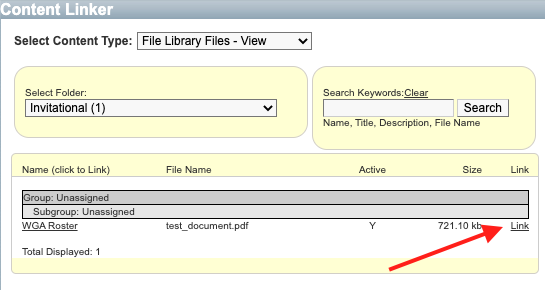
| Use the tool to search for content that you would like the button to lead to. Once you have found your file, form, or library document, click Link. This will link your button to the content you selected. Note: if you are using the Hyperlink Tool to link to an external page, paste the website's address into the URL field and click OK. |
 |
| Click on the General tab. | 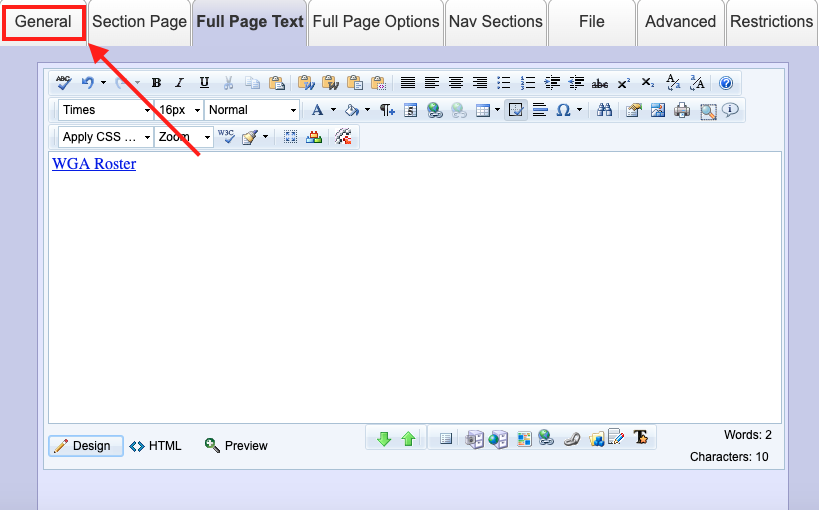 |
| Click on the Location Code drop down menu and select Button. |  |
| Flag the Hide from Site Search check box. |  |
| Flag the Active check box. |  |
| Click Save & Close. |  |