Event registration lotteries allow you to make registrations for popular, in-demand events more equal and fair. Instead of staying up late at night or waking up early in the morning, members will get an equal opportunity of registering for an event by entering their name into a lottery at their convenience. When the entry period closes and the lottery is run, members will randomly selected into the event. Members who do not make it into the event will be added to the waitlist.
We recommend running lotteries a few days prior to the event so members have adequate notice if they should attend the event or not.
Note: Event lotteries and waitlists are not compatible with time slot selection. If Time Slot Selection is enabled, these settings will not appear.
|
On your event's Event Registration tab, fill in the Total Registration Count Limit for Event or Total Headcount Limit for Event fields (or both). This will determine how many registrations or people the lottery will allow into the event when it is run.
|
 |
|
Scroll down to Waitlist Configuration and flag the Enable Waitlist for this Event check box.
|
 |
|
Enter your Waitlist Start and End Date . The start date should be set to the day registrations for the lottery opens. The end date should be set to the day you want to run the lottery, before the event begins.
|
 |
|
For Manual Waitlist Override, select Waitlist On.
|
 |
|
The Waitlist Maintenance setting will either automatically move members from the Waitlist to Registered as spots become available. Otherwise if Manual is set, then an administrator must manually move those members from Waitlist to Registered.
|
 |
|
Flag the Allow Waitlist Priority Lottery check box.
|
 |
|
Allow Members to View Waitlist will provide all members an option to view the current Waitlist.
|
 |
|
Send Waitlist Email to will allow the administrator to designate a different email address other than the default for the event.
|
 |
|
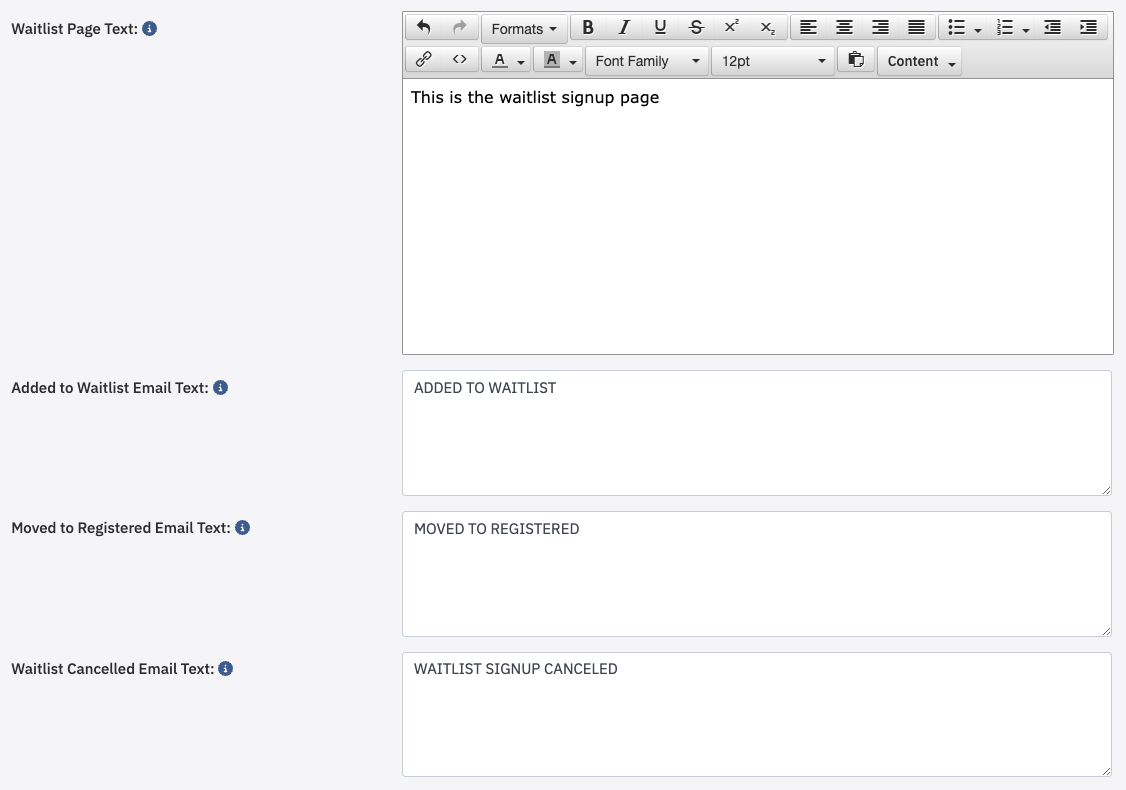
Wait Custom Text. Custom text can be added when the Waitlist is in effect - either directly on the site (first box) or as header text within the email notifications (latter 3 boxes) as indicated in the screenshot.
The custom text noted in this example was set in the General Site Config. When Waitlist was enabled, the text was pre-populated to the corresponding fields. However the text fields can be overridden at the event level.
When finished configuring the Waitlist, click SAVE.
|
 |


