Setting up Post Event Surveys
Surveys are a great way to collect information and feedback from members and show them that their opinions are valued. You can use this information to identify areas for improvement, make informed decisions, and ultimately enhance the member experience.
With Post Event Surveys, you’re able to select a survey to be sent to registrants of an event at a chosen time frame after the event ends. But before you can assign a survey to an event and have it automatically sent out, a few configuration steps must be completed.
Create a Survey
The first thing you’ll need is a survey that covers all the feedback you’d like to receive after an event. You can set up a custom survey to be used for one specific event, or a general purpose survey that can be used across any number of events.
| To create a survey, navigate to the Survey Maintenance module of MRM | 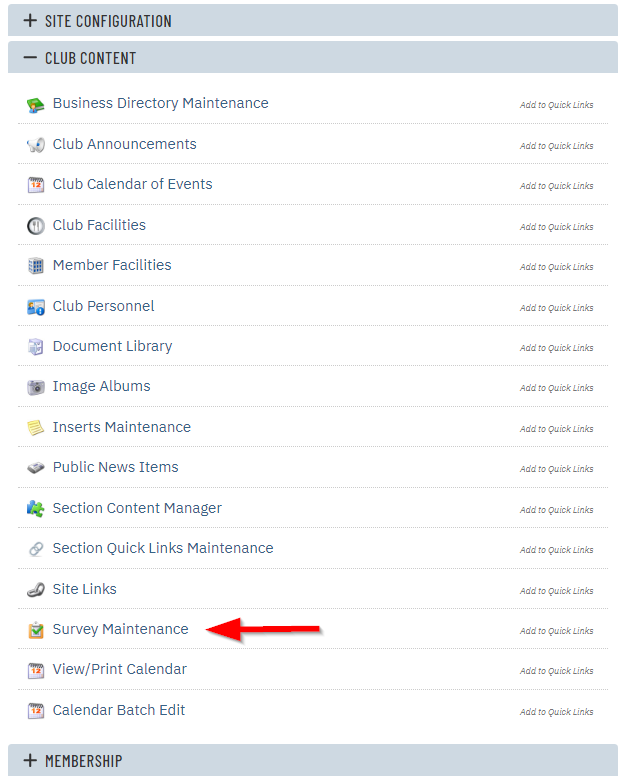 |
|
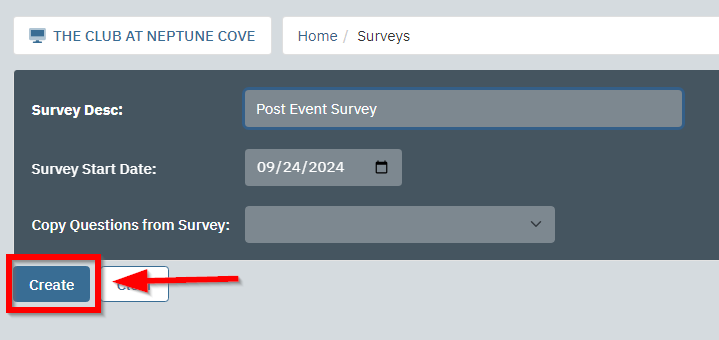
Click the New button. |
|
|
Fill out the Survey Description and click Create |
|
|
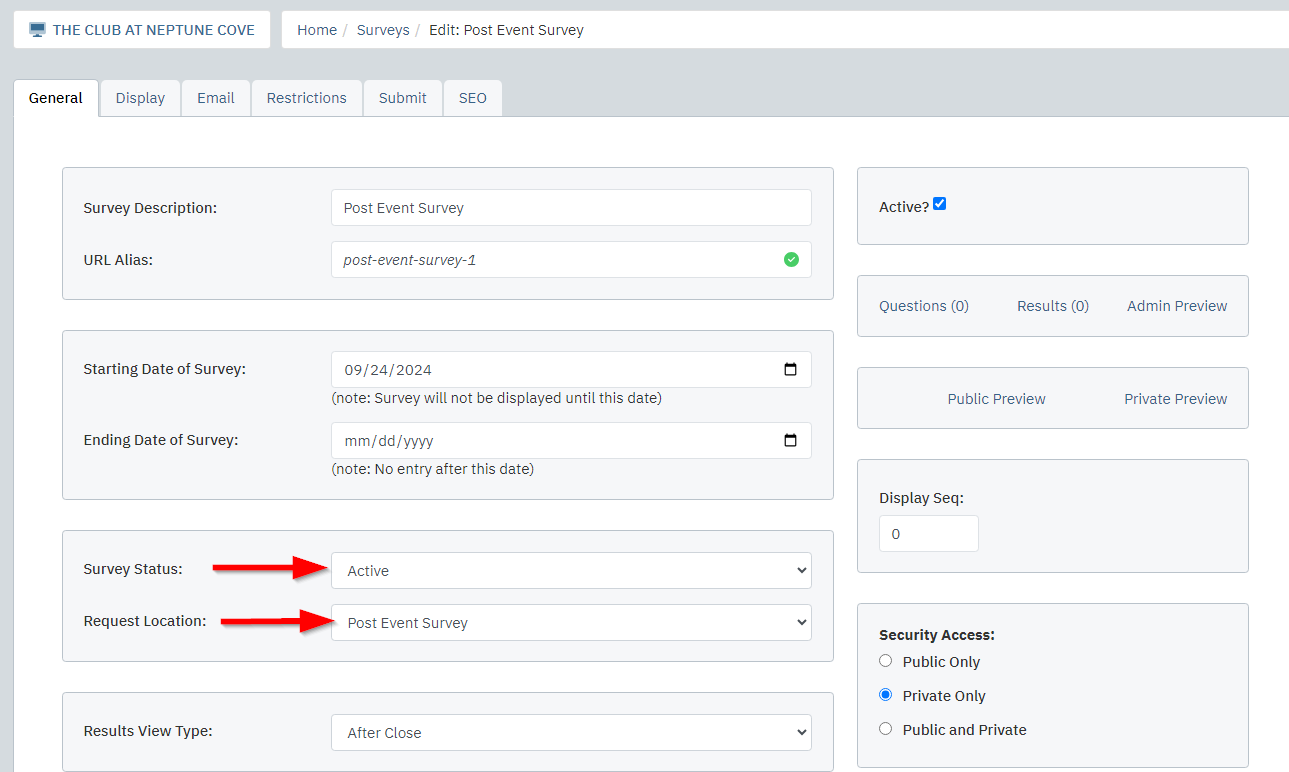
On the General tab of the survey, set the Request Location to "Post Event Survey". This will allow the survey to be selectable later when events are set up. *You also want to be sure to change the Survey Status to Active. |
|
|
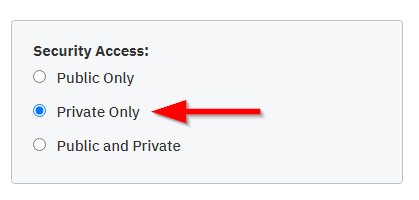
Post Event Surveys will only be applicable to private (member only) surveys. Select Private Only under Security Access. |
|
|
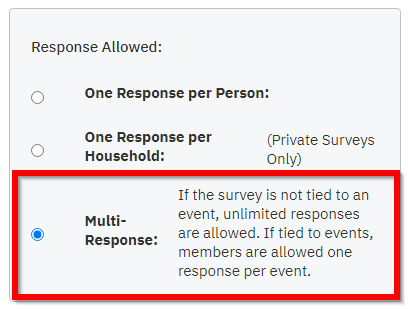
If you wish to re-use this survey across multiple events, select the Multi-Response option under “Response Allowed”. This will allow a member to respond once per event to this survey. |
|
|
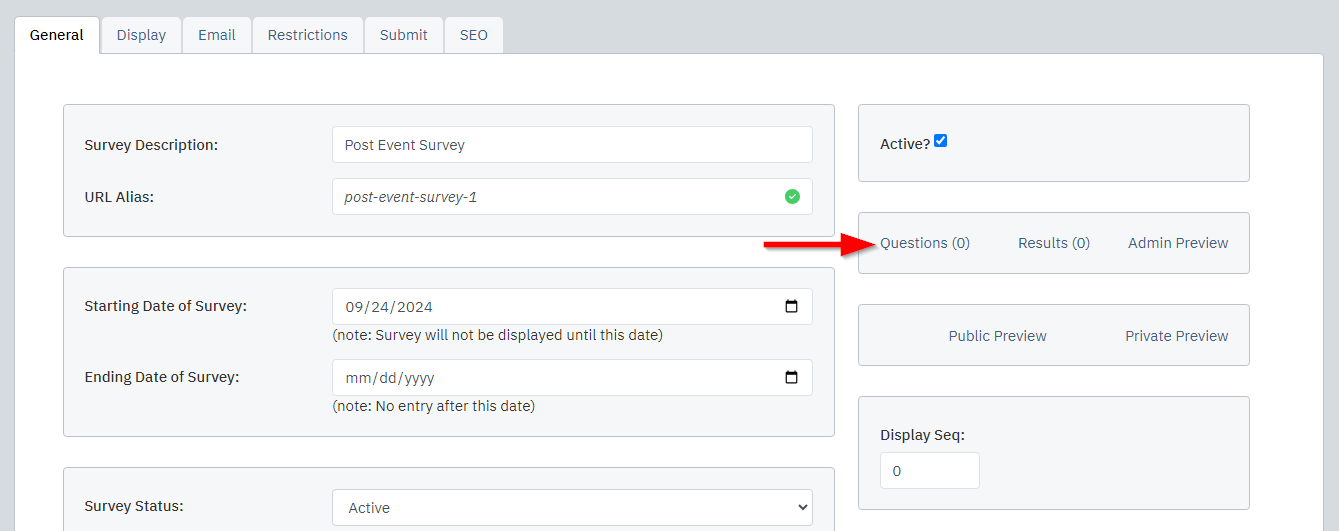
Once you’re done with the general survey settings and are ready to create survey questions, click the link for Questions and then click OK on the popup asking if you want to save changes before moving on. |
|
|
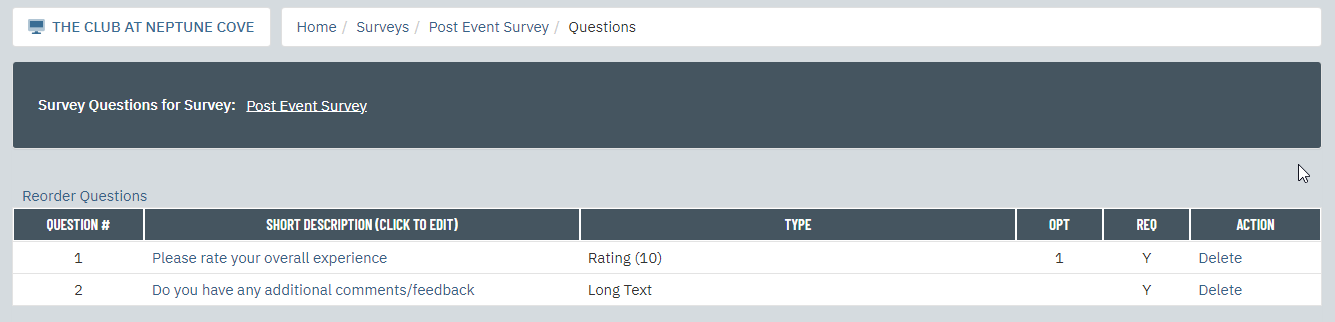
On the next page you can configure your survey questions. For a more in depth look at survey question set up, please refer to this article . Once your questions are complete, the survey is ready for testing. |
|

Create a Distribution Group
Now that the survey has been created, you can move on to setting up the automated email to send a link of the survey to members following the event. Every Automated Recurring Message has to be tied to a Distribution Group . If you do not already have a Distribution Group for “All Active Members” now is a good time to create one.
Please follow the steps outlined in our article How to Setup a Distribution Group for All Active Members to create the Distribution Group.
Or you may want this survey to only apply to a subset of the membership. If that is the case you can use the recipient options inside your Distribution Group to narrow the selection of members.
Create an Automated Recurring Message
Once a Distribution Group has been created, it’s time to set up the Automated Recurring Message (ARM) that registrants will receive, linking them over to the survey.
We’ll focus on building an Automated Recurring Message for the specific purpose of sending a Post Event Survey. For more information about Automated Recurring Messages, see this article .
|
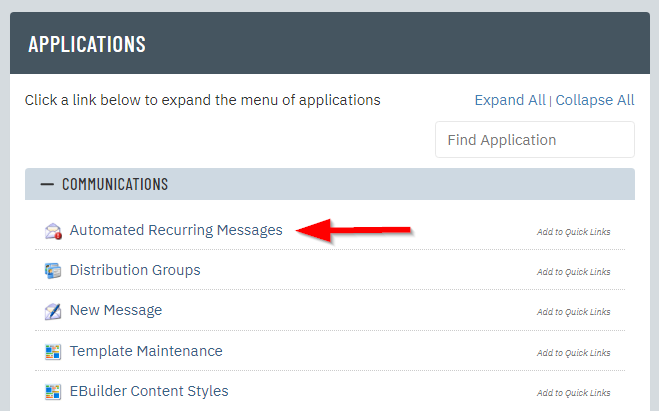
Navigate to the Automated Recurring Messages application. |
|
|
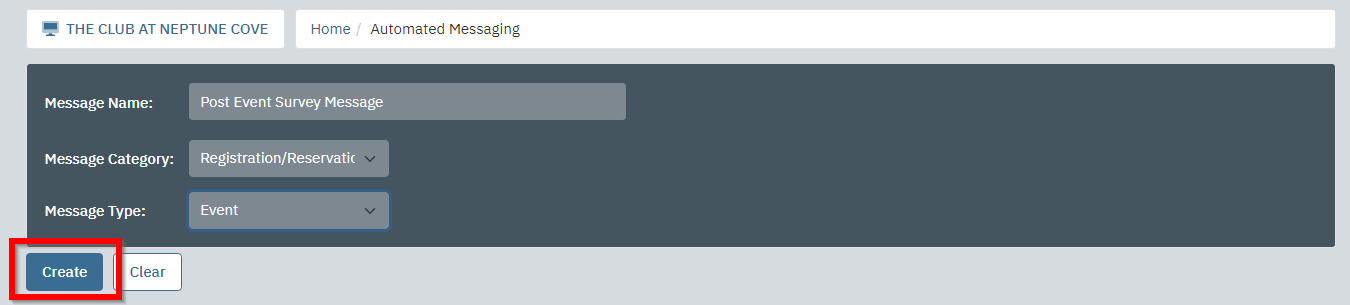
Click New on the top and then fill in the Message Name, Category and Type. Your Message Category should be set to Registration/Reservation and your Message Type is Event. Then click Create. |
|
|
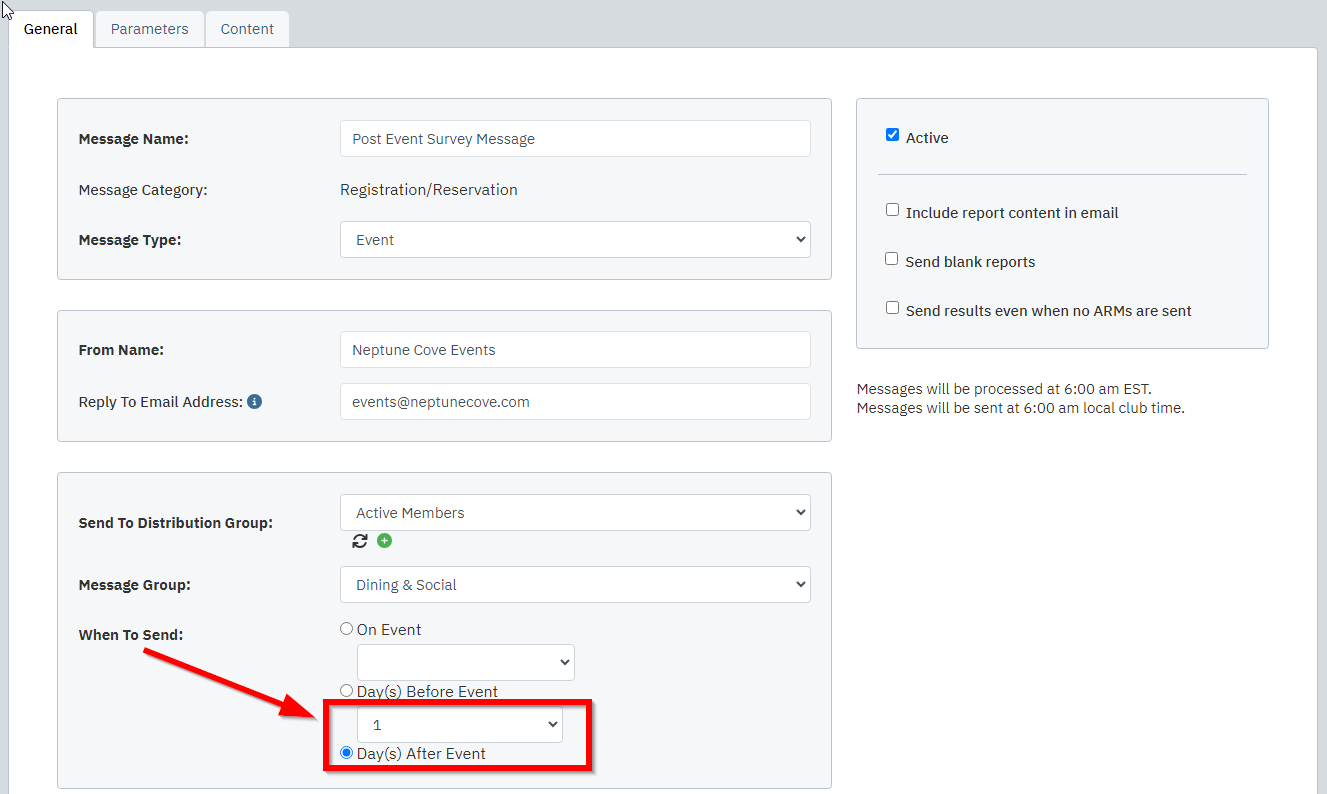
On the General tab, set your Distribution Group, From Name, and Reply to Email Address. In the When to Send area, you can select how many days after the event to send the message. In this case, we set it to send 1 day after the event date. |
|
|
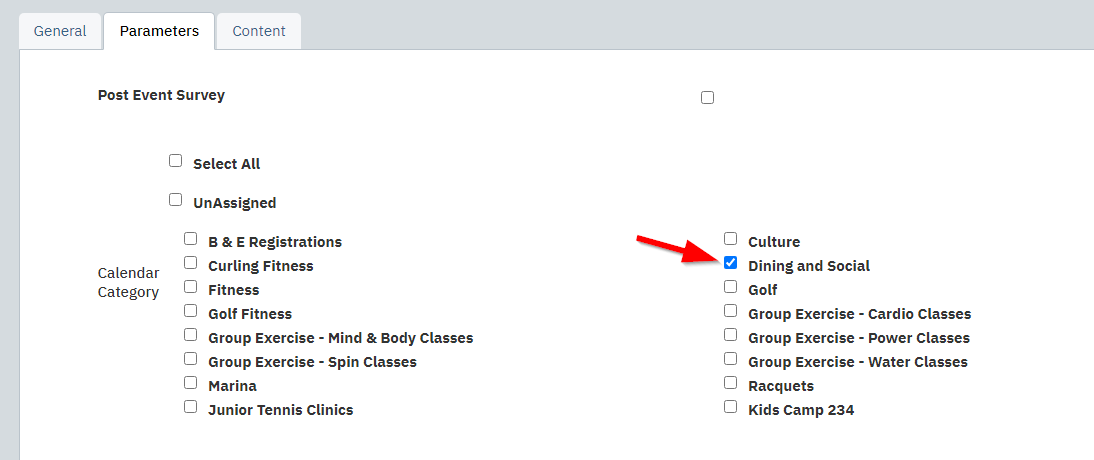
On the Parameters tab, you can narrow down which events and registrants you want to send this message to by Calendar Category, Registrant Type, and more. Important: If you only want this message sent for events that have a Post Event Survey attached, select the checkbox for Only Send if Event has Post Event Survey. If this checkbox is left unchecked, be aware that registrants of events with no attached survey will also receive the message. |
|
|
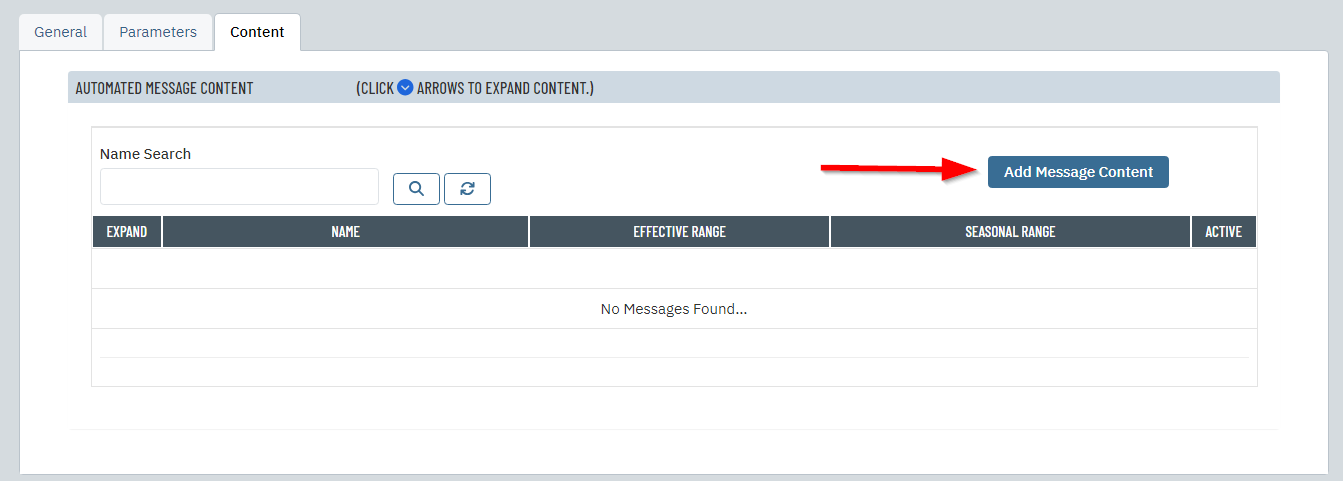
On the Content tab you will be creating the message body to be sent to the members. Click Add Message Content to start. |
|
|
Fill out the message content including the Name of the message and Subject Line (the name is for internal reference only). |
|
|
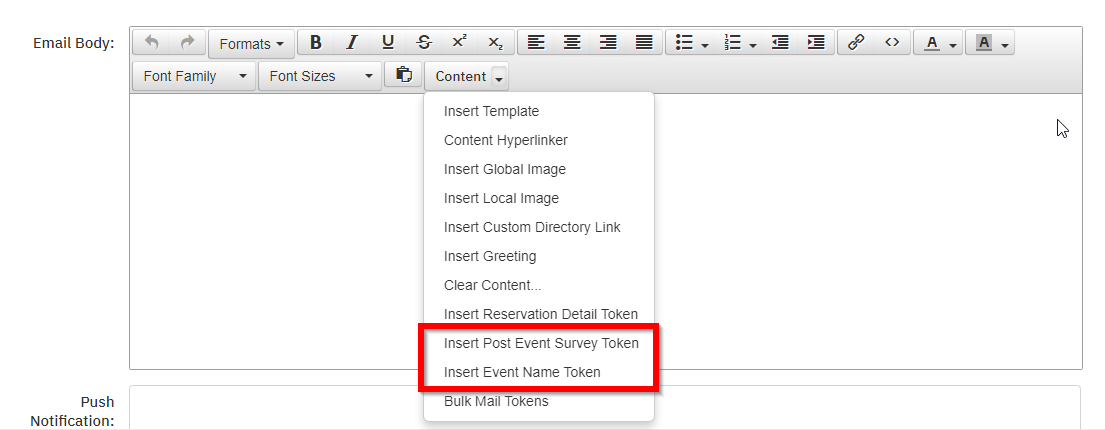
There are two options now available in the Email Body’s Content dropdown. Insert Post Event Survey Token: This will insert a token that displays to message recipients as a link directing them to the survey specific to the event they attended. Insert Event Name Token: This token will display the event name for whichever event the recipient attended. It can be used in both the email subject line and body. |
|
|
Note: The default text displayed to members for the survey link is “Take Event Survey”. However, this can be customized using the Survey Link Text field below the Email Body editor. |
|
|
With these tools, you can customize the email to your liking. |
|
|
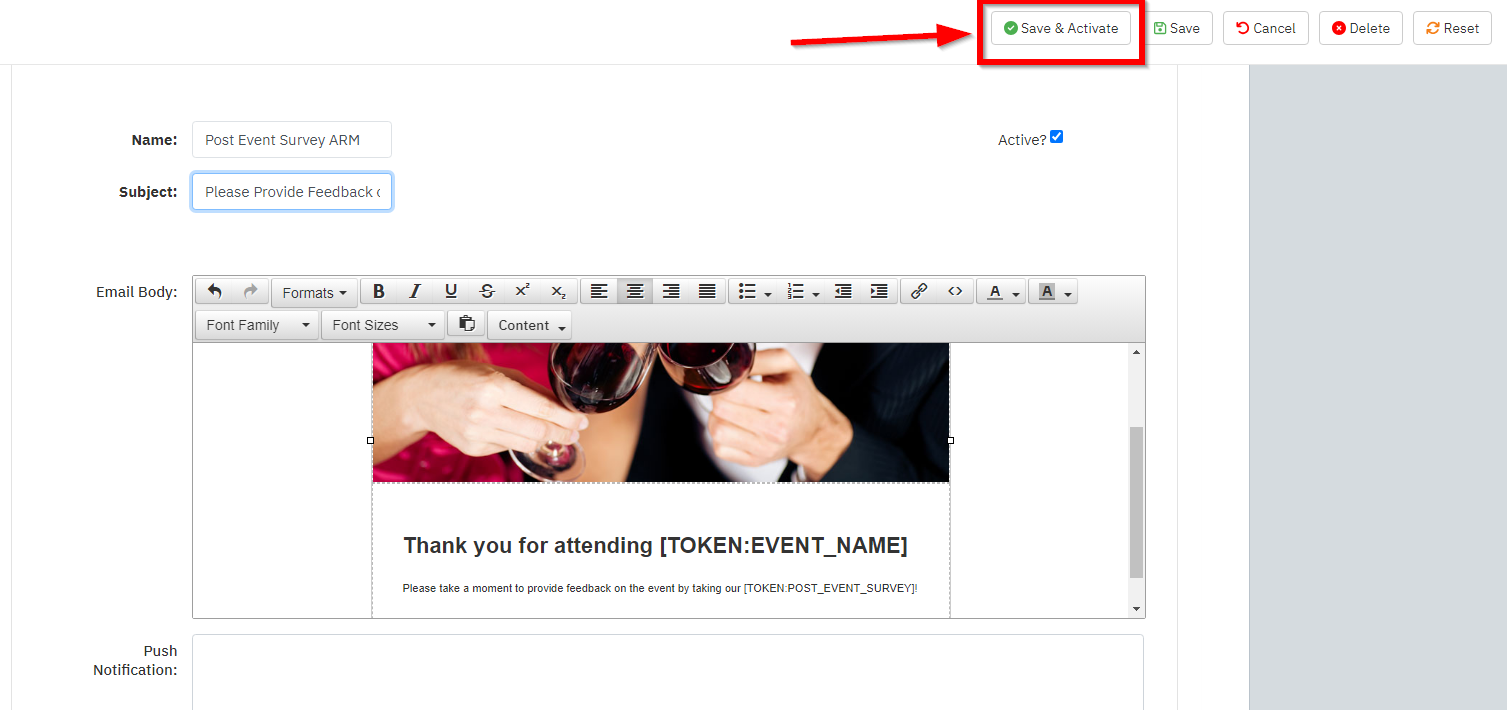
Now that the content is all set, you can click Save & Activate on the top to activate your new Automated Recurring Message. |
|


Link the Survey to an Event
Now that we’ve set up our survey and our Automated Recurring Message, verything is in place to start using the survey as a Post Event Survey. In order to do this, we simply need to choose the survey as a Post Event Survey when setting up an event.
|
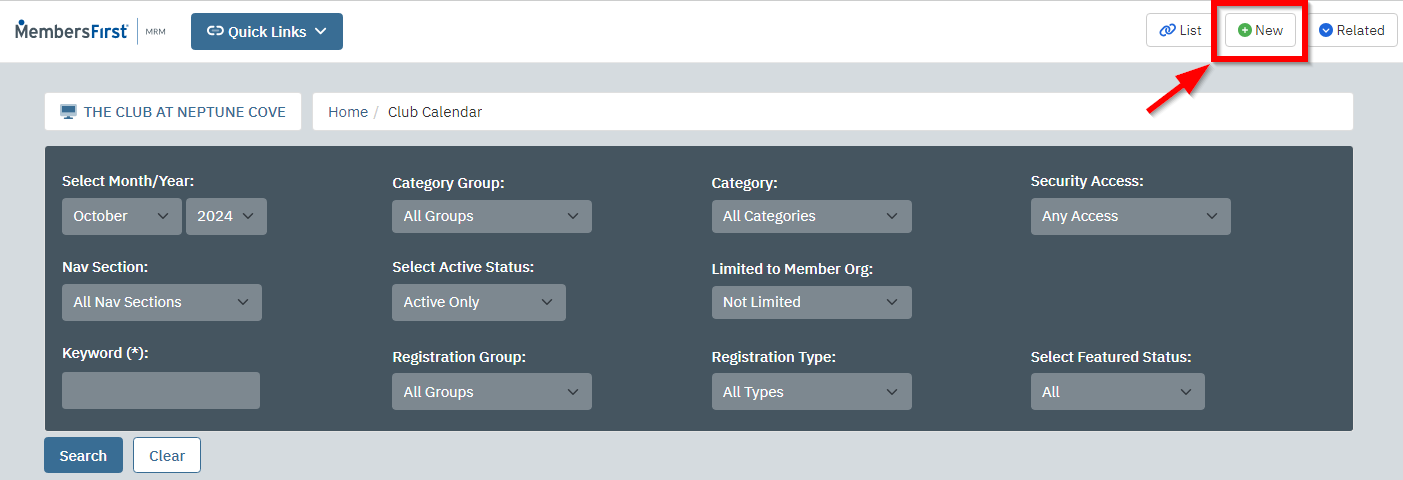
Go to the Club Calendar of Events module and create a new event or edit an existing one. |
|
|
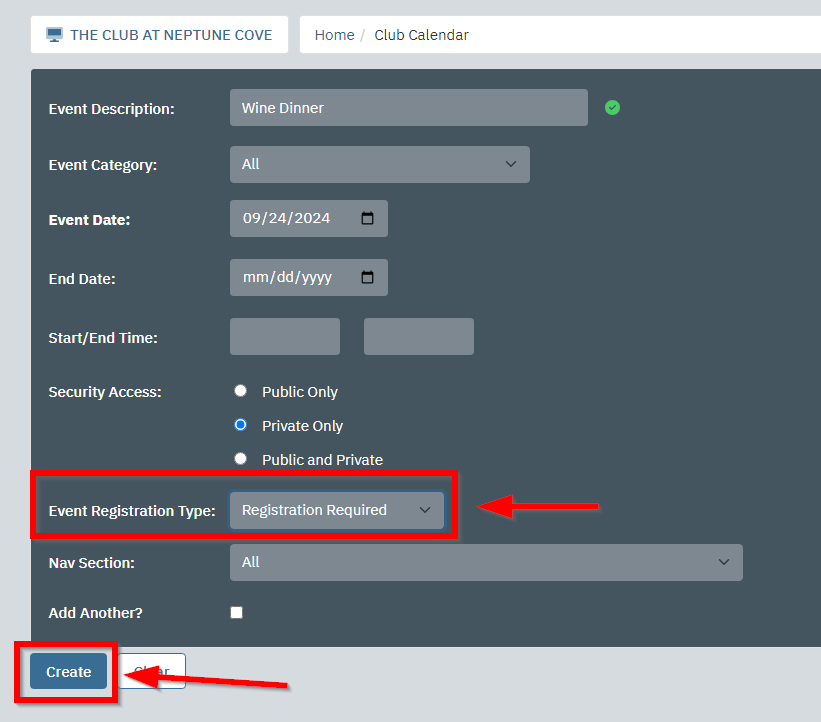
Select Registration Required for the Event Registration Type so that the registrants to send the message to will be collected. Then click Create. |
|
|
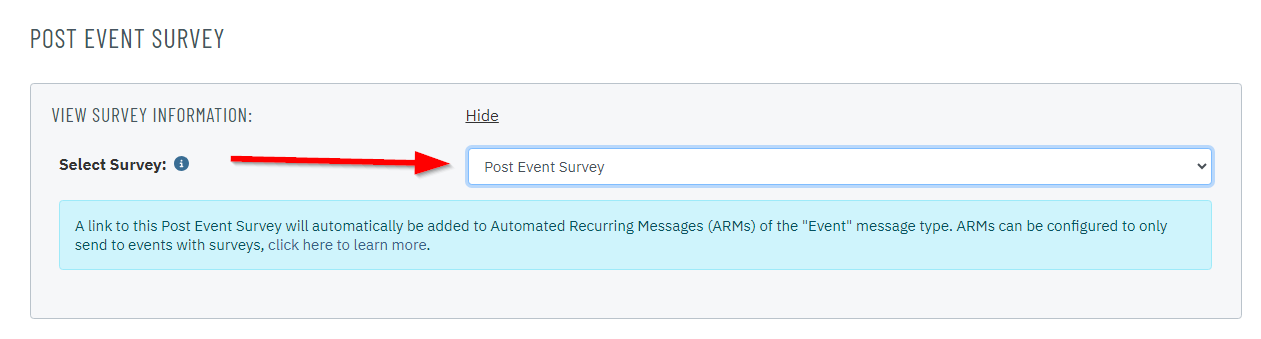
On the Registrations tab, you’ll see a setting labeled Post Event Survey. Click the show link to expand this setting. Here, you’ll see a dropdown that will pull in all surveys eligible to be used as Post Event Surveys. Once you select your survey, save your event. At this point, everything is set up for registrants of this event to receive the Post Event Survey message however many days after the event you chose in the Automated Recurring Message settings. |
|


Checking for Sent Messages
|
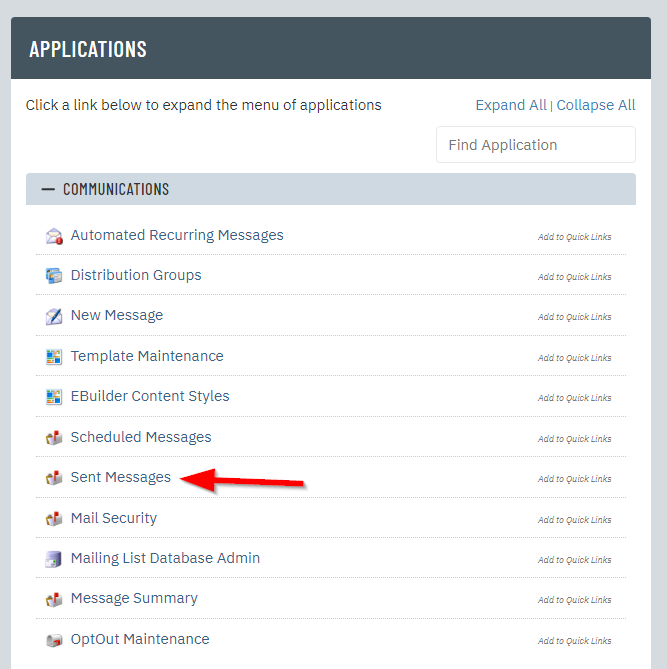
After the survey, message, and event(s) are set up and the selected number of days has passed, you’ll want to check and make sure your members are receiving the messages correctly. Open the Sent Messages application on the admin side. |
|
|
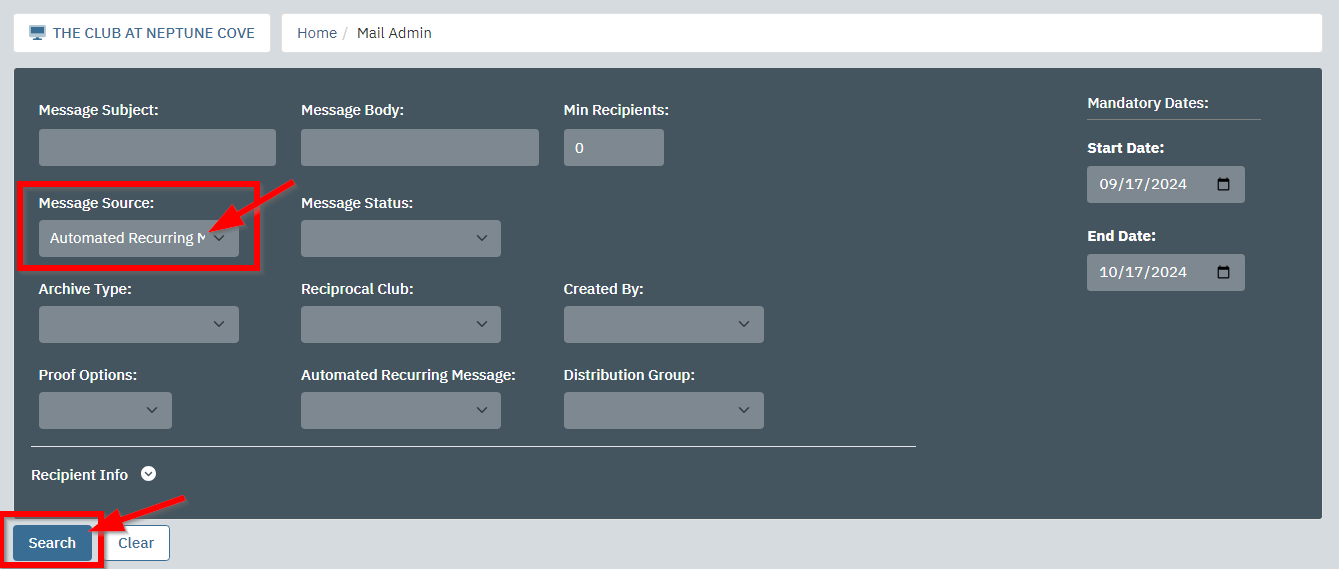
In the yellow filter area change the Message Source to be Automated Recurring Messages and then click search. |
|
|
Look for the subject line of the Automated Recurring Message you set up. You can click on this to view the recipient details. |
|