EBuilder Content Styles
With Content Styles, the EBuilder now provides quick access to preferred styling options. If you’ll be using the same styles frequently, including colors, fonts, sizes, and more, set up a custom preset once and speed up your process so you’re not selecting styles manually with each piece of content you add. Create as many presets as you like to establish separate styling preferences for different themes/departments/categories.
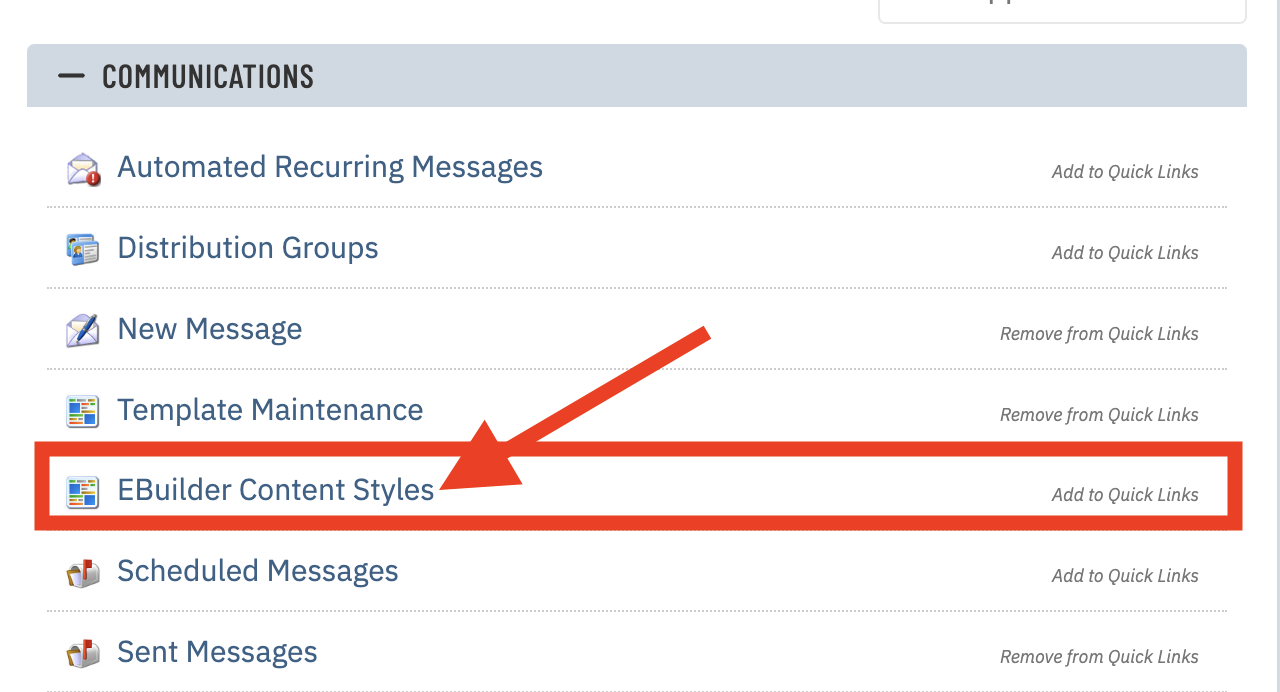
Log in to the Admin Homepage of your site and open the "EBuilder Content Styles" application under "Communications" (optionally click "Add to Quick Links" to add this module to your quick links area) Note: Custom admins may need to have permission turned on to access this module. |
 |
| This will display any EBuilder Content Styles that have been added into the system.
You can edit an existing one by clicking on the EBuilder Content Style Name. To create a new one, click on the +New button in the top-right of the page. |
 |
| Create a EBuilder Content Style Name and click the Create Now button. |  |
Once created, you will be able to view and edit the settings for the following items in the EBuilder Content Style:
|
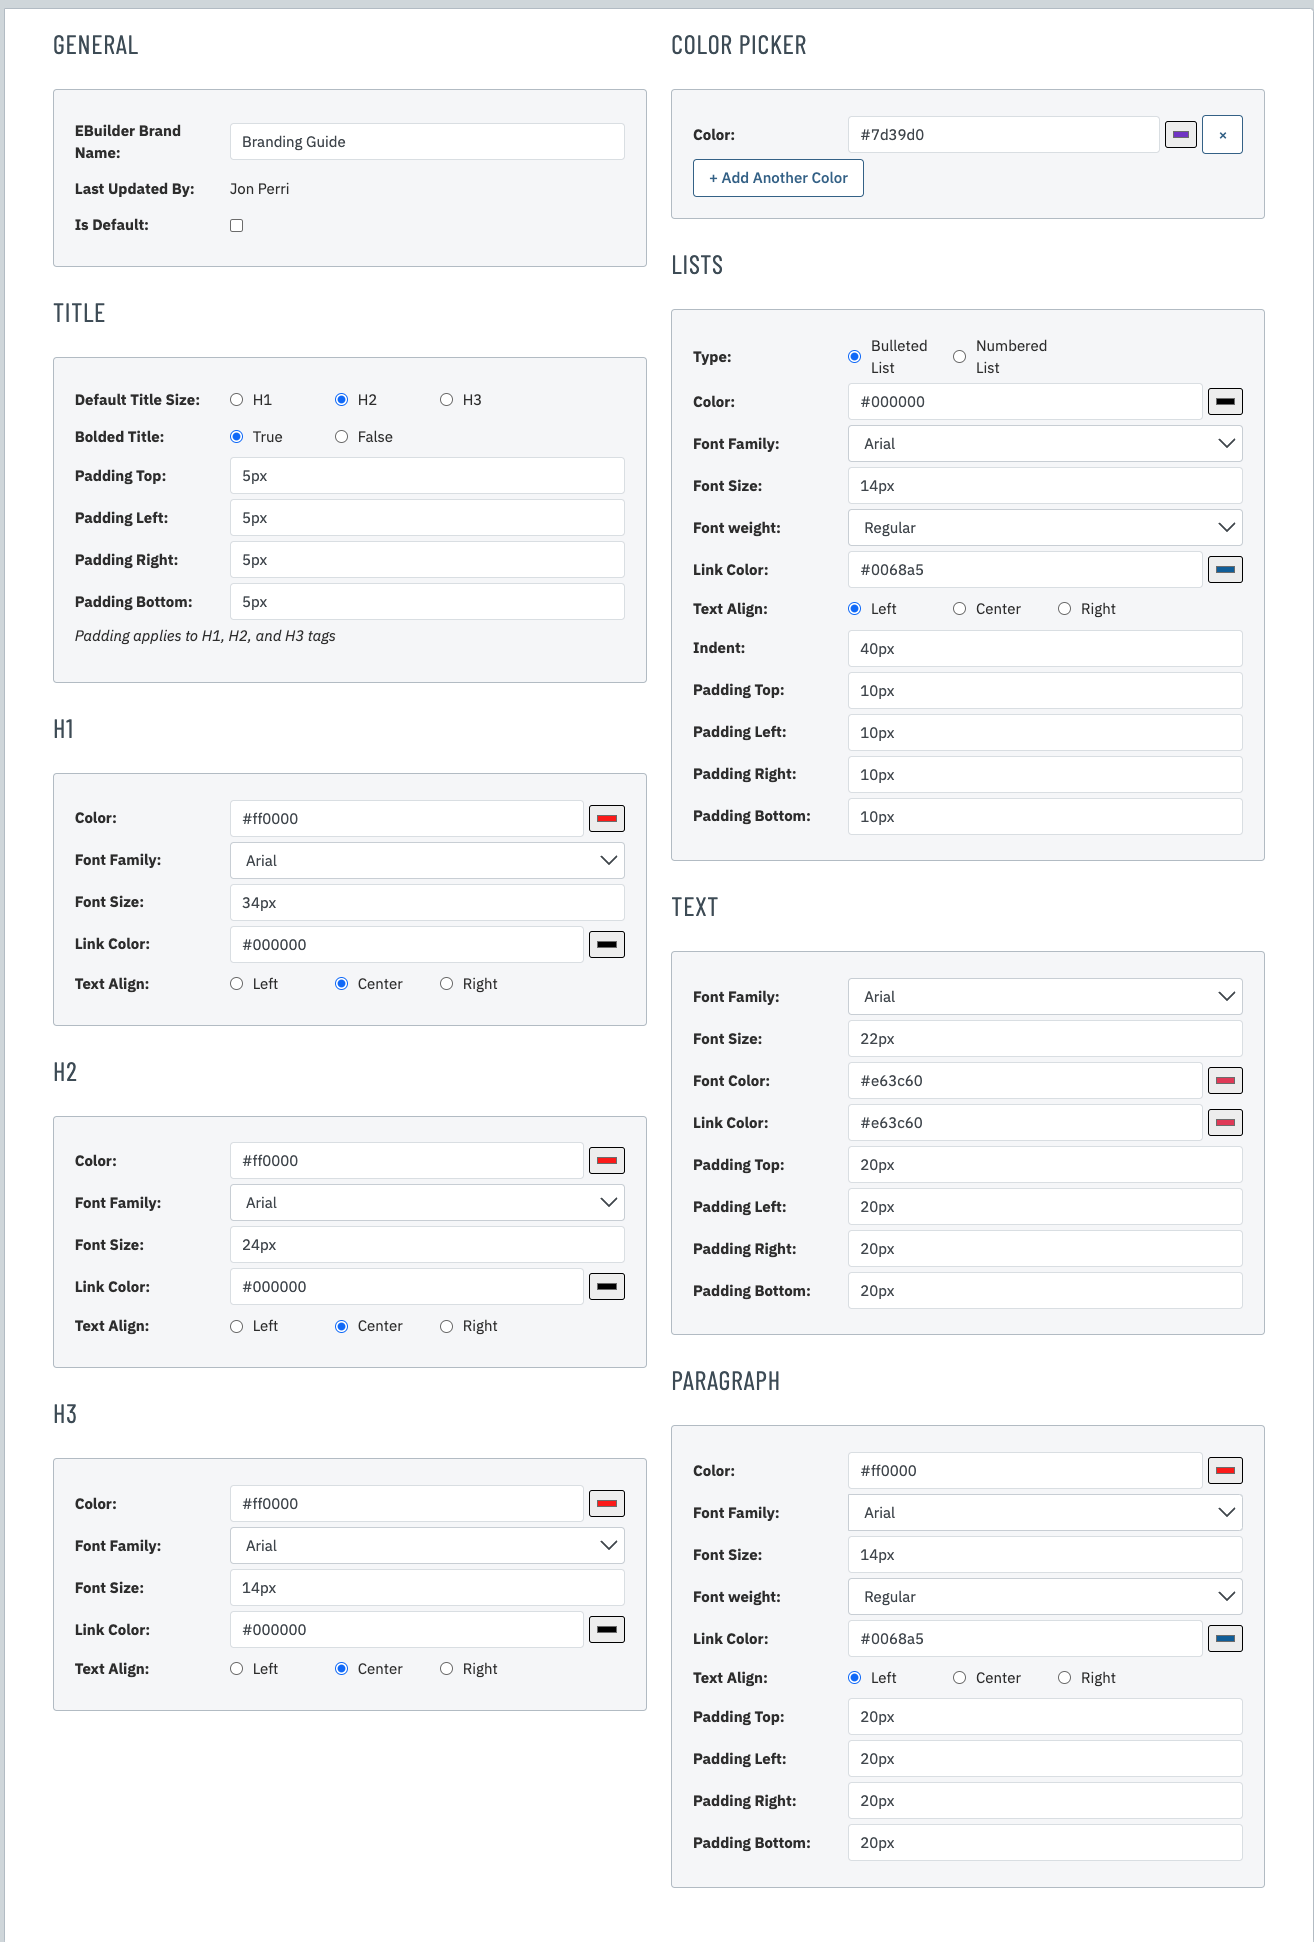 |
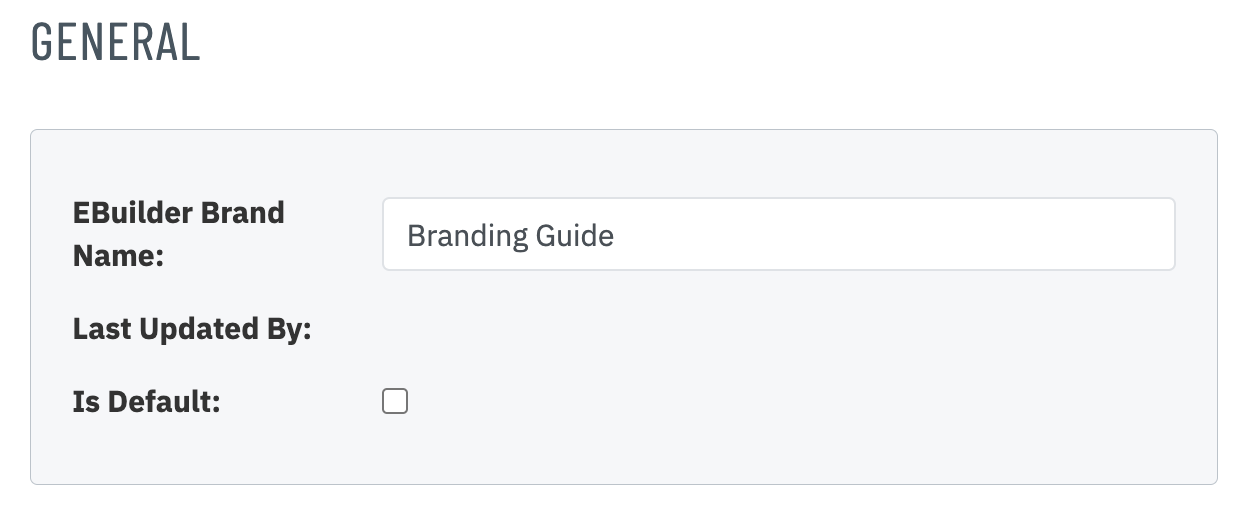
The General settings control and display the:
|
 |
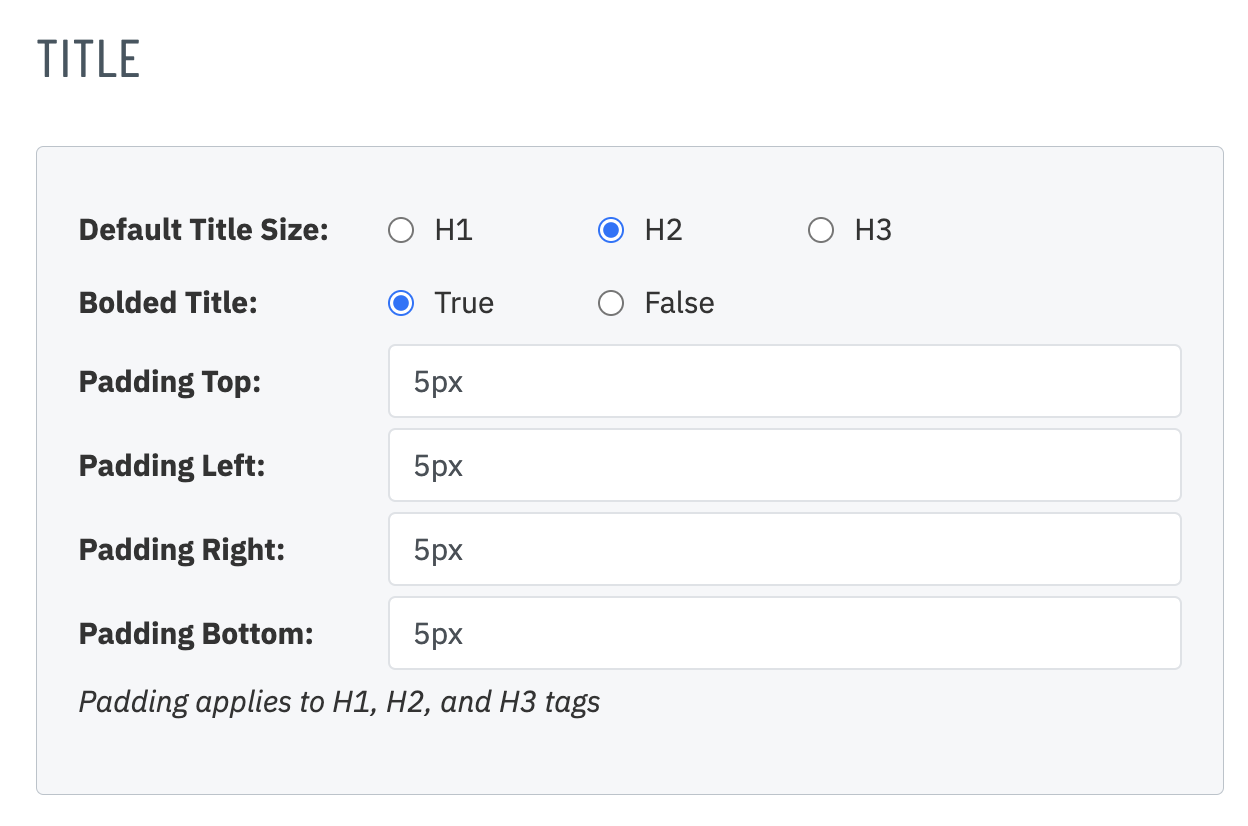
The Title settings control and display the:
|
 |
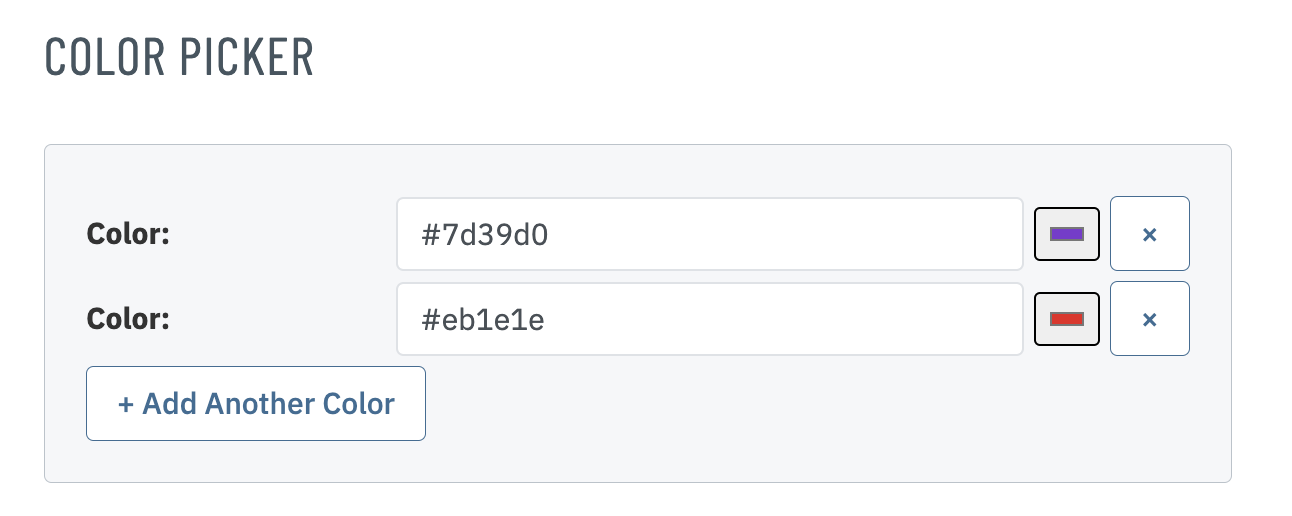
| The Color Picker settings allows you to edit and add the default colors to the EBuilder editor. These will appear as color swatches under the recently used colors when accessing the color selection tool within the EBuilder. |
 |
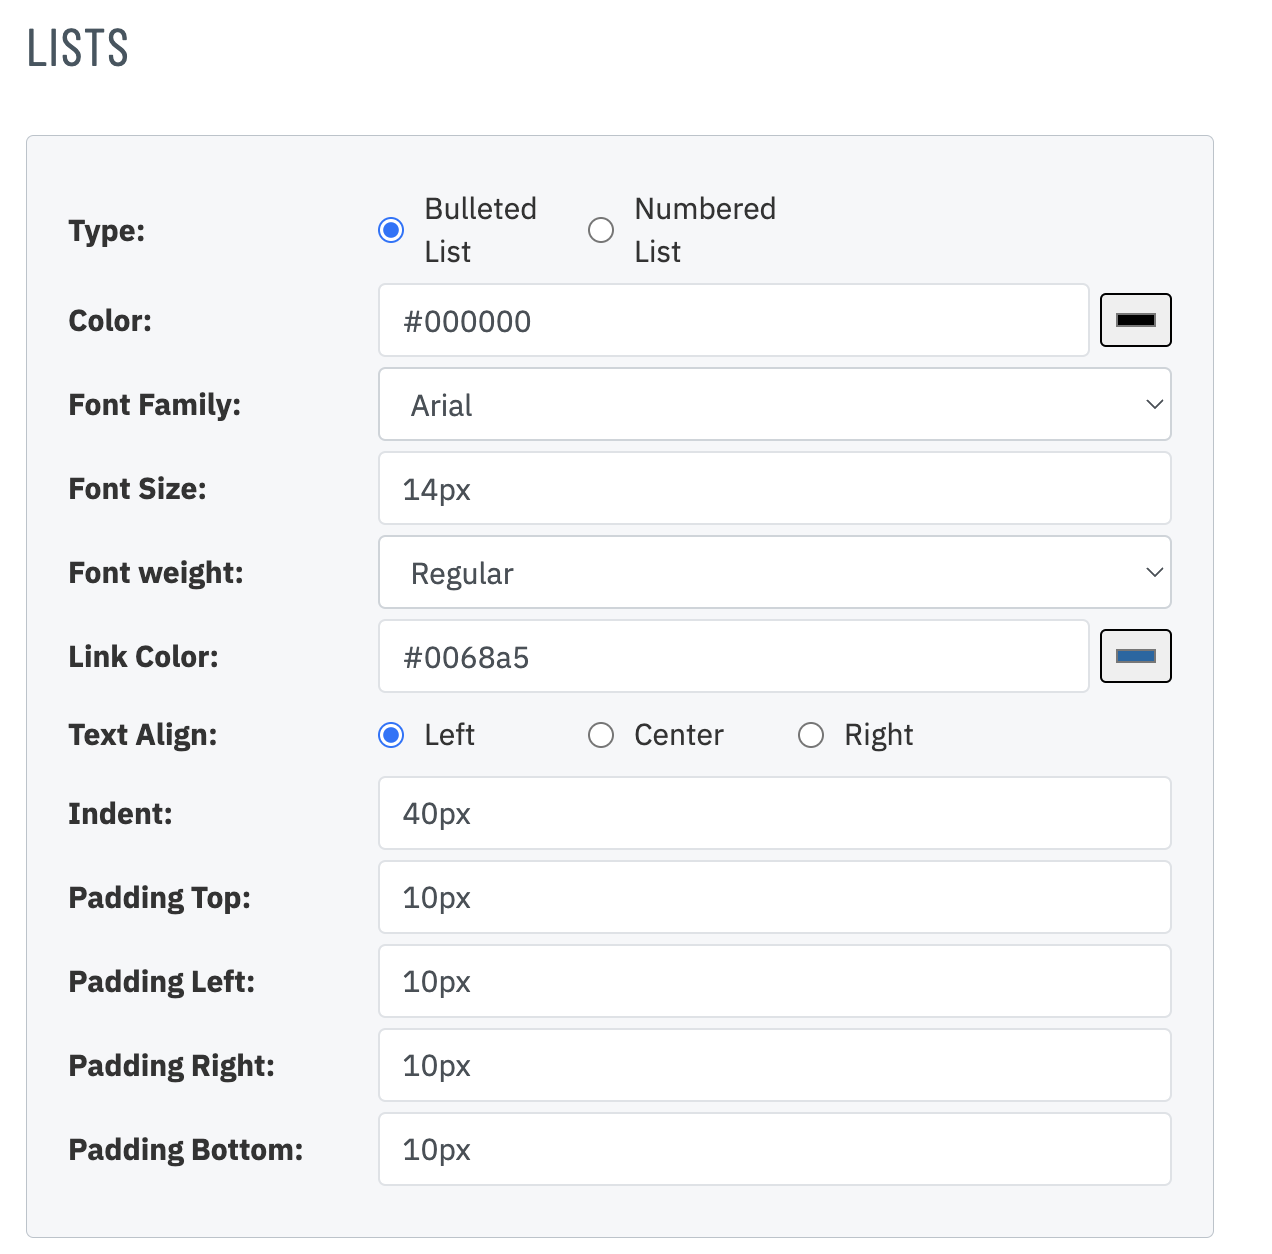
The Lists settings control and display the:
|
 |
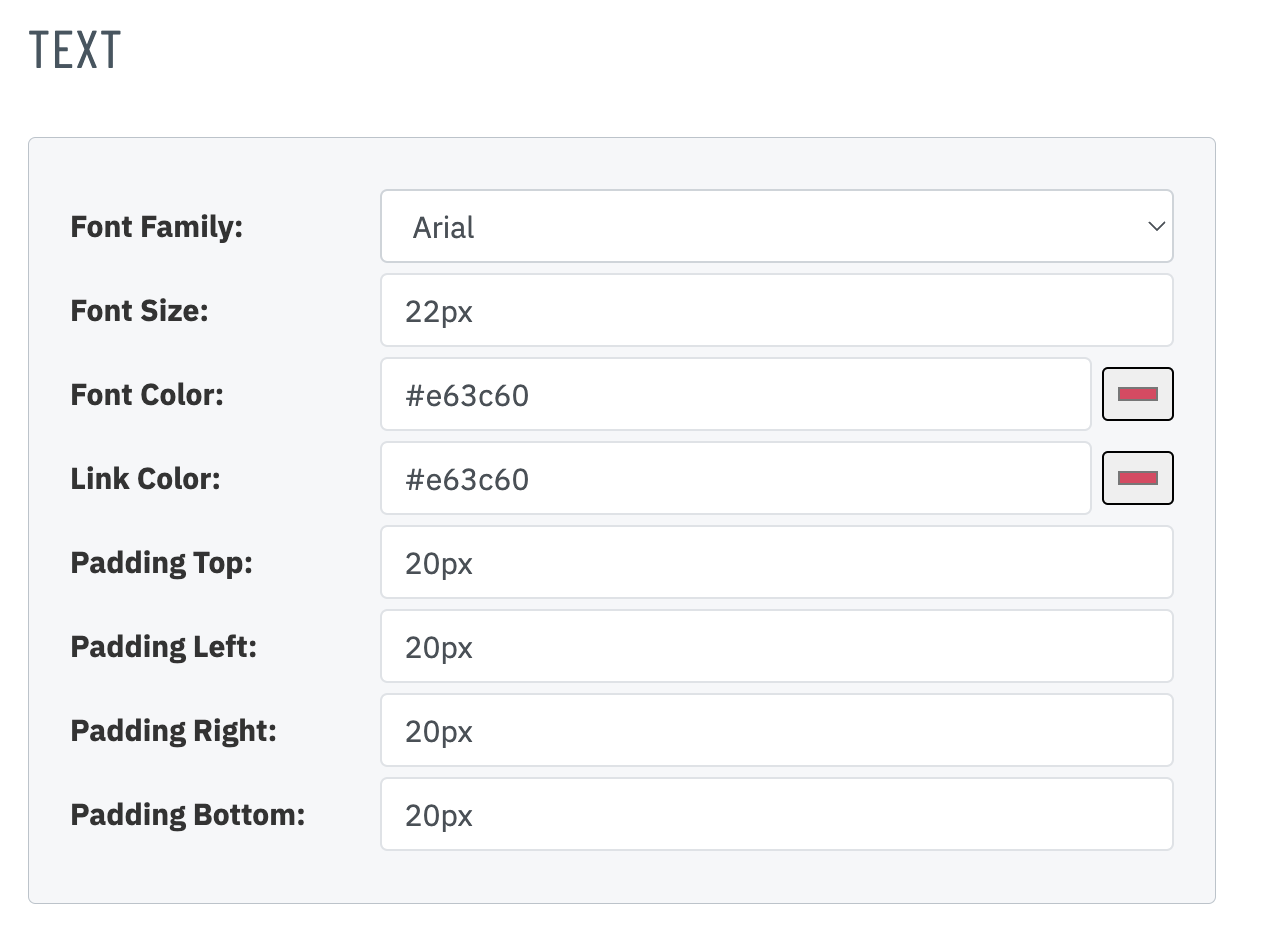
The Text settings control and display the:
|
 |
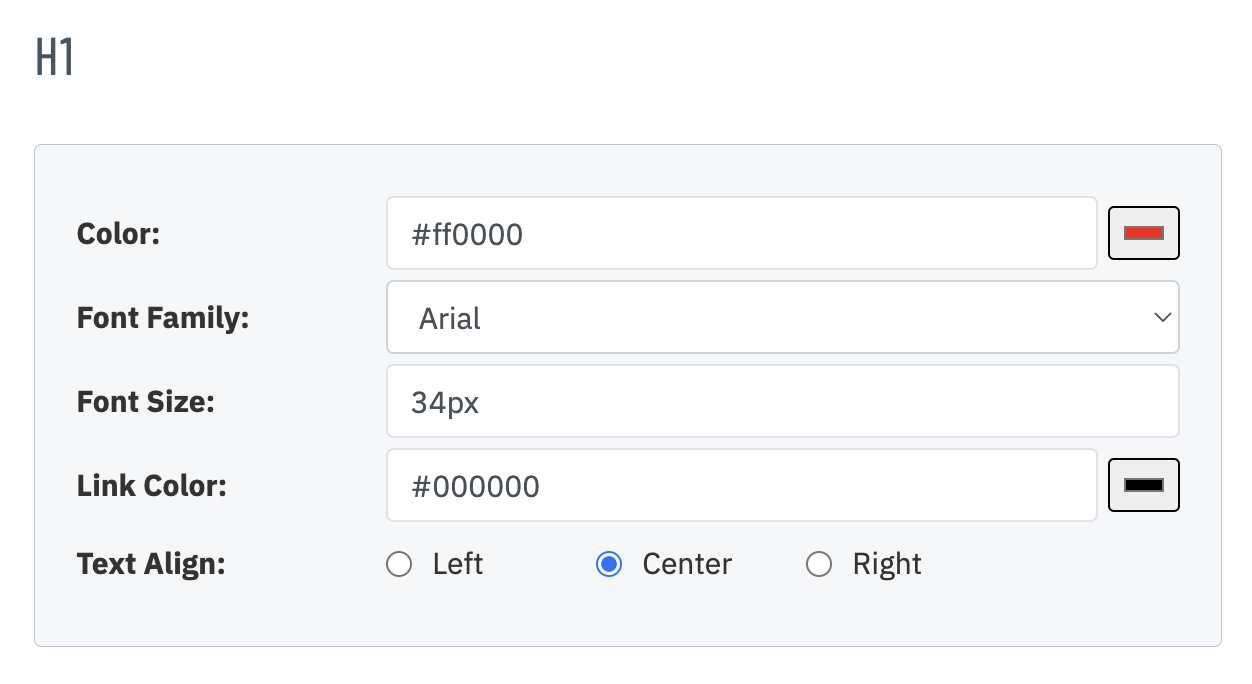
The h1 (Heading 1) settings control and display the:
|
 |
The h2 (Heading 2) settings control and display the:
|
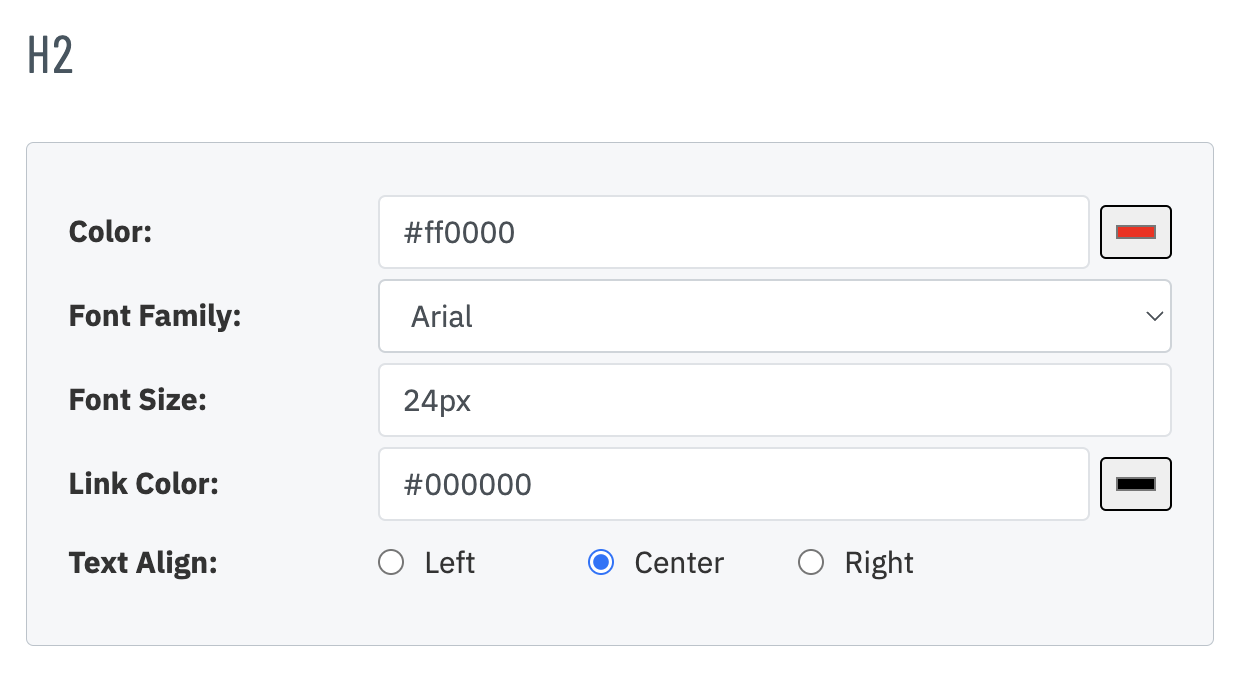 |
The h3 (Heading 3) settings control and display the:
|
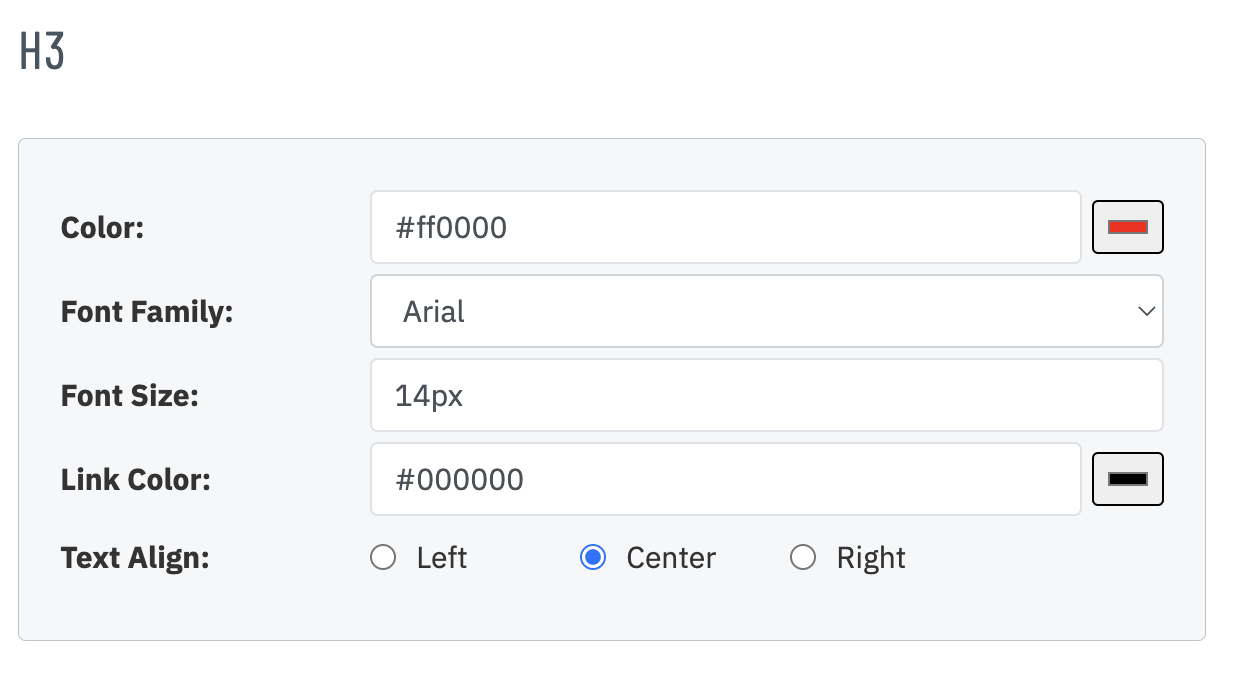 |
The Paragraph (Heading 3) settings control and display the:
|
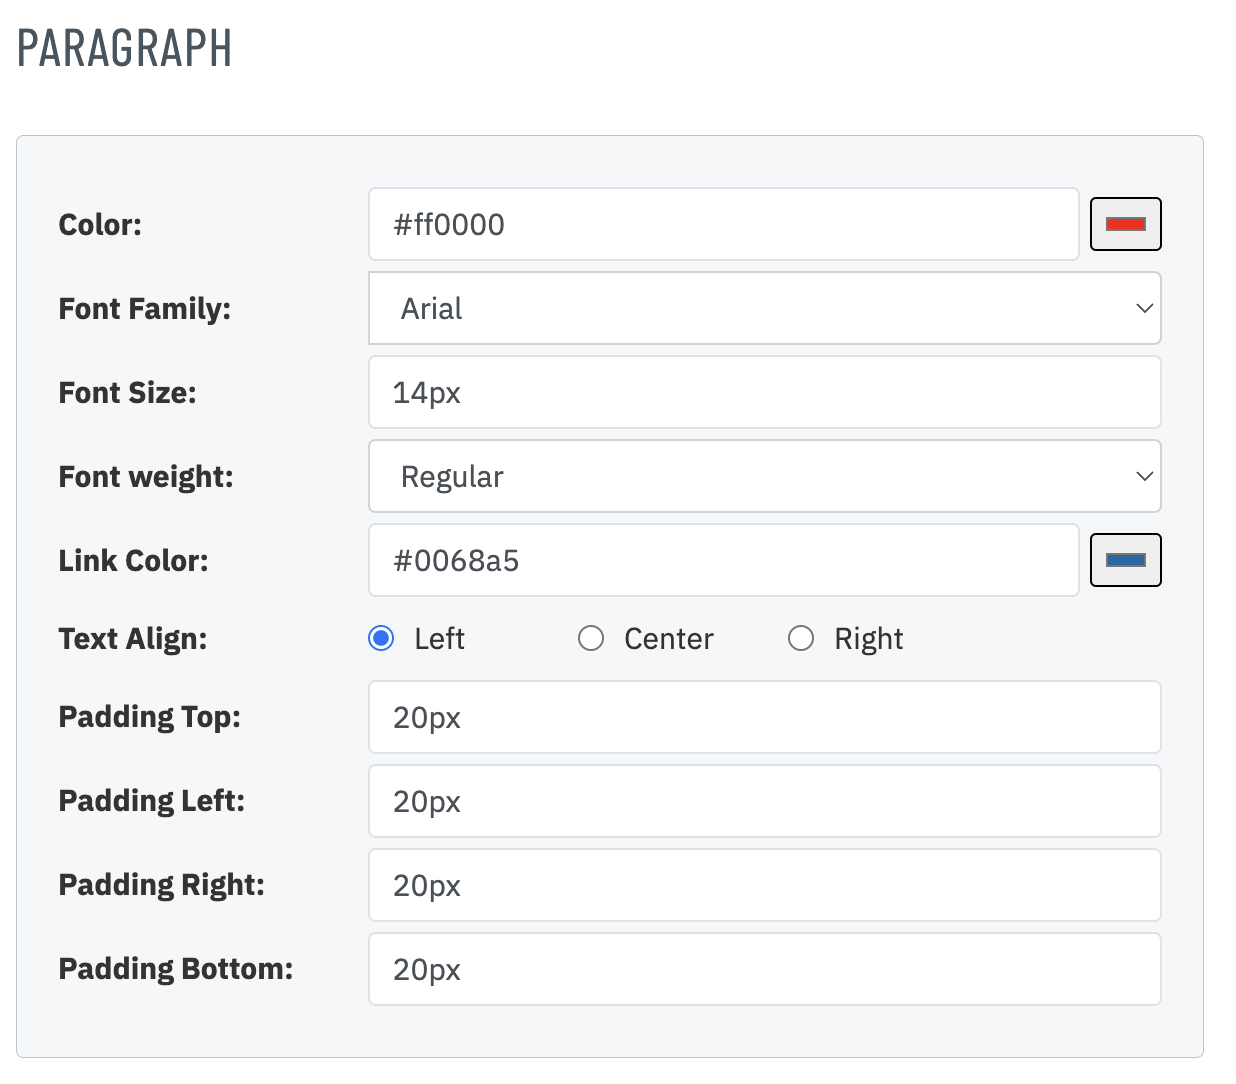 |
| Once your settings are configured, you can click on the Save button at the top-right of the page to save this EBuilder Content Style. |  |
| When editing a template or email draft, use the Content Style dropdown to select the style preset you’d like to use. All content added from that point forward will have your styles automatically applied. |  |
| Once your Content Style has been chosen save the email. Now when you add content to your rows they will be pre-styled to match your settings. Also look for your chosen colors in the swatches palette. | 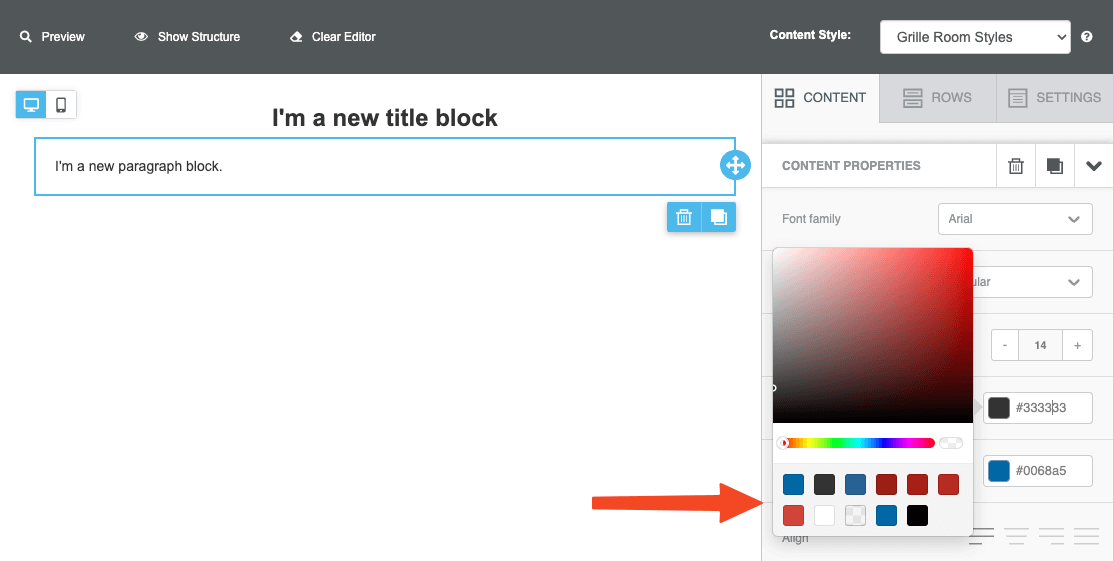 |