How to Create Billing Codes
This is the first article in a series on how to set up billing for your events. To continue to the next article, click here »
First you need to create Billing Codes so MRM knows what to charge your members and guests. These codes should match existing sales items in your point of sale solution.
Example:
- Sales Item #101 is Easter Brunch Equity Members $65
- Sales Item #102 is Easter Brunch Social Members $80
- Sales Item #103 is Easter Brunch Family Guest $90
- Sales Item #104 is Easter Brunch Unaccompanied Guest $100
Tip: Take this time to clean up your billing items in your point of sale solution. Note that at this point the pricing will be the price you have listed in your POS solution. In the example above, the unaccompanied guest rate is $100, however your guests will be billed $120 if that is the price you have listed in your POS system.
| First, locate the sales item(s) in your point of sale solution, such as Jonas Encore or Jonas JCM. It will be helpful to have this page open for reference as you add billing codes to MRM. | |
| In MRM, go to Applications > Advanced Configuration > Codes Maintenance and select Billing Codes for Event Registration. | 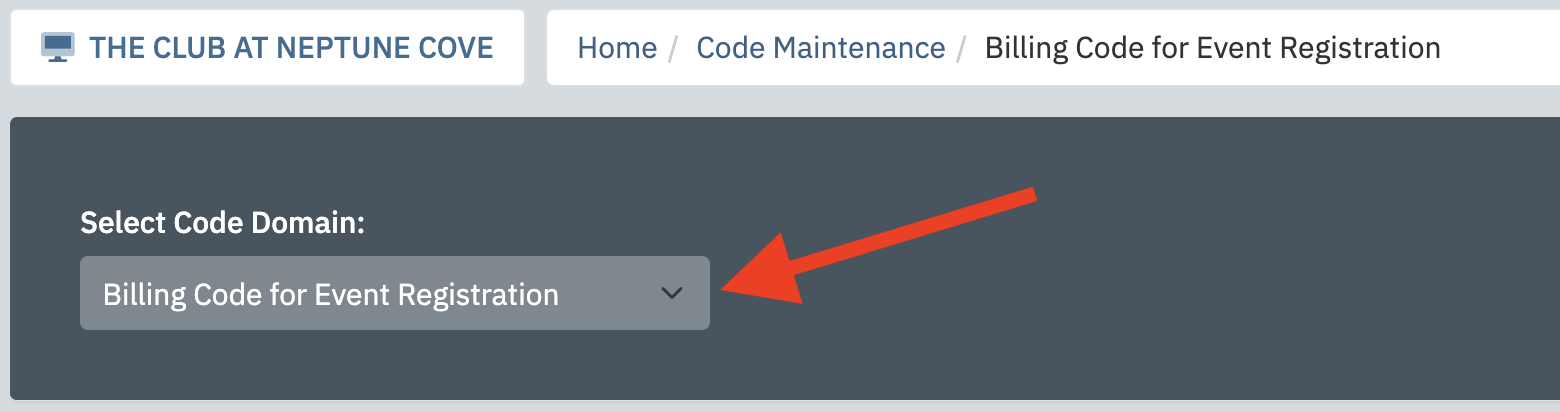 |
| Enter a code, description, and display sequence for your billing code and click Add Code. We recommend using the same code and description that appears in your POS solution. | 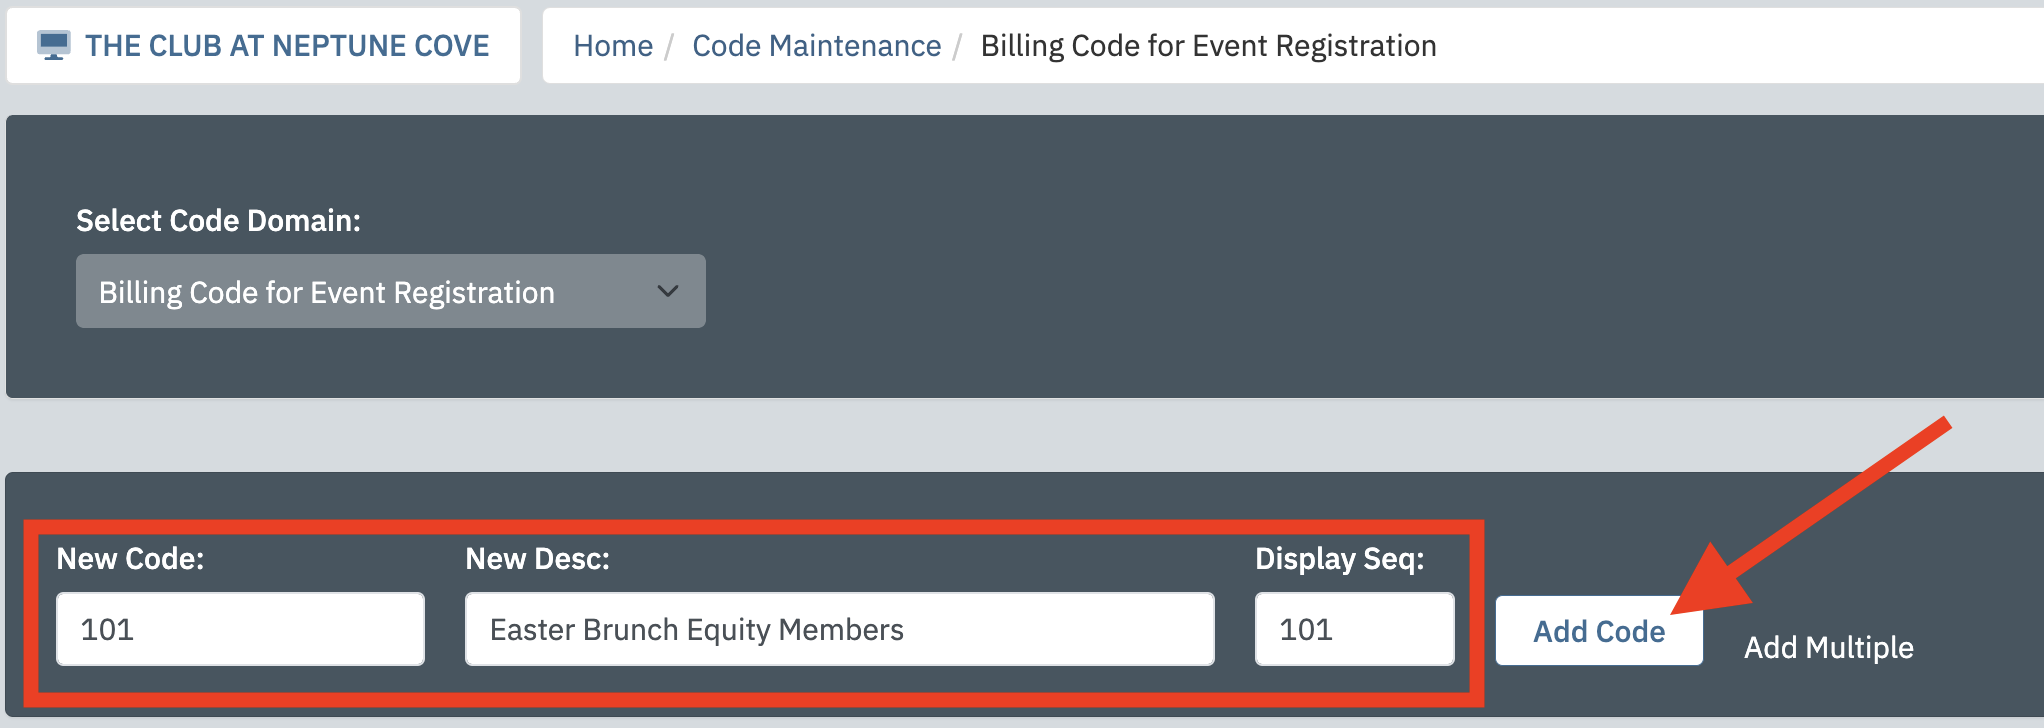 |
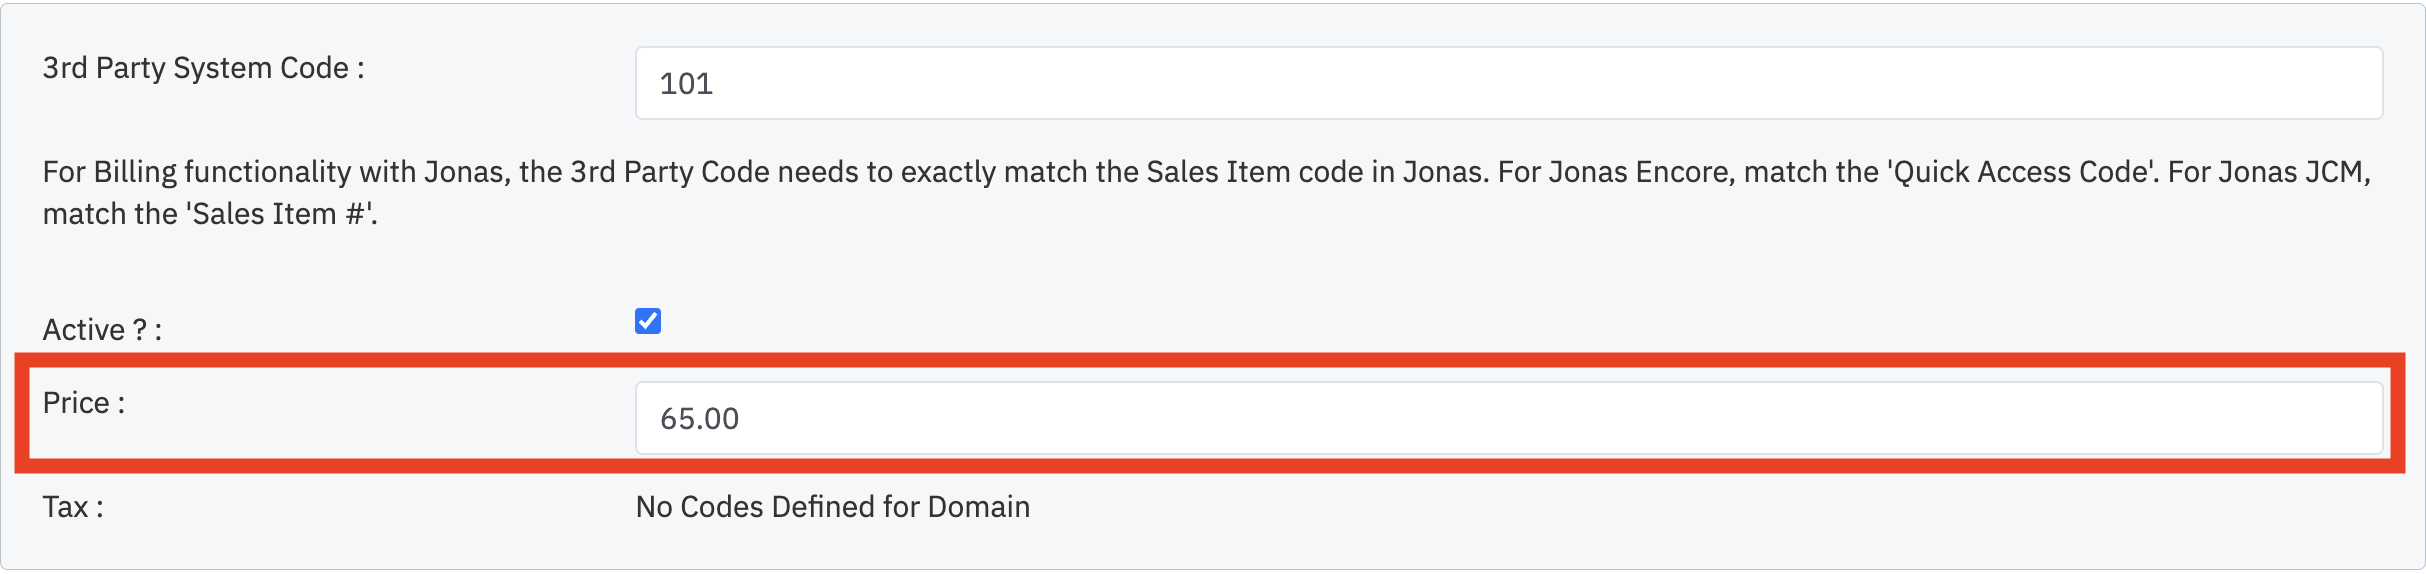
Enter the 3rd Party System Code exactly as it appears in the POS system. For instance, in Jonas JCM, it should match the "Sales Item #" value. In Jonas Encore, it should match the "Quick Access Code" value. |
 |
| Enter the Price exactly as it appears in the POS system.
Note: In Jonas programs, Members will be charged the price that exists within Jonas. The price in MRM is only used for display during registration and check-in. |
 |
| Flag the billing code as Active and click Save. | 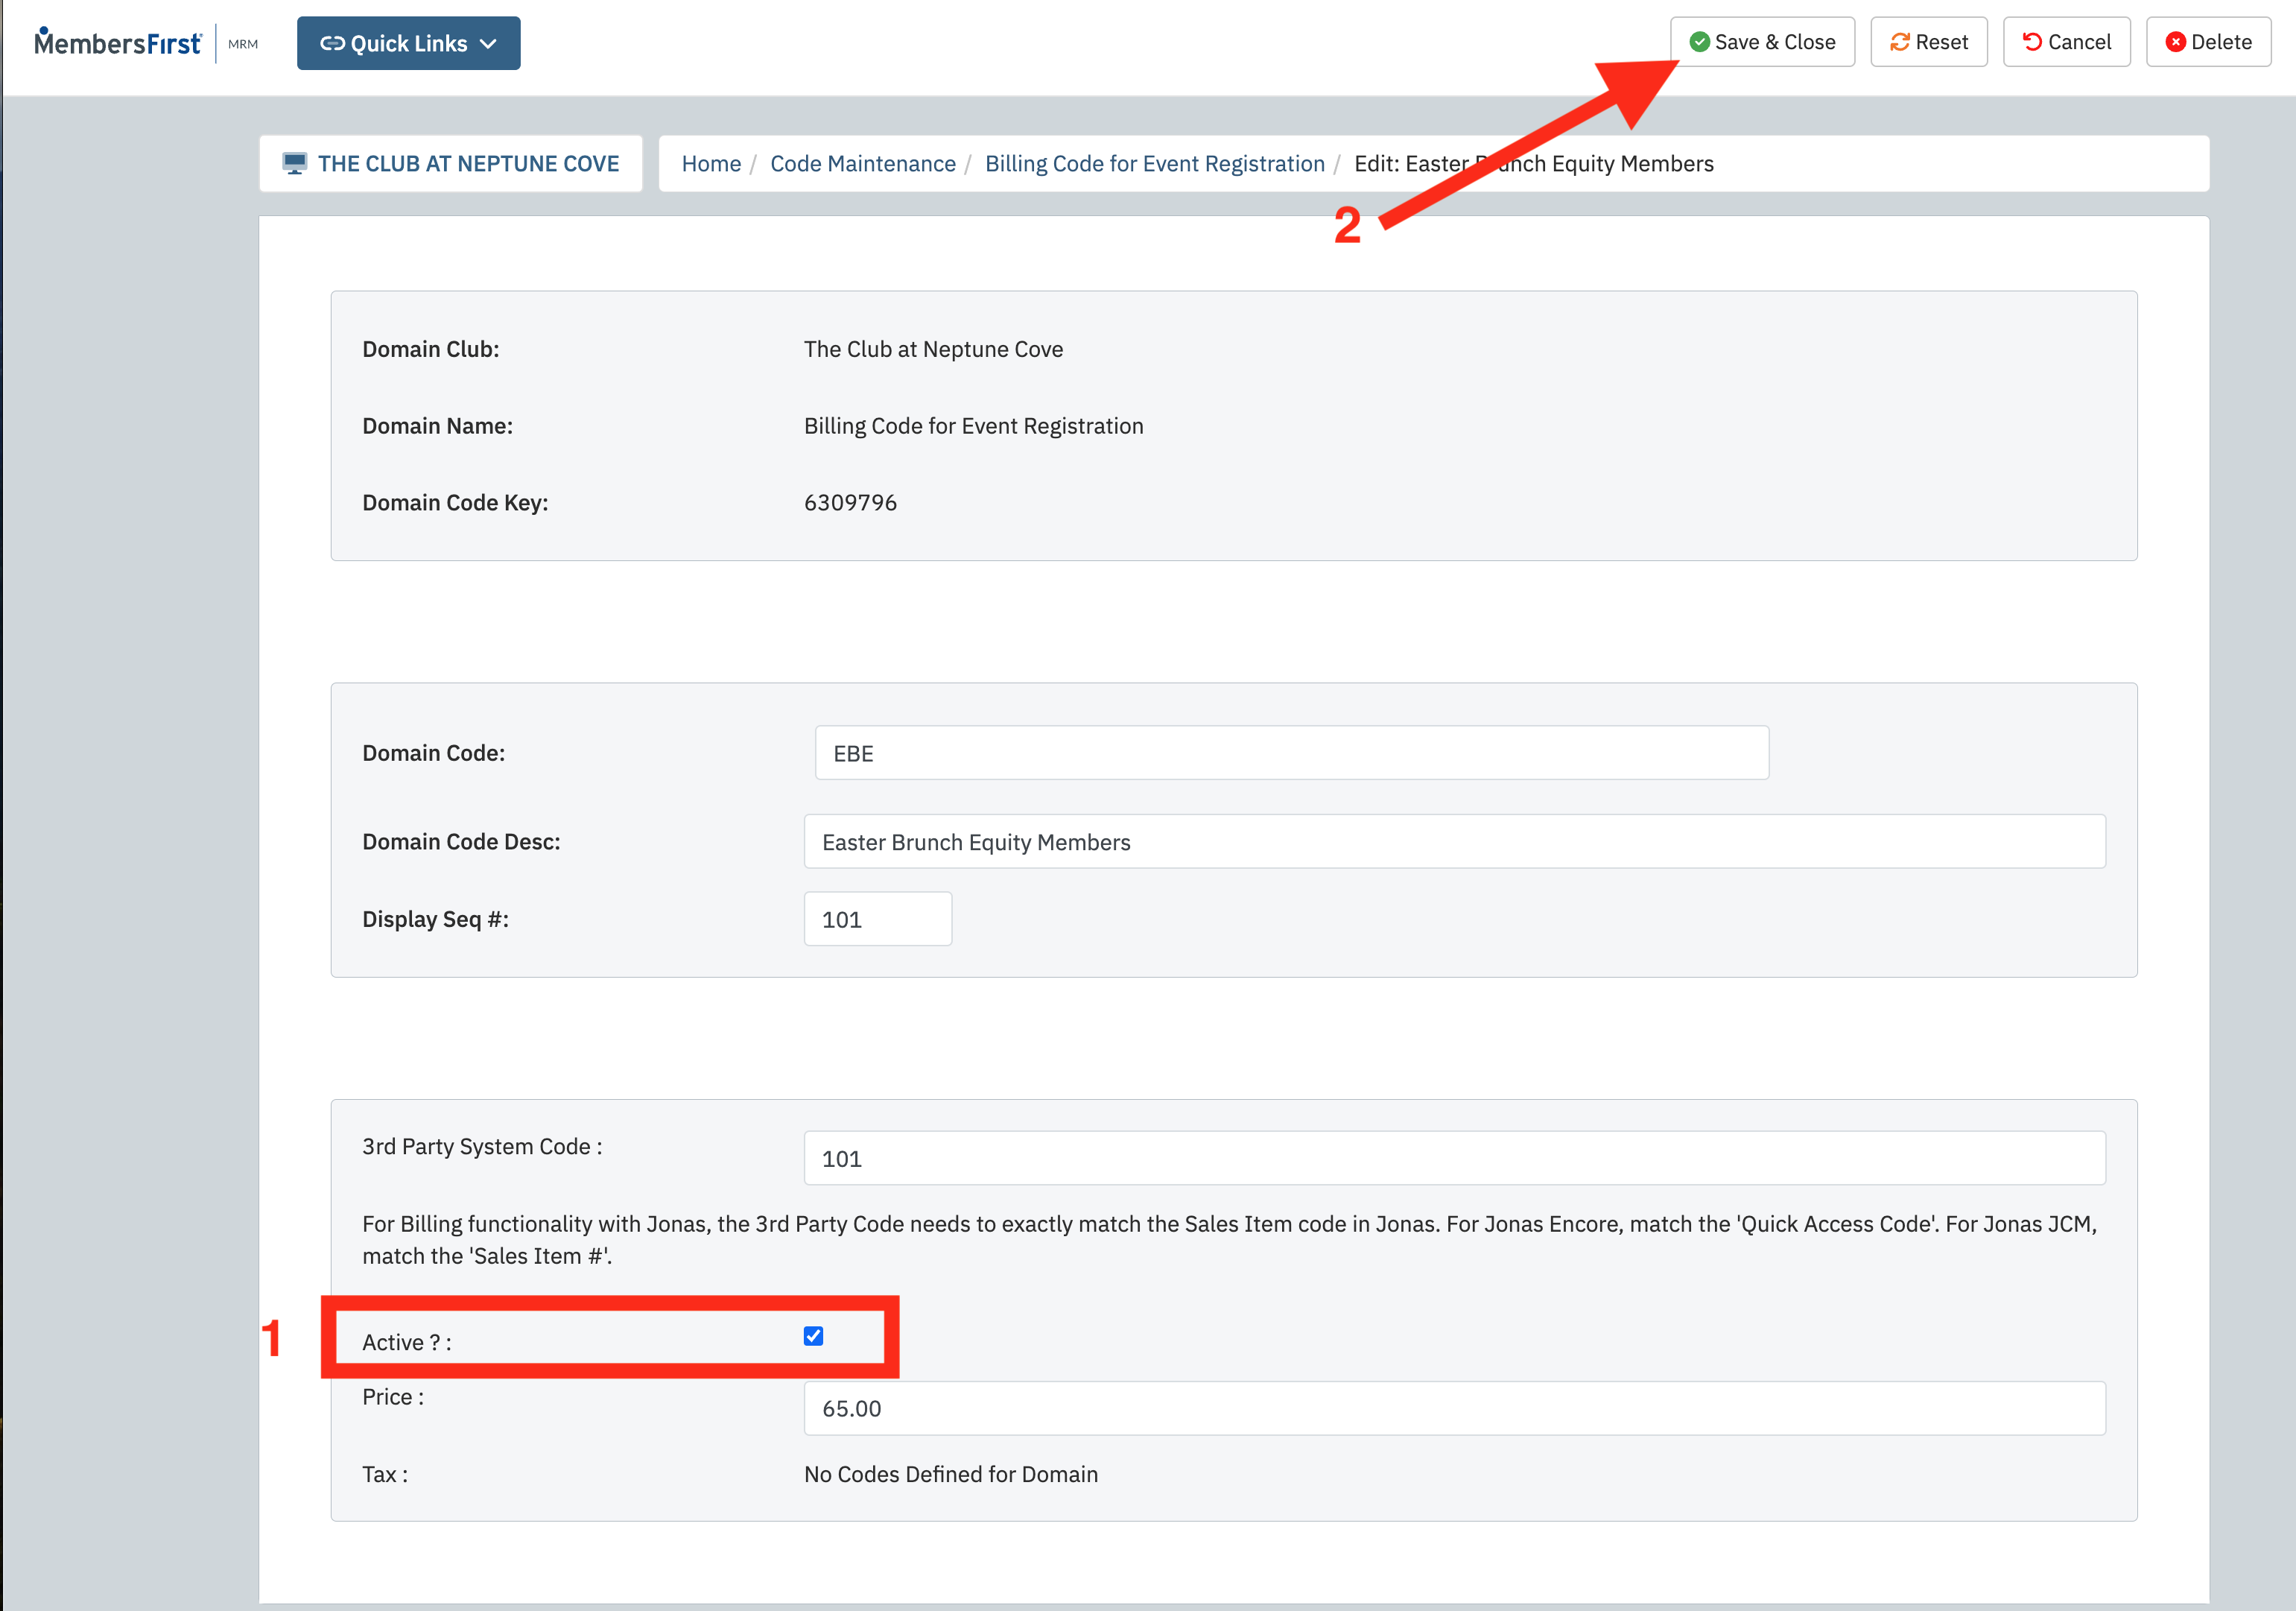 |
This is the first article in a series on how to set up billing for your events. To continue to the next article, click here »