�How to Create & Manage Inserts
Step-by-Step Instructions
Inserts are the primary technique used for presenting text, pictures, and links on a main section page. These are essentially call-outs that you can create to draw attention to important events or other information you want to highlight on your website.
Before creating a highlight of your own it's important to understand where the key pieces fit. Below is an example "Tip of the Week" highlight using all of the elements in the instructions below. The "Link to Full Page Text" will bring a user to a page within your site containing the majority of information for this particular highlight.
| Log into Admin Home on your web site. |  |
| Click on Club Content in the Applications box, then click on Inserts Maintenance. | 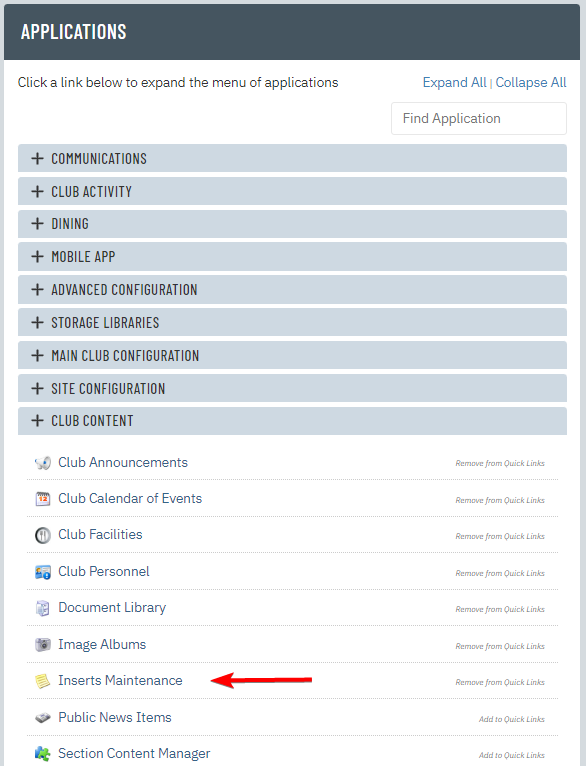 |
| Click New at the top of the page. | 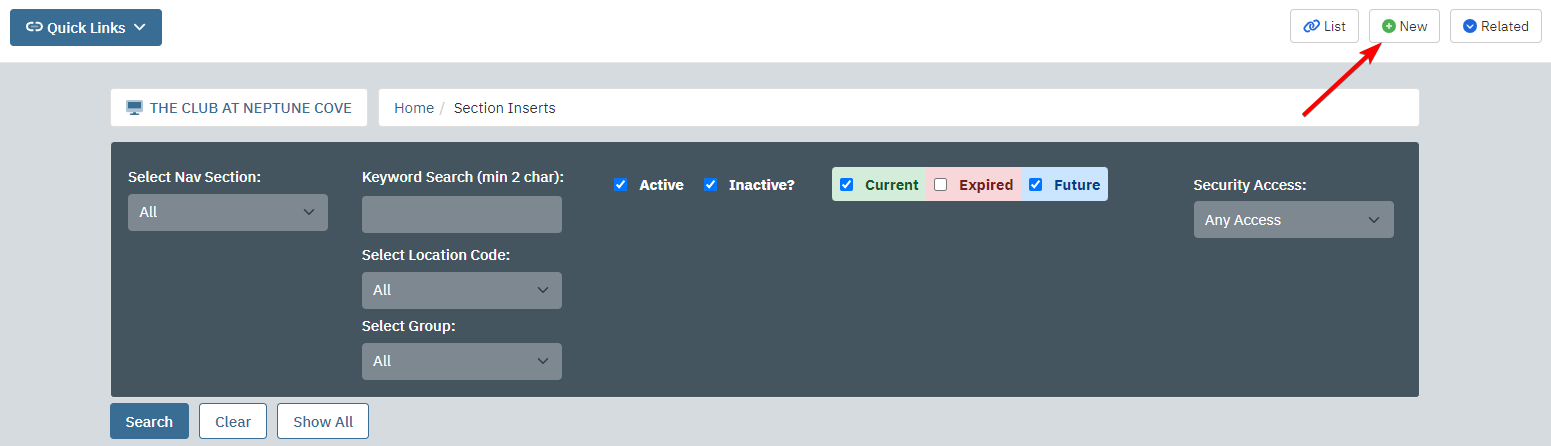 |
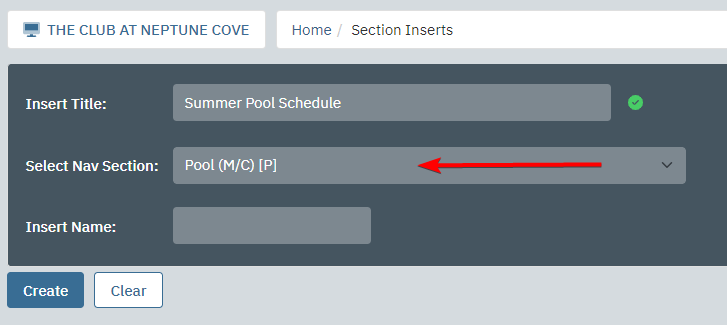
| Enter the name of the insert into the Insert Title field. | 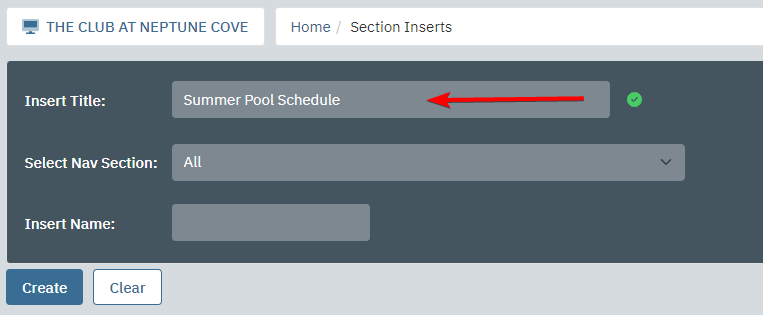 |
| Use the Select Nav Section dropdown to select a nav section for the insert to display on. You can select additional navigation sections later. |
 |
| Click Create Now. | 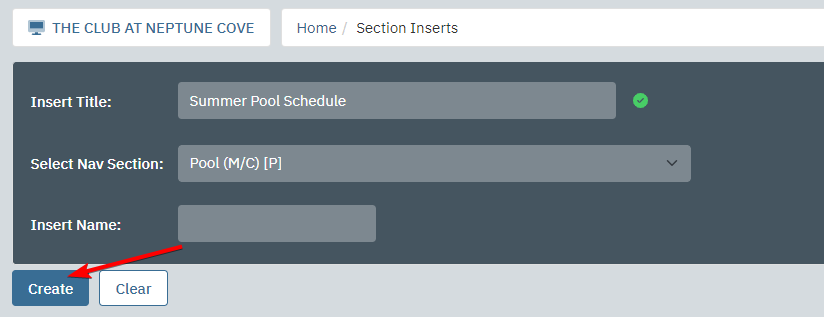 |
| You will now be on the Full Page Text tab. If you enter text here, then the highlight will have a "Read More" link which brings the users to a page with the text. If you want the highlight's "Read More" link to bring users to a calendar event or file, then skip this tab. | 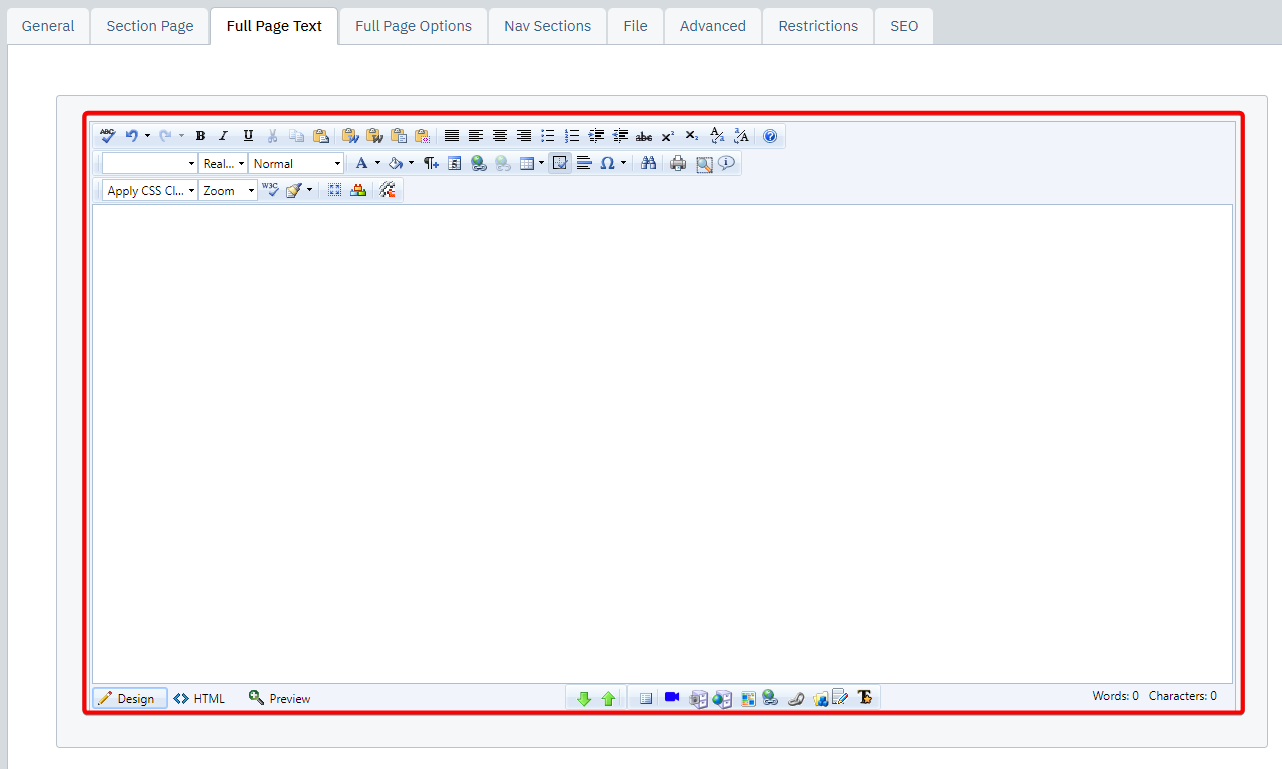 |
| Click the Section Page tab. | 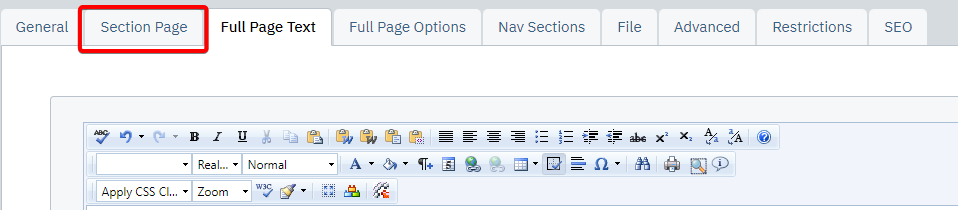 |
| The Custom Link field is where you should enter a URL if you want the "Read" More" link to bring users to something other than the full page text. | 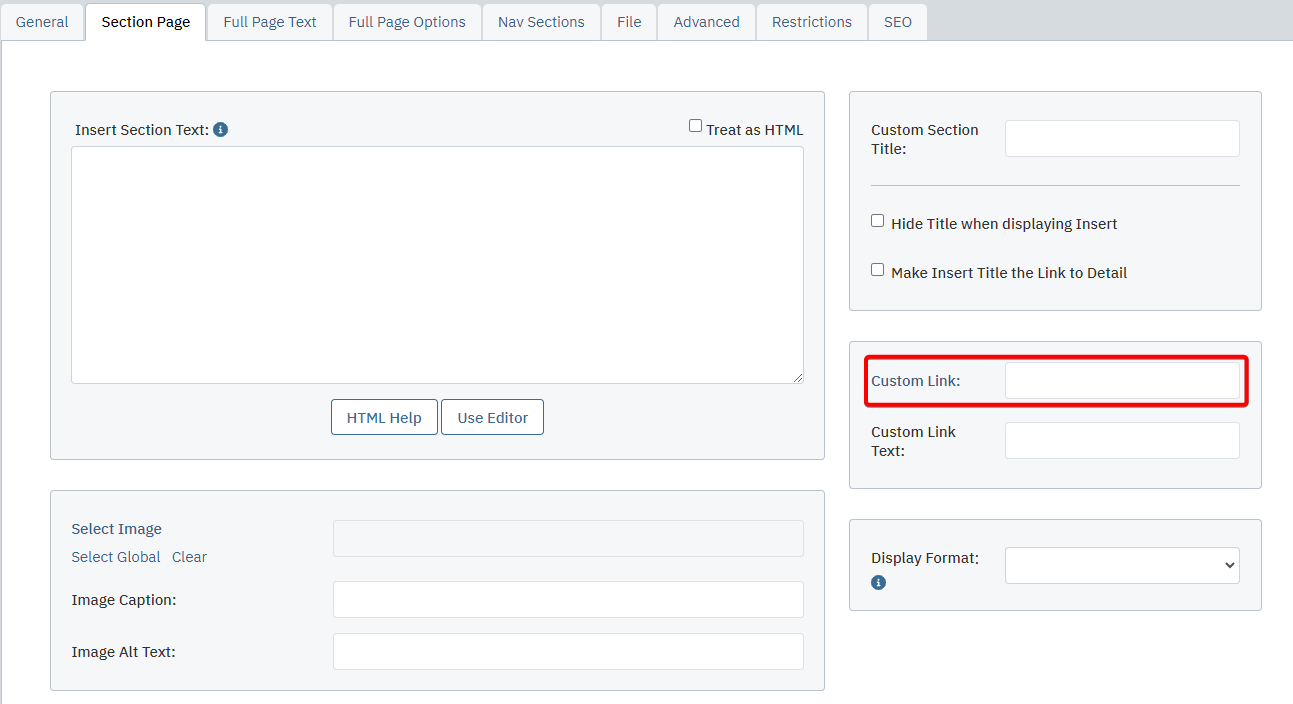 |
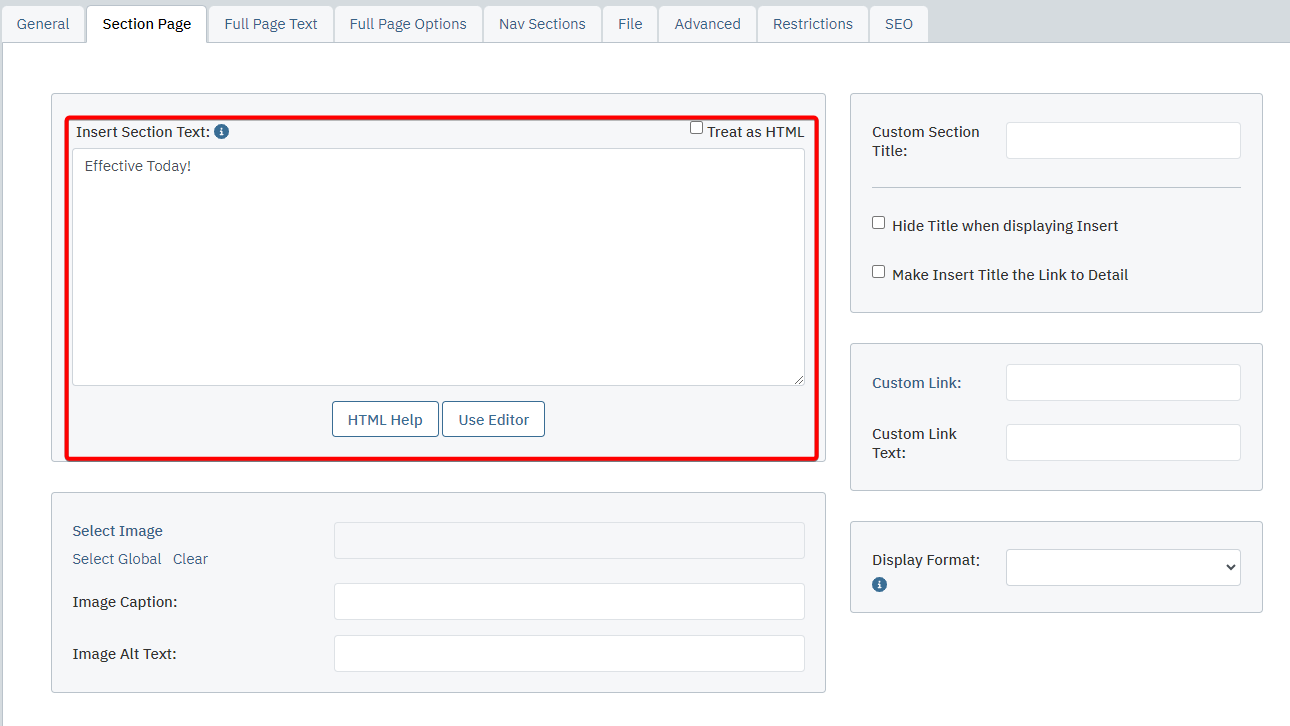
| Enter "teaser text" into the Insert Section Text box. This information will sit on a particular section page, like member Golf, to give users a preview of the content within. (i.e. brief summary of content in Full Page Text, date of an event, etc.) |
 |
| To add a thumbnail image that will sit beside the highlight title and teaser text, click Select Image. | 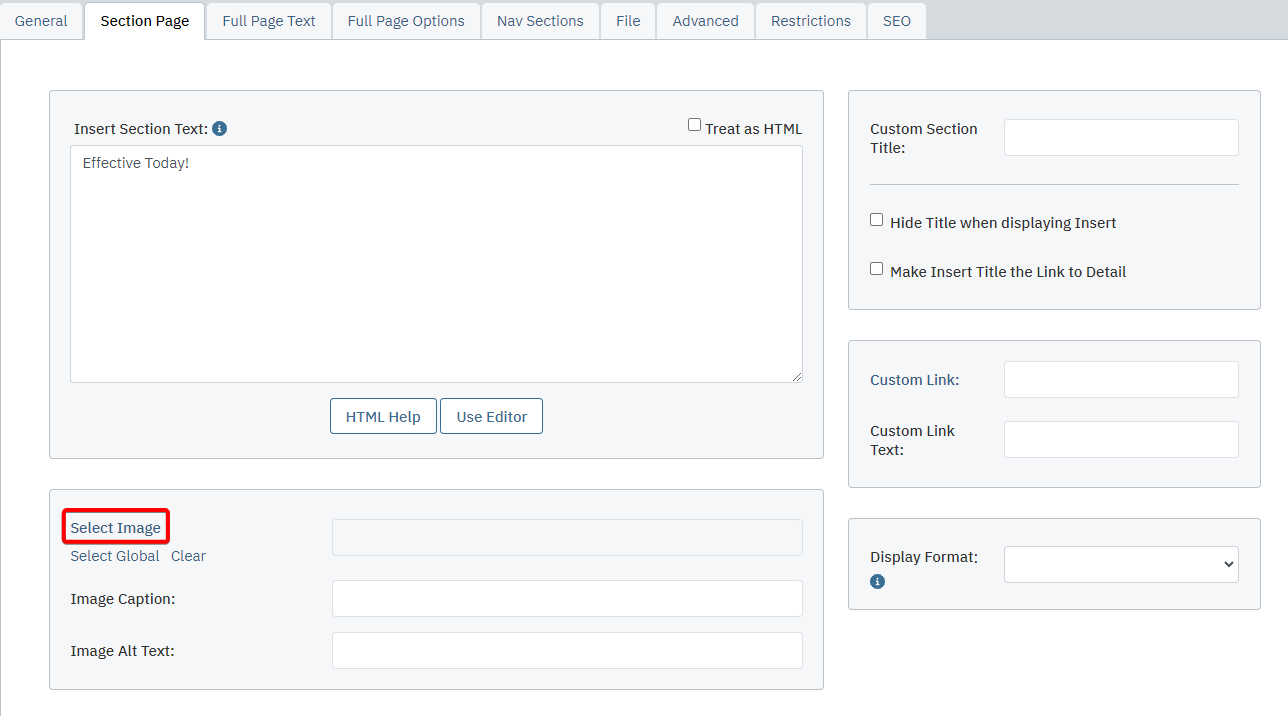 |
| Using the Select Folder dropdown, select the folder you saved the image in. | 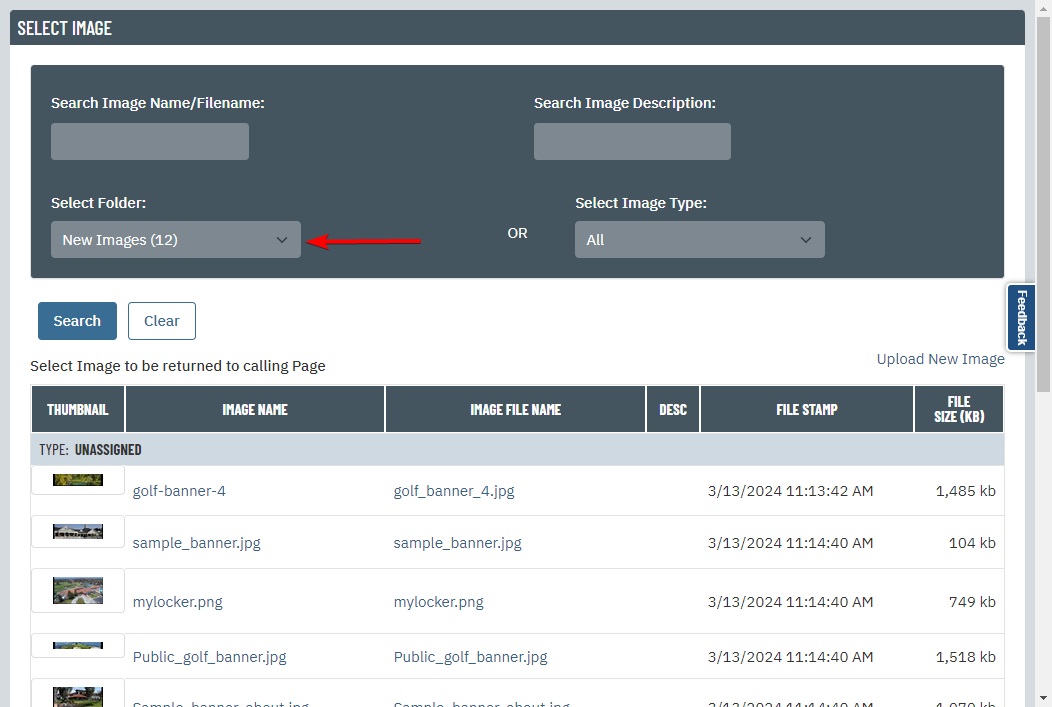 |
| Once the folder has been selected, scroll through the list and find the image that best suits your highlight. Click the link under Image Name to select the image. If you would like to preview the image first, then click the link on the right side. It will open the image in another window. |
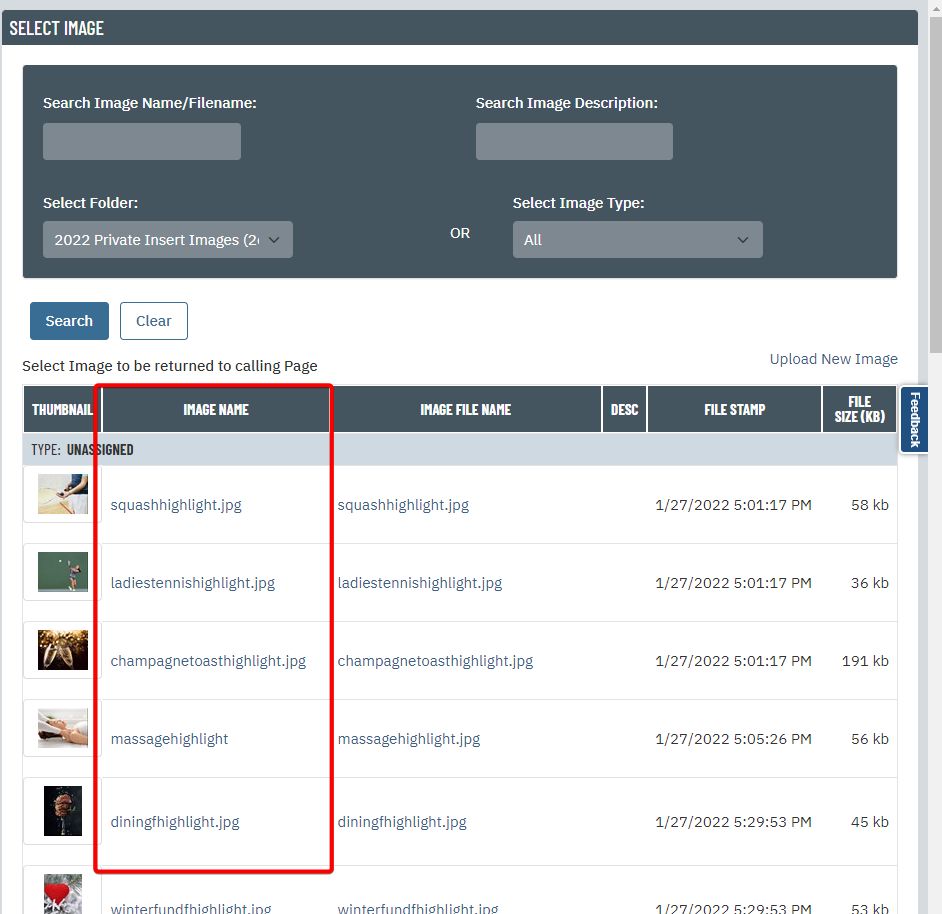 |
| Click the Nav Sections tab. |  |
| Check all navigation sections that you want the highlight to display on. If you selected a navigation section when creating the insert, then that section's box will already be checked. |
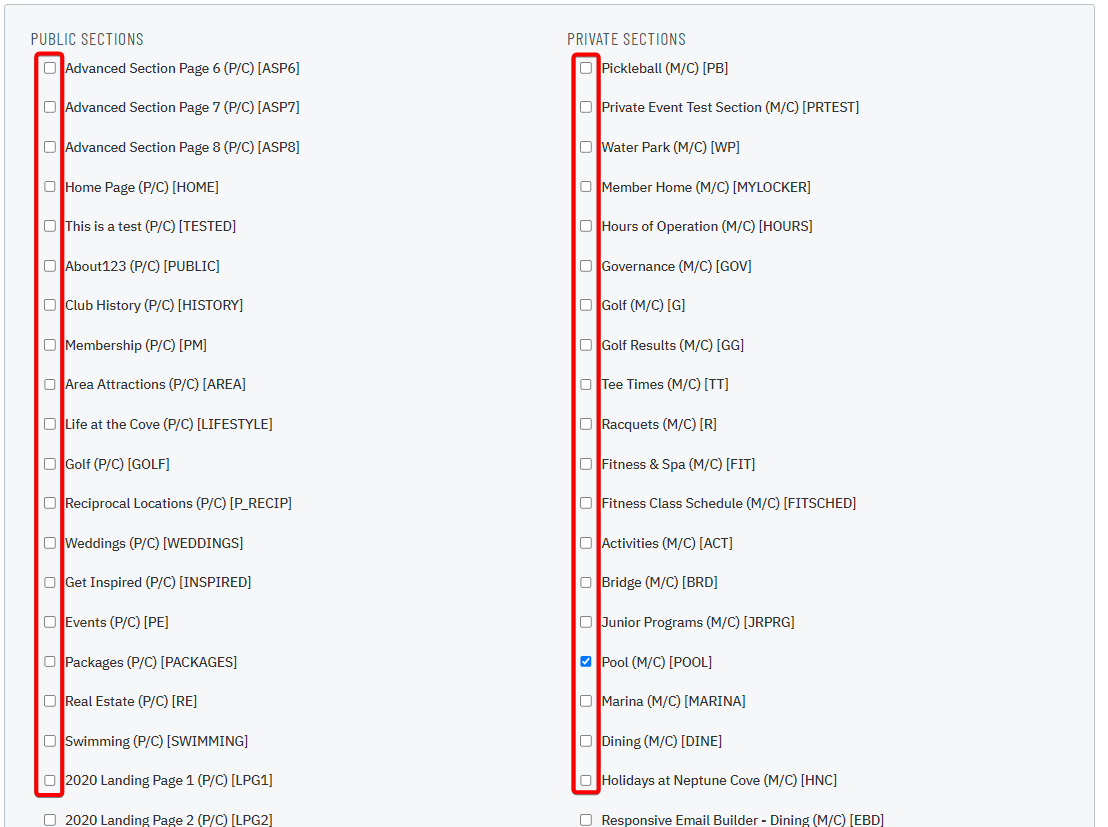 |
| Click the General tab. |  |
| Enter a date into the Effective Date field if you want the highlight to appear on a future date. If this field is left blank, then the highlight will display immediately. |
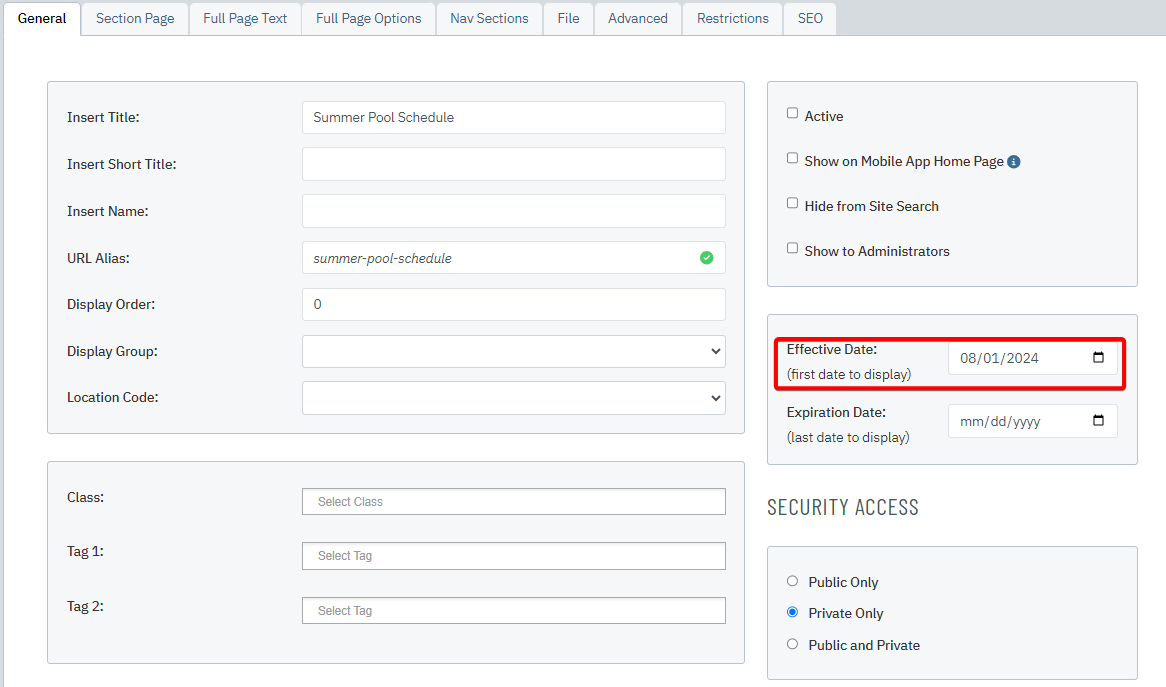 |
| Enter a date into the Expiration Date field if you want the highlight to disappear on a specific date. The date you enter here will be the last day that the highlight appears on your site. If you are creating a highlight for an event, then you should enter the event date here, so past events will automatically disappear. |
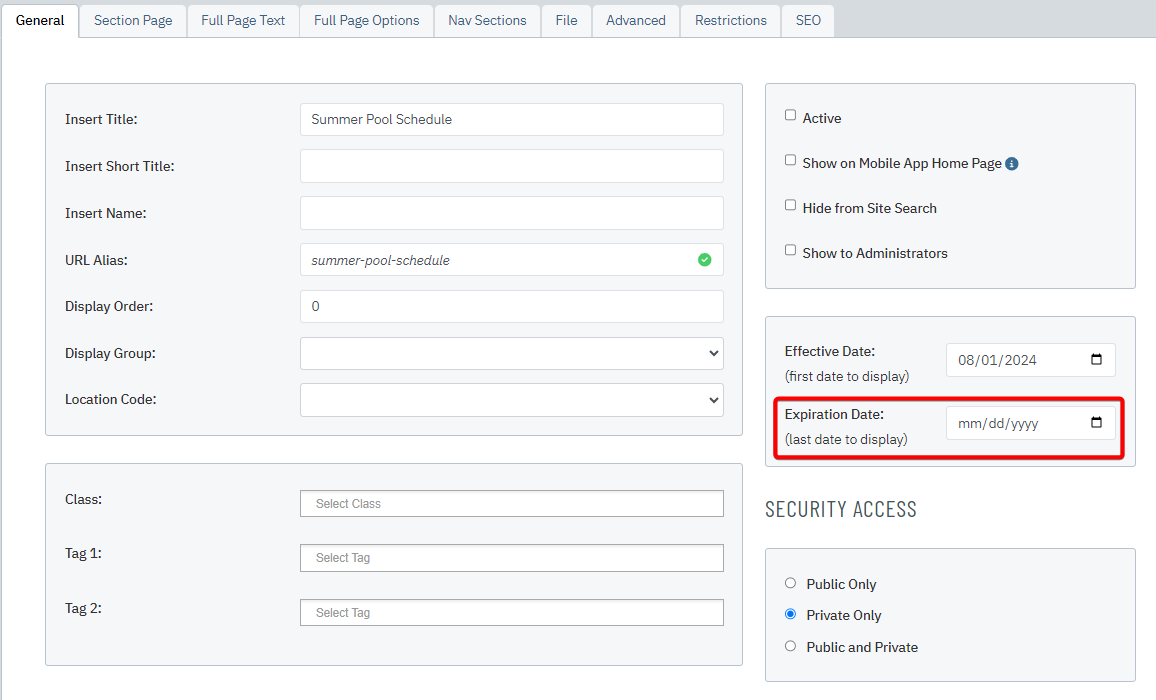 |
| Optional: Enter a number into the Display Order field to change the order of the highlights. If you would like to have a highlight appear at the top of the page, then it should have the lowest Display Order number. (i.e. Display Order -1 will appear before Display Seq 0) | 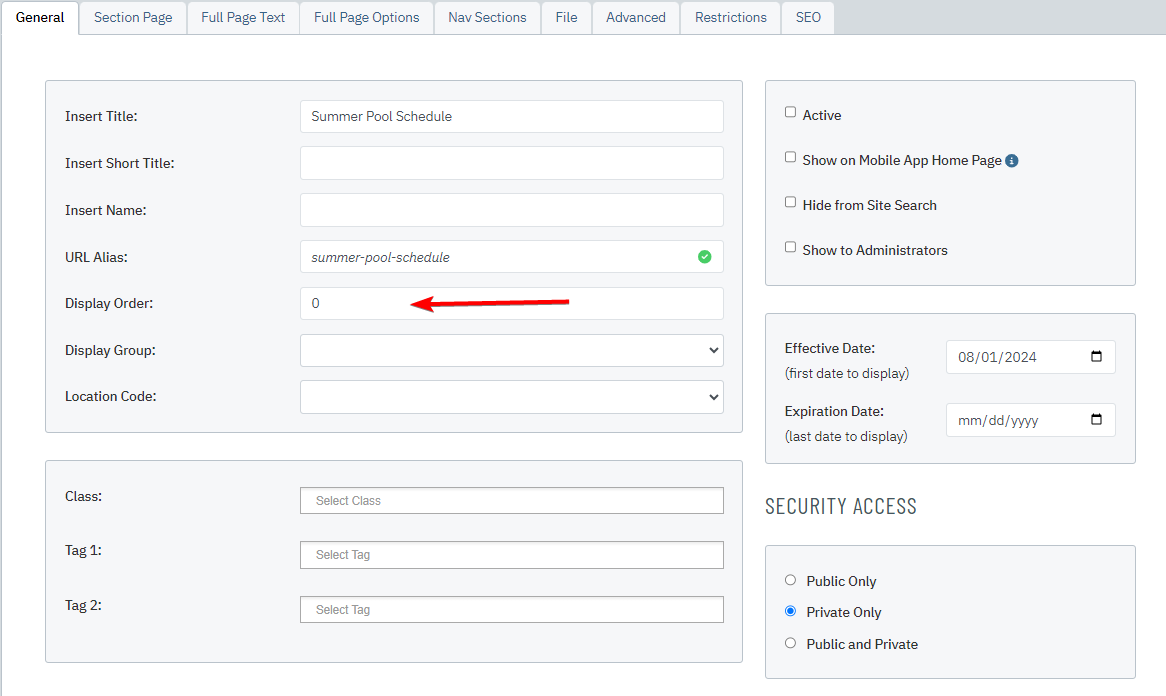 |
| Depending on your site's configuration, you may see a dropdown labeled Location Code. If you do see this, then select Highlight from the list of location codes. The name of the location code might be slightly different, such as "Public/Private Highlight". |
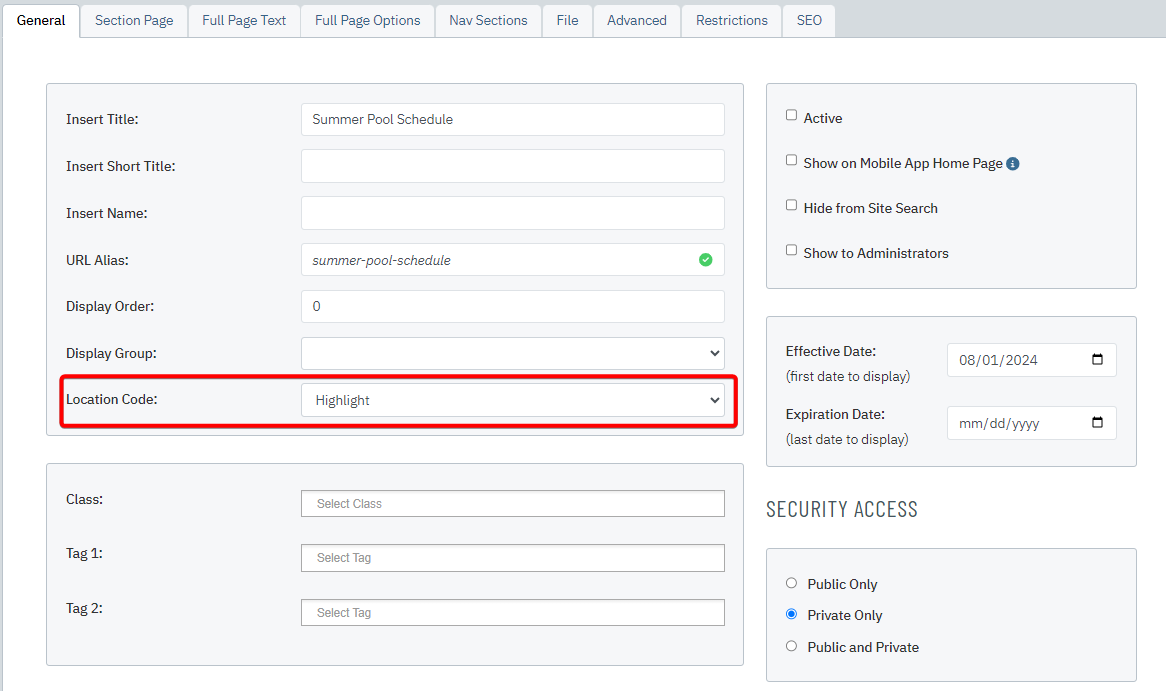 |
| Check the Active checkbox. If you the mobile app and would like the insert to appear on the home screen, click the Show on Mobile App checkbox as well. | 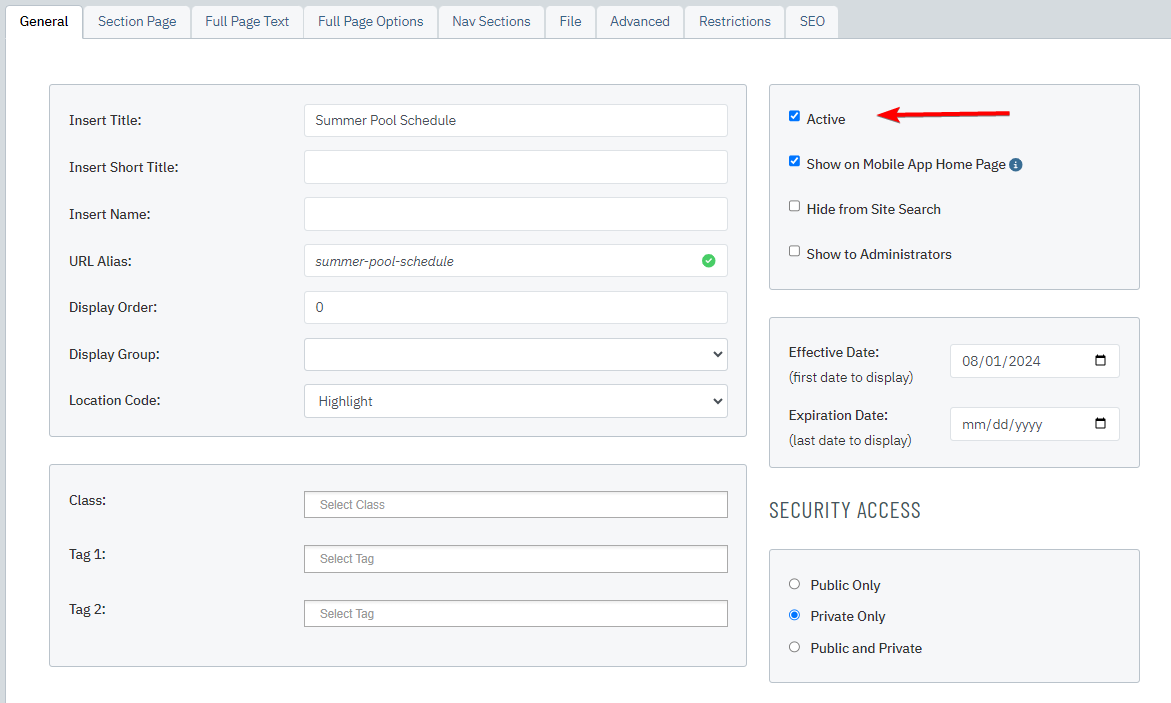 |
| Click Save & Close to finalize your work. |  |