Creating and Managing EBuilder Templates
This article is all about how to manage your template library with the new EBuilder. For help with using the new EBuilder editor please see this article.
If you find yourself often recreating the same email layout over and over again then Email Templates are just the thing you need. Take the time to put together your email layout with the club's logo and colors inside Template Maintenance and then each time you want to start a new email you do not have to recreate the wheel.
| Log in to the Admin Homepage of your site and open the "Template Maintenance" module under "Communications" (optionally click "Add to Quick Links" to add this module to your quick links area) | 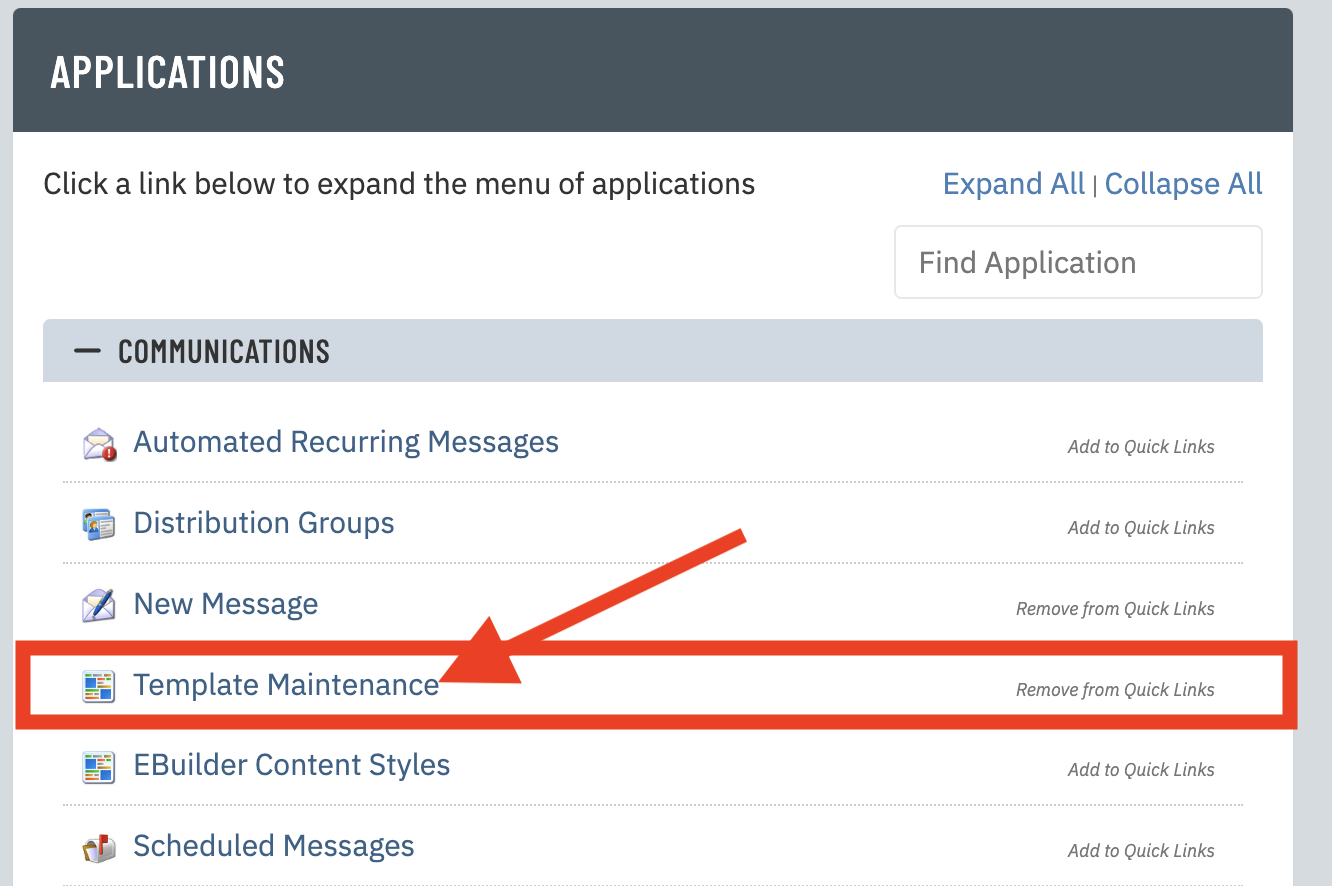 |
| First thing you will notice are the three button at the top, here is what they mean- 1. Local EBuilder Templates For managing YOUR templates for the EBuilder. These templates are visible to all administrators that have permissions for this module. 2. Global EBuilder Templates MembersFirst offers a set of templates that are made to be generic for anyone to use. These templates can be copied into your local library and then custom tailored to your needs. 3. Classic Templates For accessing any templates created for our Classic Editor | 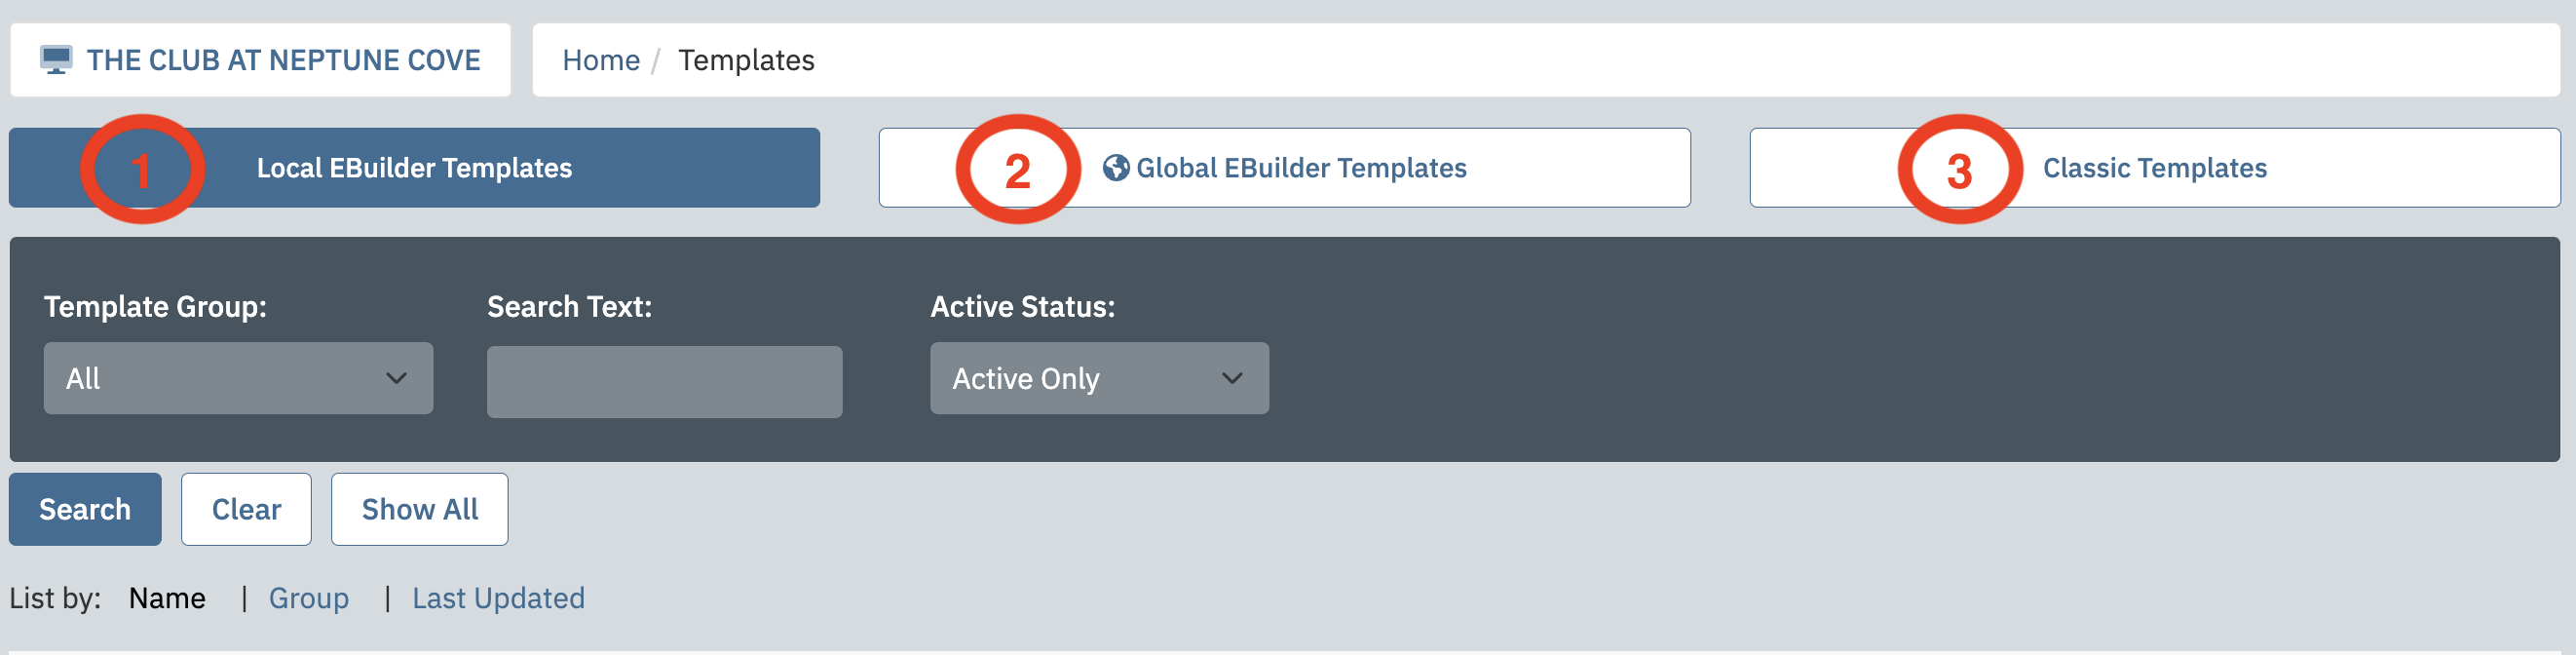 |
| You can also use the "filter" area above to narrow down the list of templates by their group. To make use of template groups follow the steps here. | 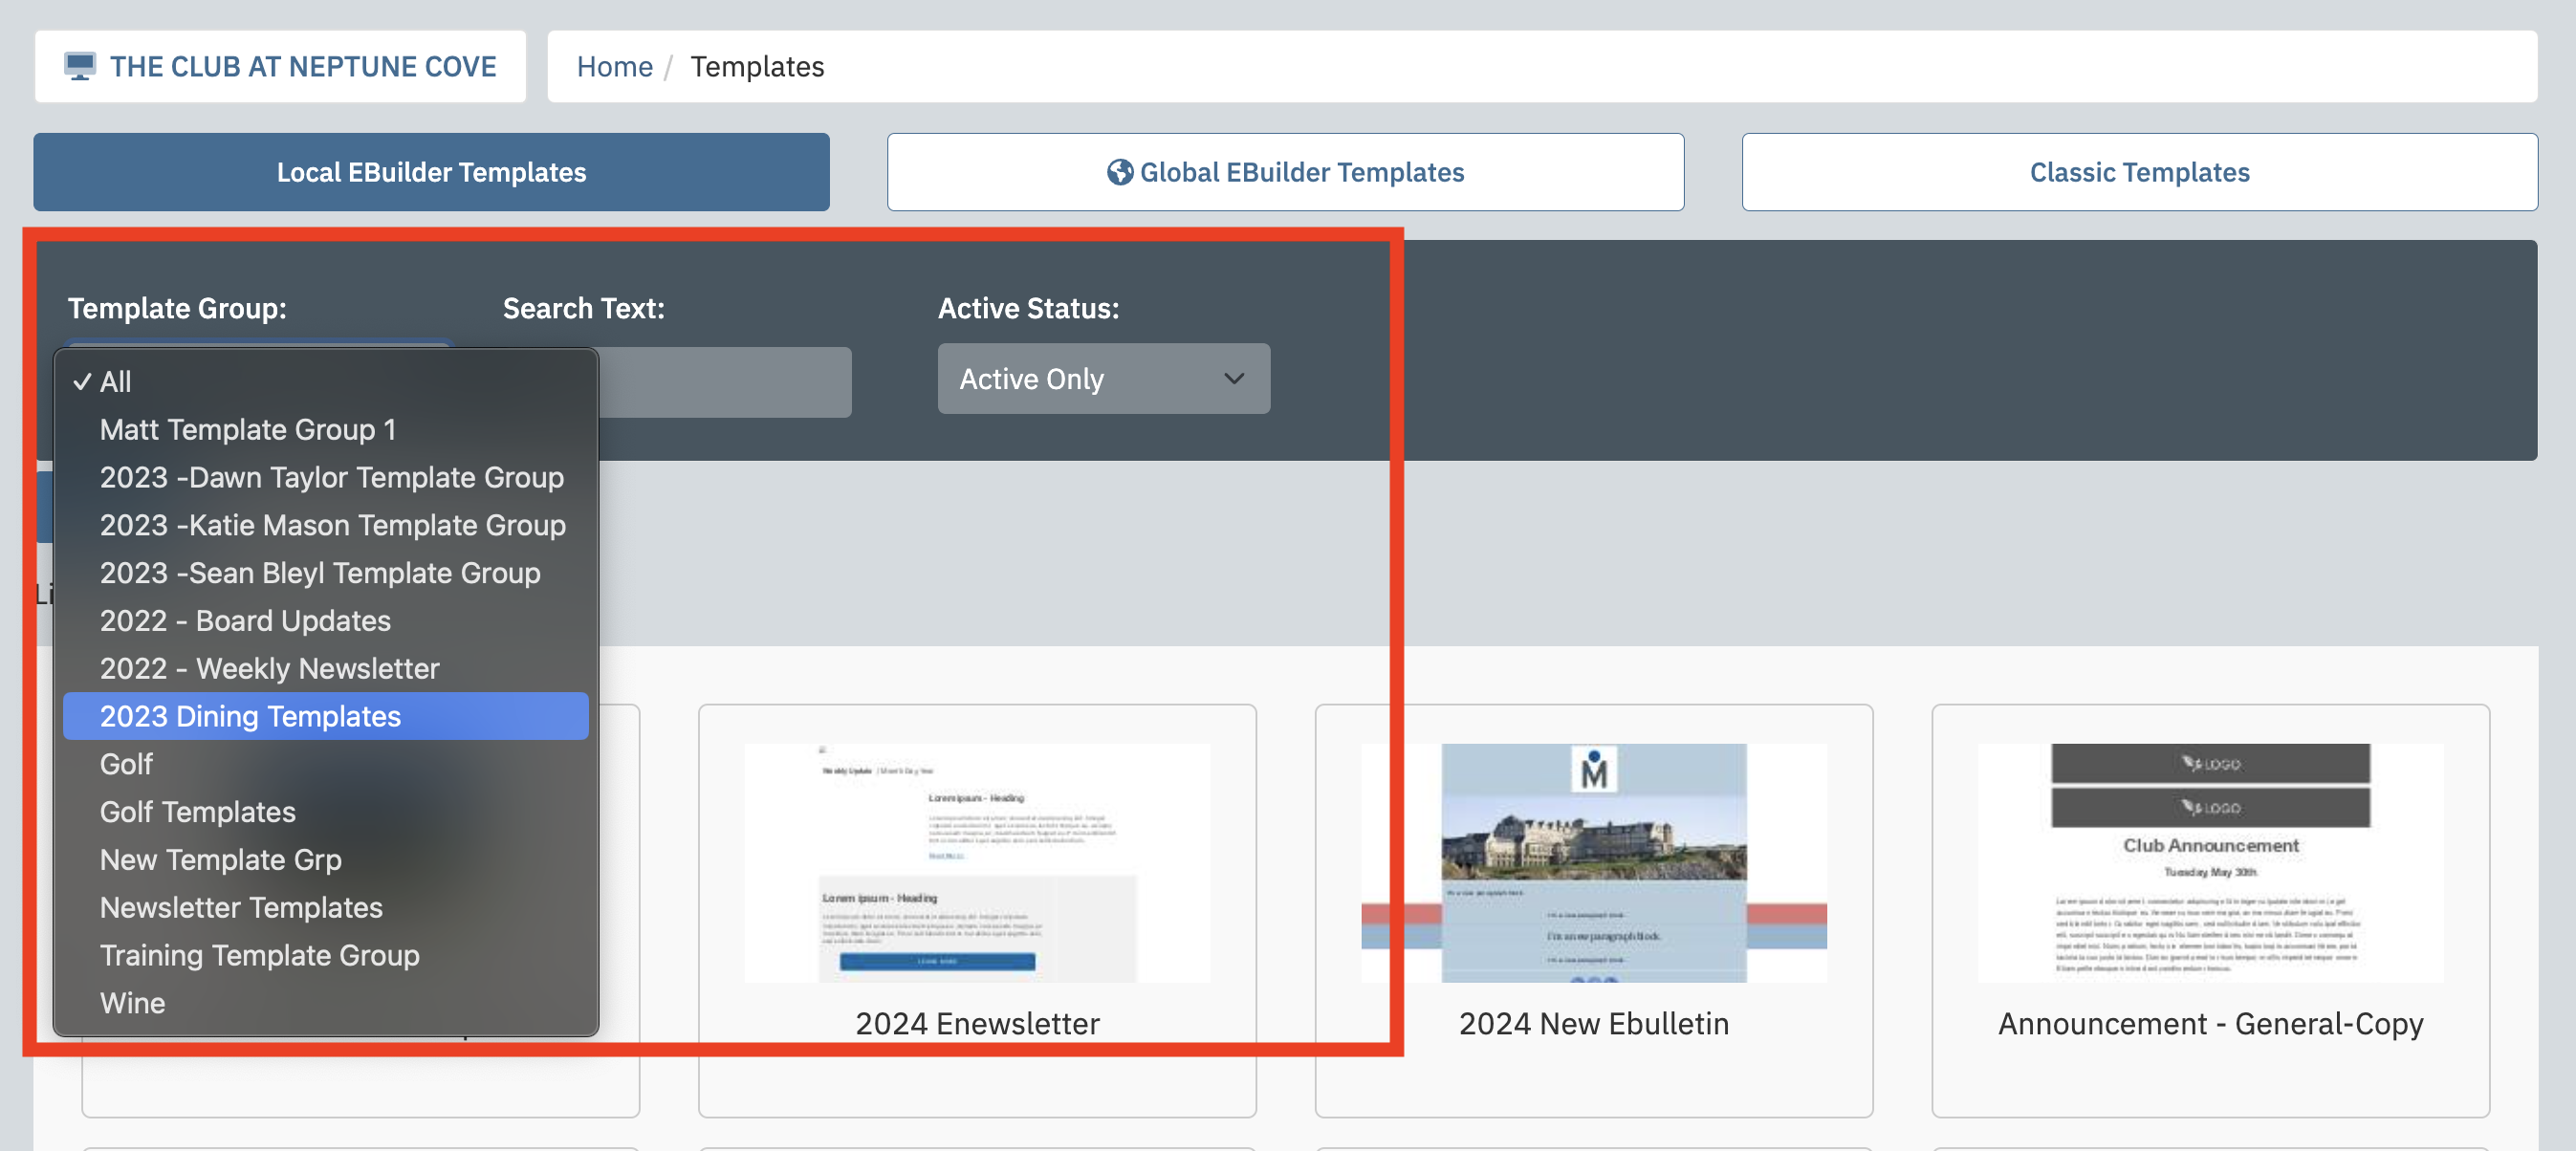 |
| If you hover your mouse on top of an existing template then additional options will be displayed letting you know the possible actions. For local templates you can "Edit" an existing template, or "Copy" it to make a duplicate and then edit from there. For global templates you can "View" a template or "Copy" it but you cannot edit as these are templates used by all MembersFirst clients. | 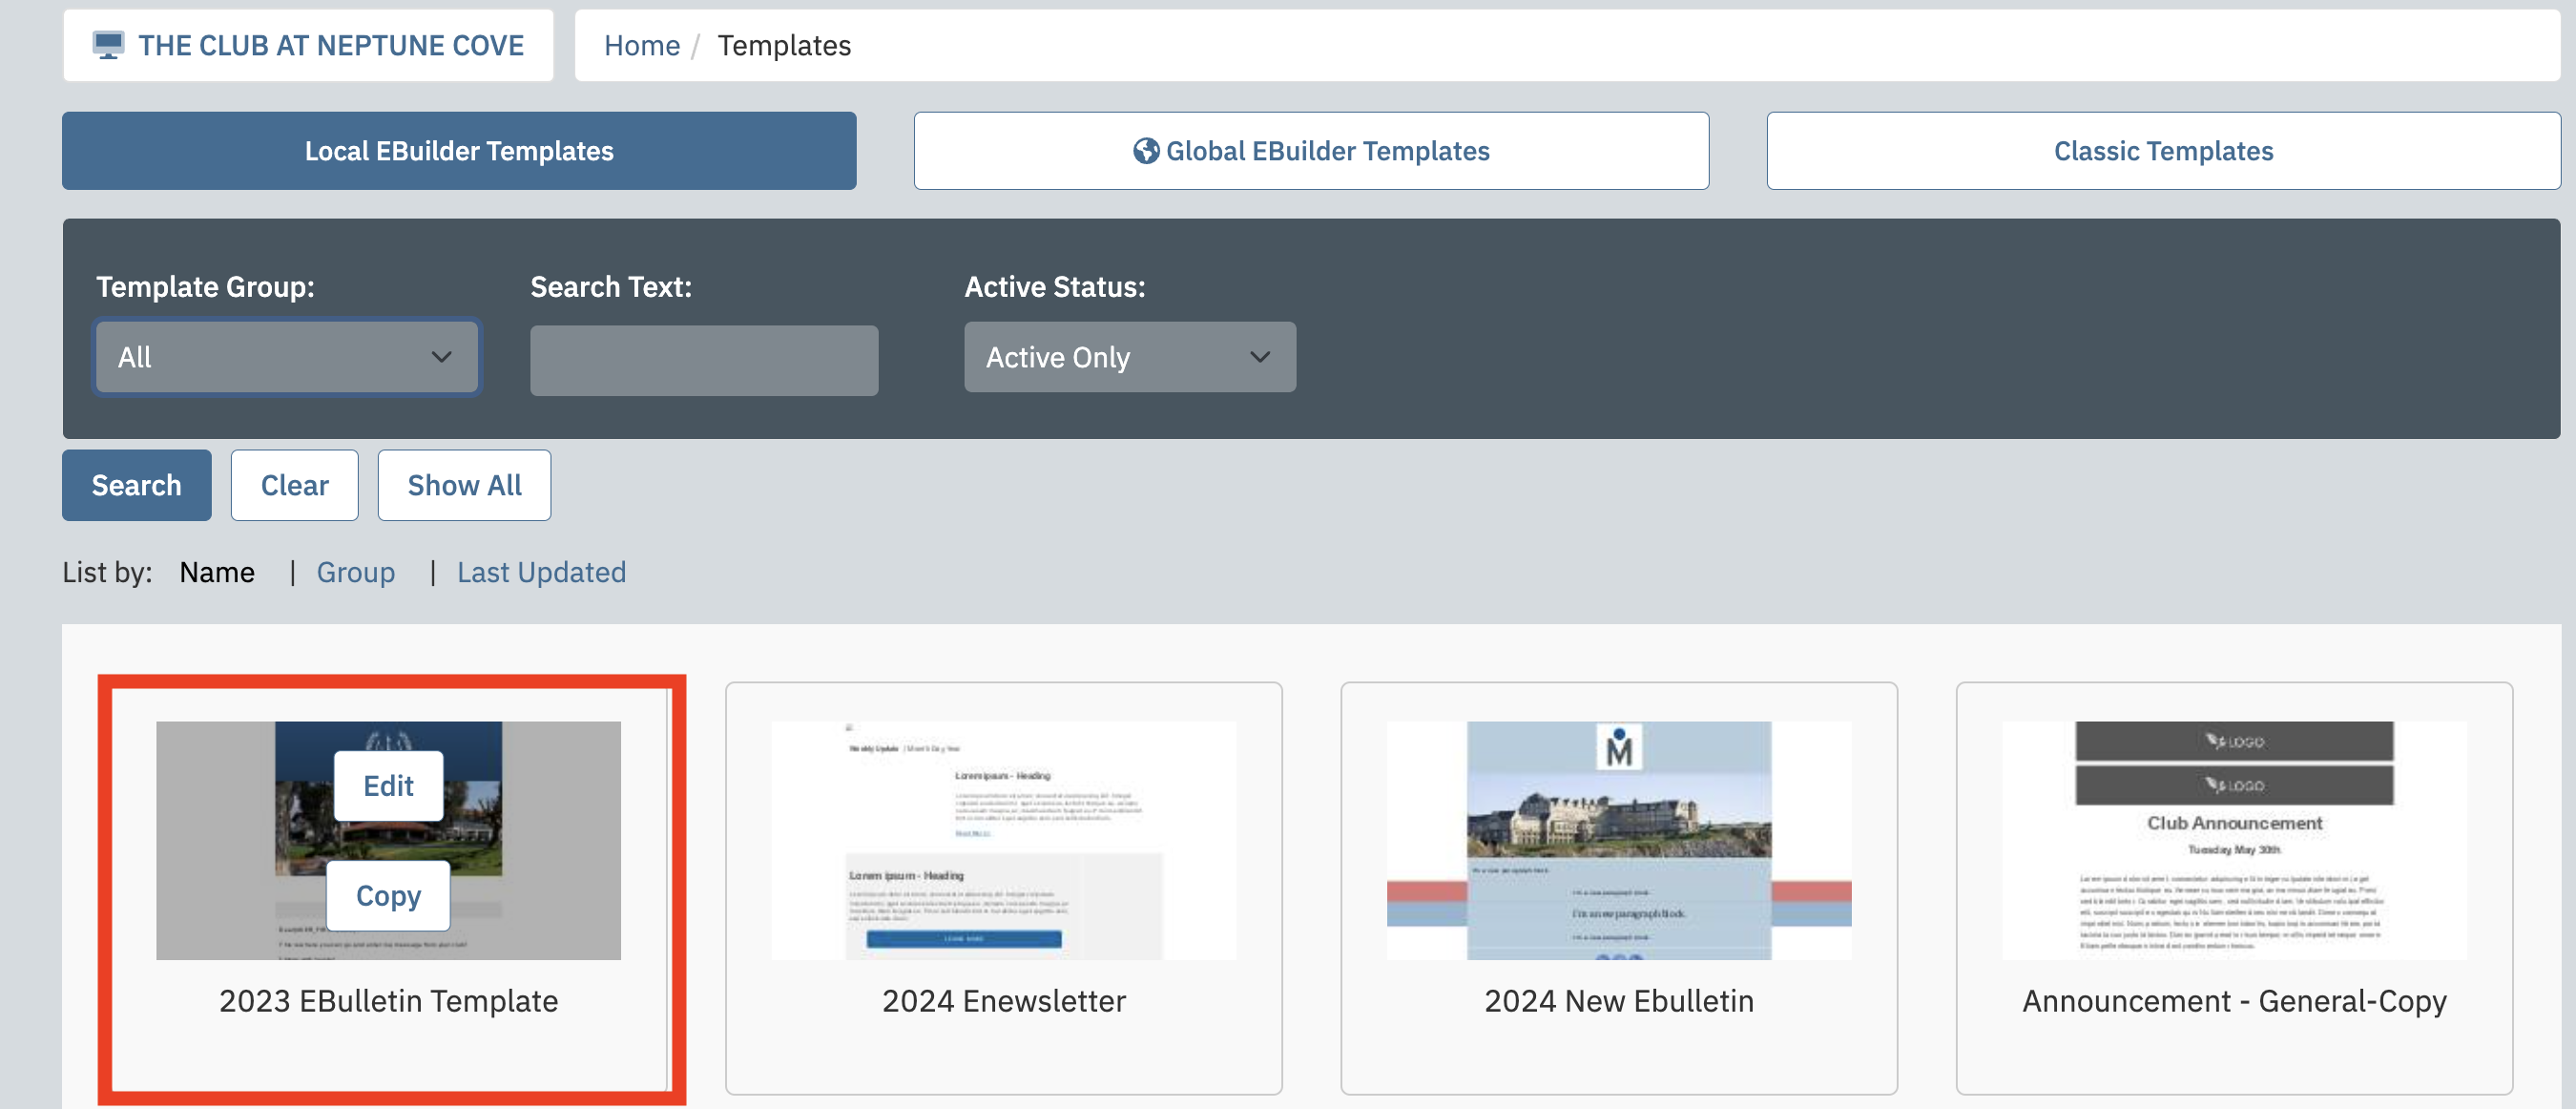 |
| To start a new template from scratch you can click on the "New" button on the top of the page. A create form will appear where you can enter the name of your new template, select a template group if you are using those to organize your templates, choose whether or not to copy an existing template then click "Create Now" |  |
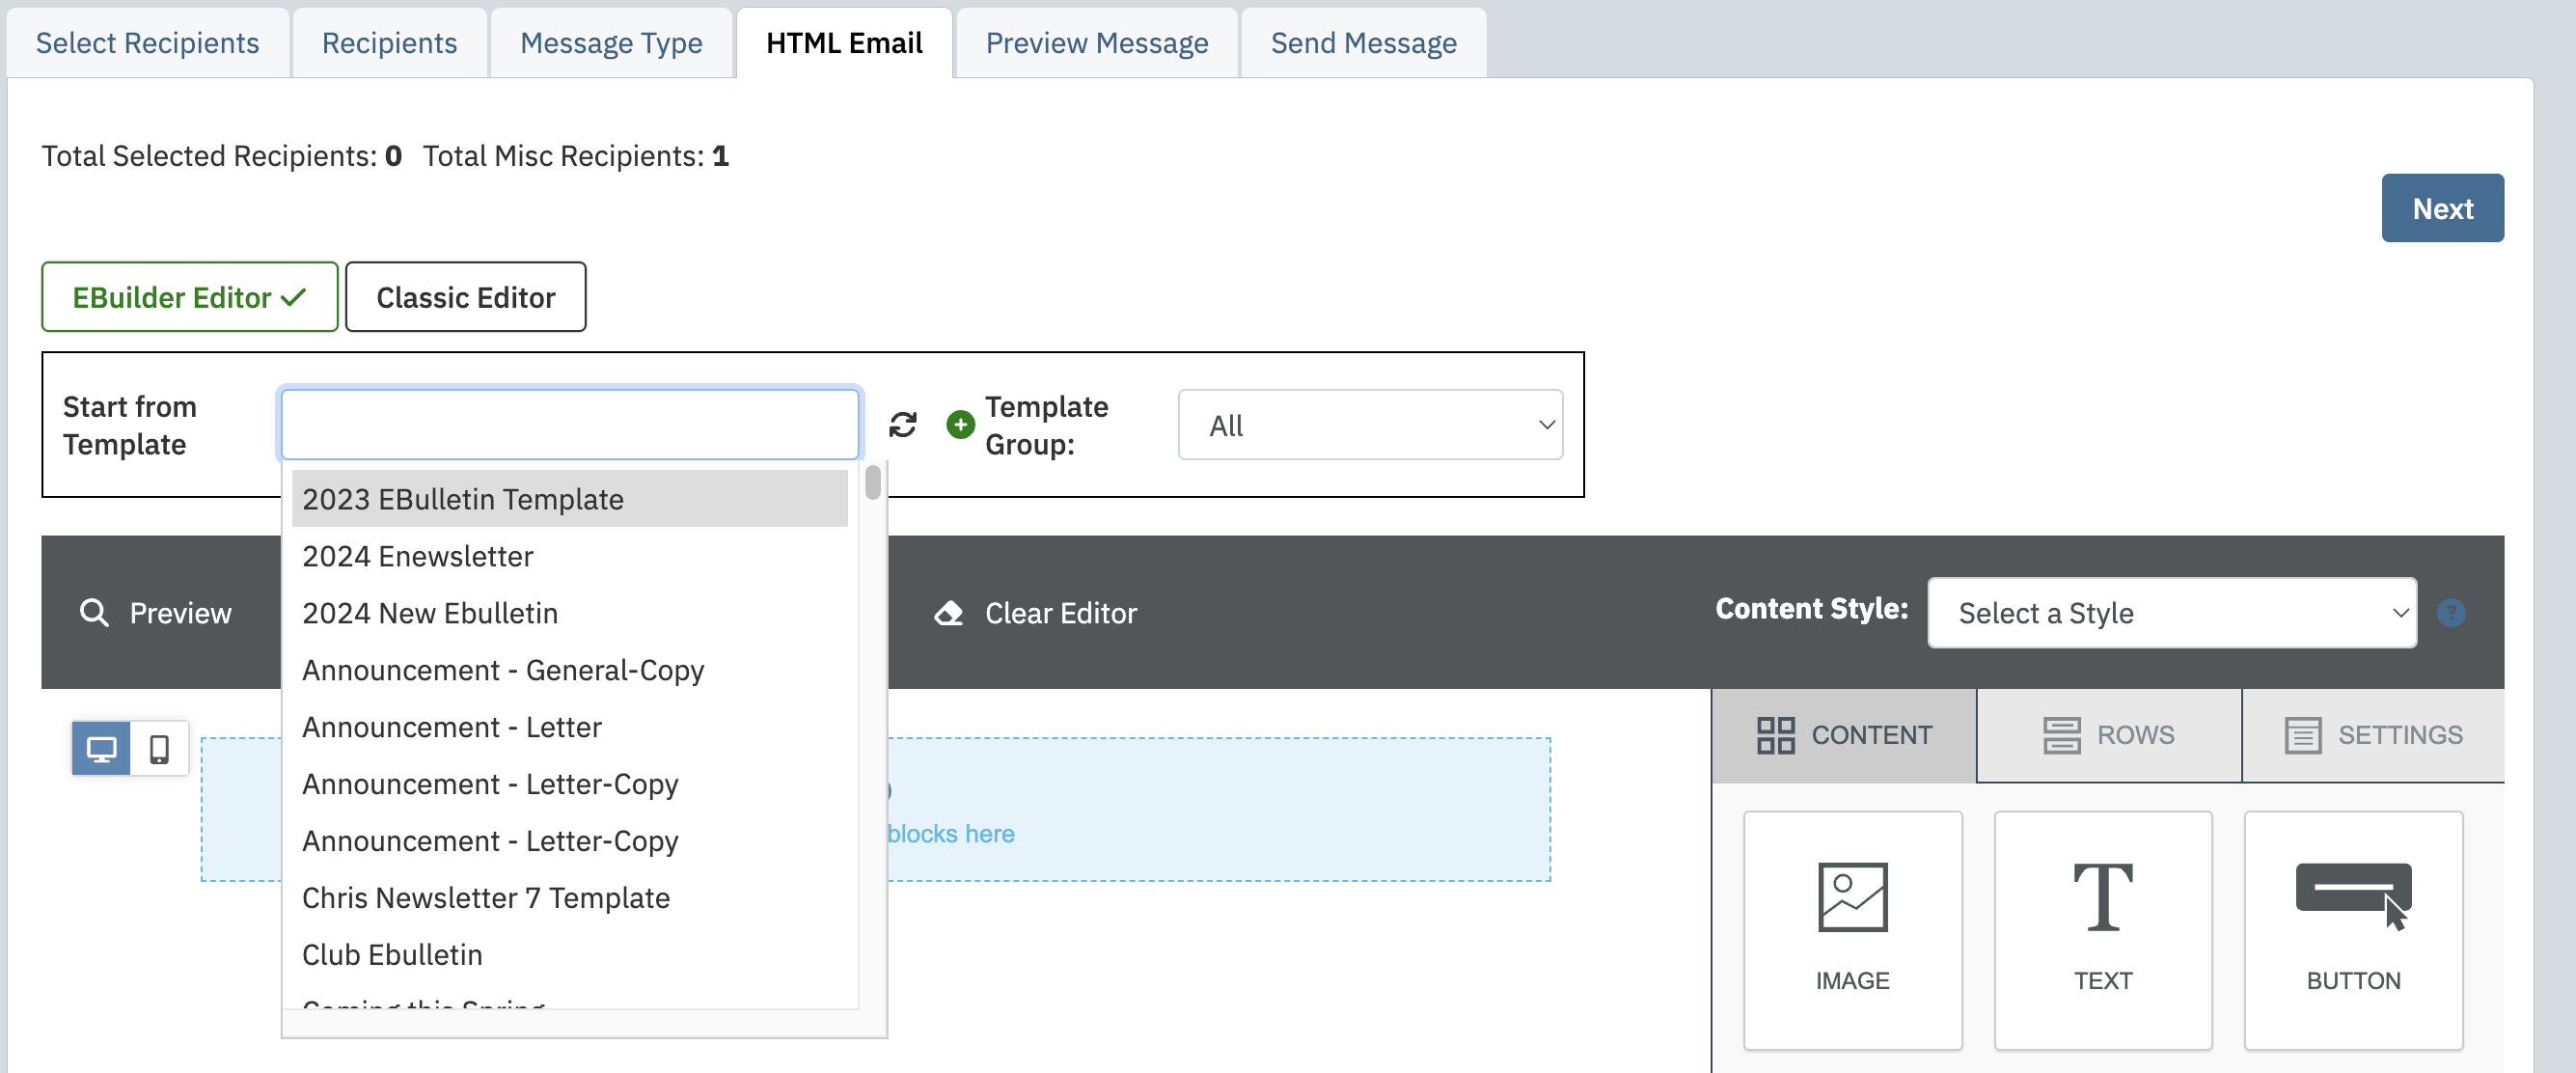
| Once your template is complete and saved you can reference it from within the email application. Look for the "Start from Template" type ahead field and find your template in this list. After selecting the template the EBuilder will replace all of the contents on the screen with a copy of your template. For help with sending out an email using the new EBuilder please refer to this article. |
 |