†How to Create an Online Take-Out Form With Optional Calculating Fields
A common application of marketing request forms is online take-out ordering. All sites come with a sample marketing request form that can be re-purposed for this initiative.
Starting a new form
| Log into Admin Home on your web site. |  |
| Click on Main Club Configuration in the Applications box, then click on Marketing Request Forms. | 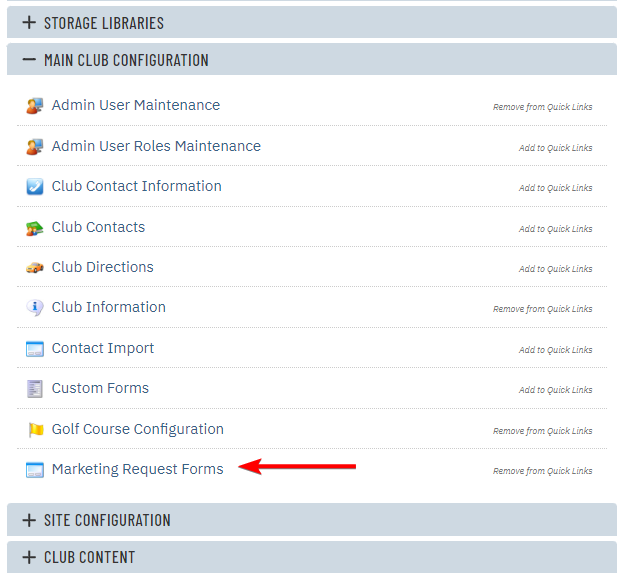 |
| Click New at the top of the page. |  |
| Enter a Form Name, such as Take-Out Order Form. This is used to identify the form in the list view on the admin side. | 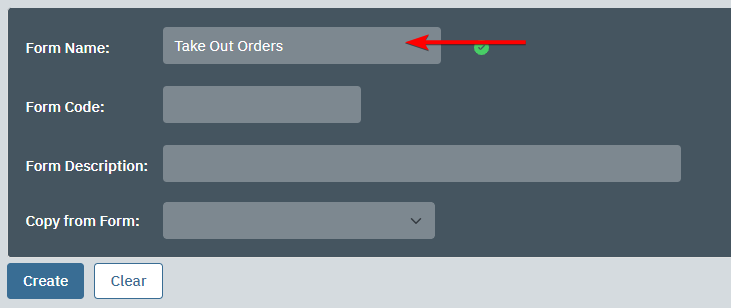 |
| Enter a Form Code, Needs to be unique | 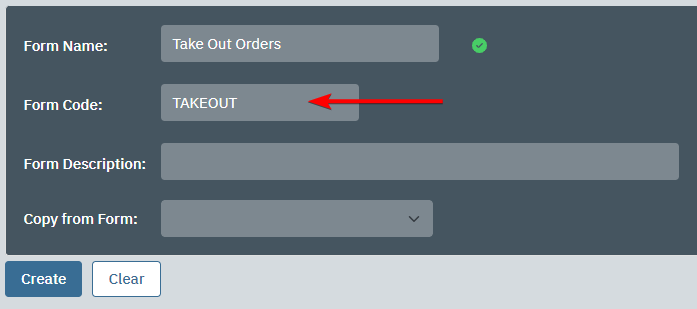 |
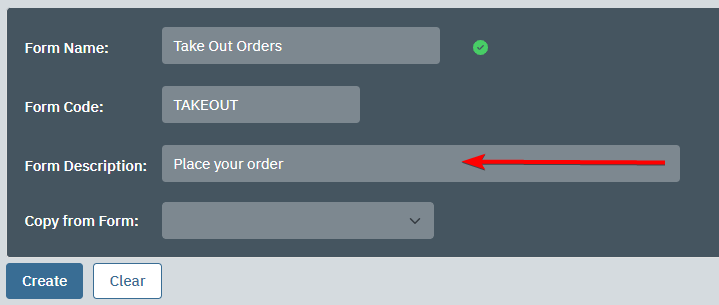
| Enter a Form Description, such as Online Take-Out Ordering. This is what users will see at the top of the form page. If the description is the same as the title, then you can leave this field blank. |
 |
| In the Copy from Form field, select "Sample Take-Out Form". | 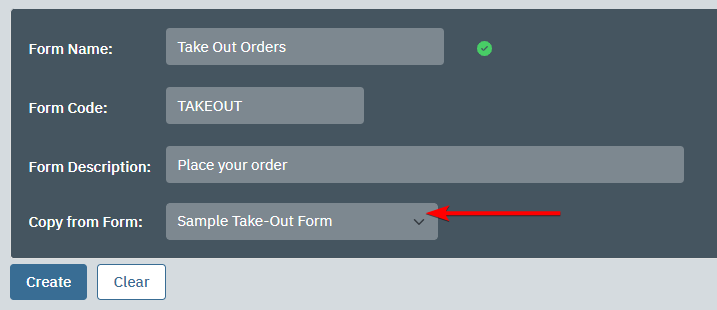 |
| Click Create. | 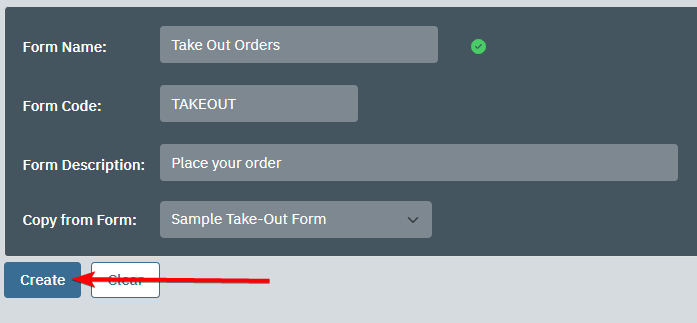 |
| Click the General tab. |  |
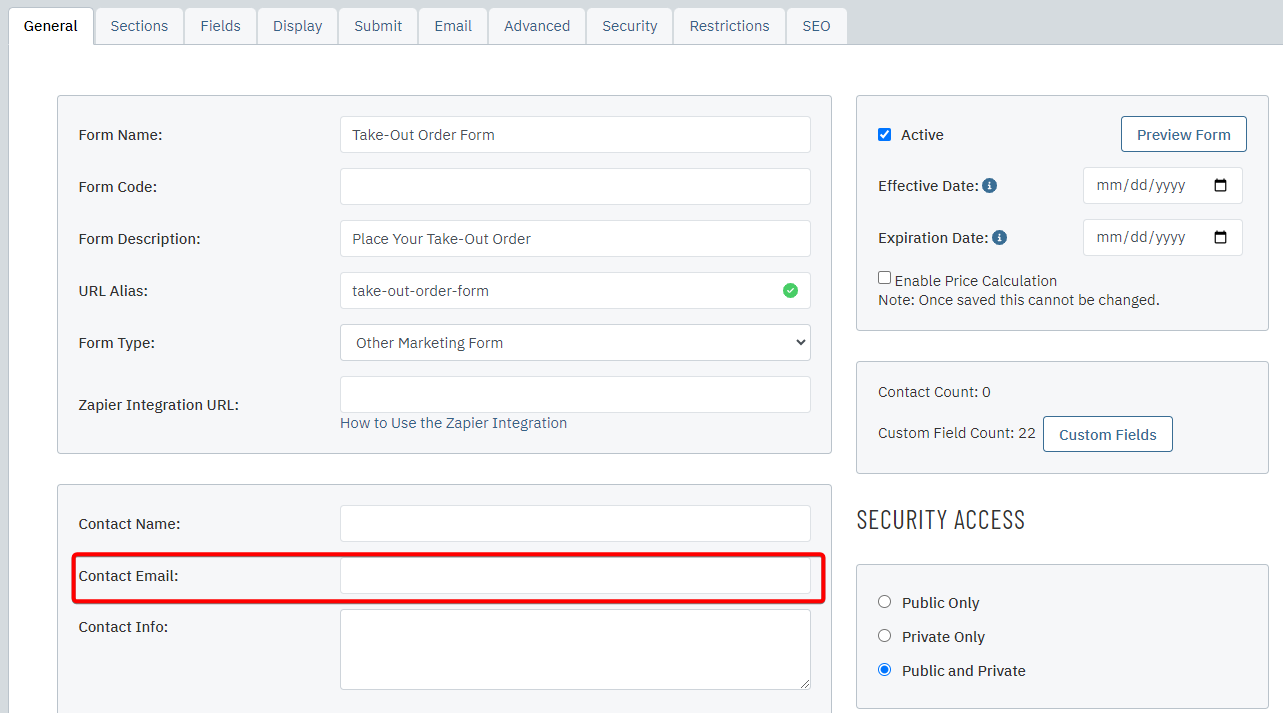
| Enter the Contact EMail. The email address entered here will receive an email when a new take-out order is placed. |
 |
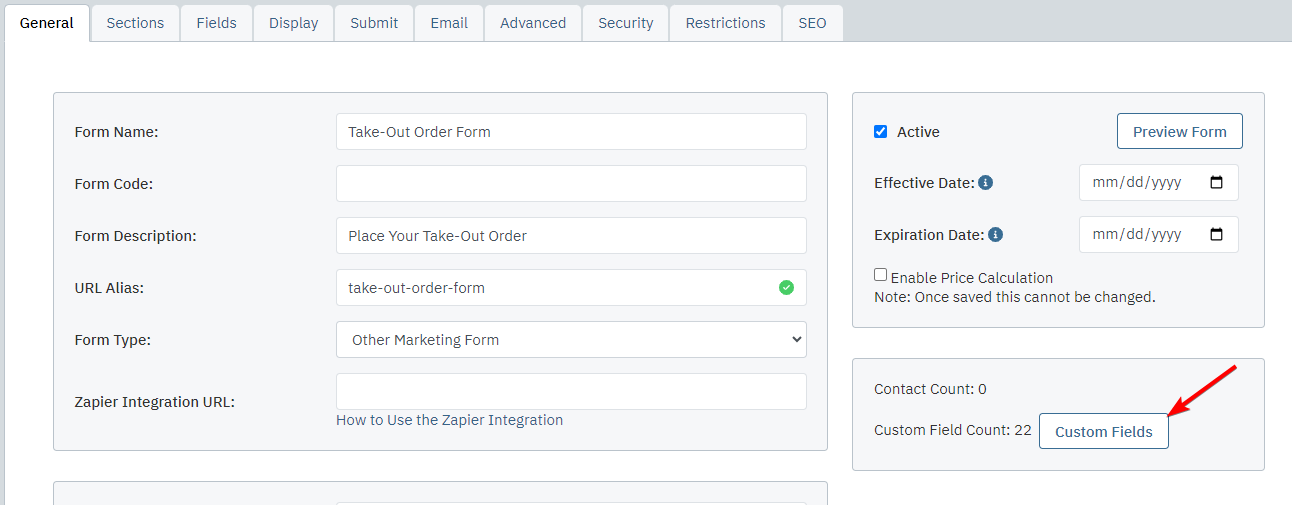
| Click Custom Fields to edit the items listed on the take-out form. A pop up will appear to ask you if you want to save your changes, click OK. Before proceeding, click Preview Form to see your form as you make your edits (click refresh to see new changes). |
 |
Headings
There are five main headings on the sample form, each within a Custom Text field. They are: Appetizers, Soups, Salads, Main Entrées, and Dessert. If you need to add or delete headings, follow the instructions below. Otherwise, proceed to the Items section below.
| Click New to start adding a new heading. A "Create" box will appear below the list of fields. |
 |
| Enter the heading into the Field Name and Field Heading fields. | 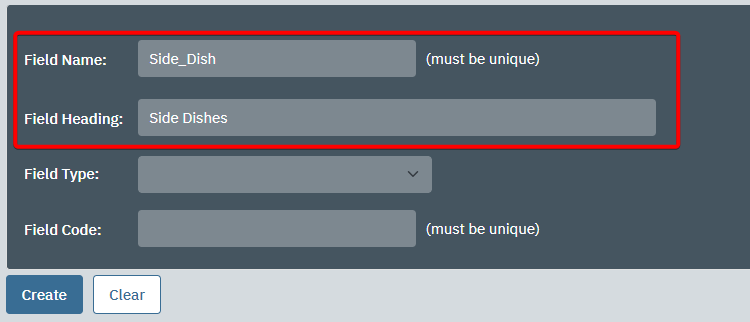 |
| In Field Type, select Custom Text. | 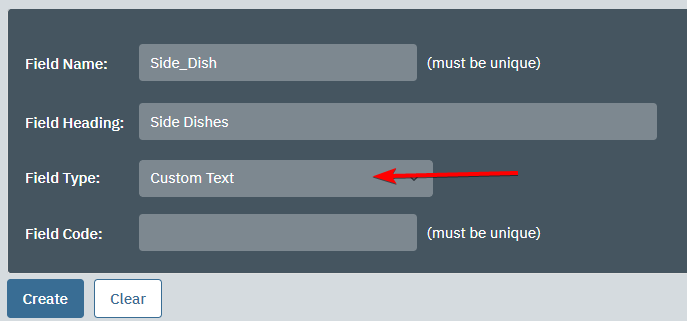 |
| Locate the position of where the new heading should go. Make note of the Sequence number. | 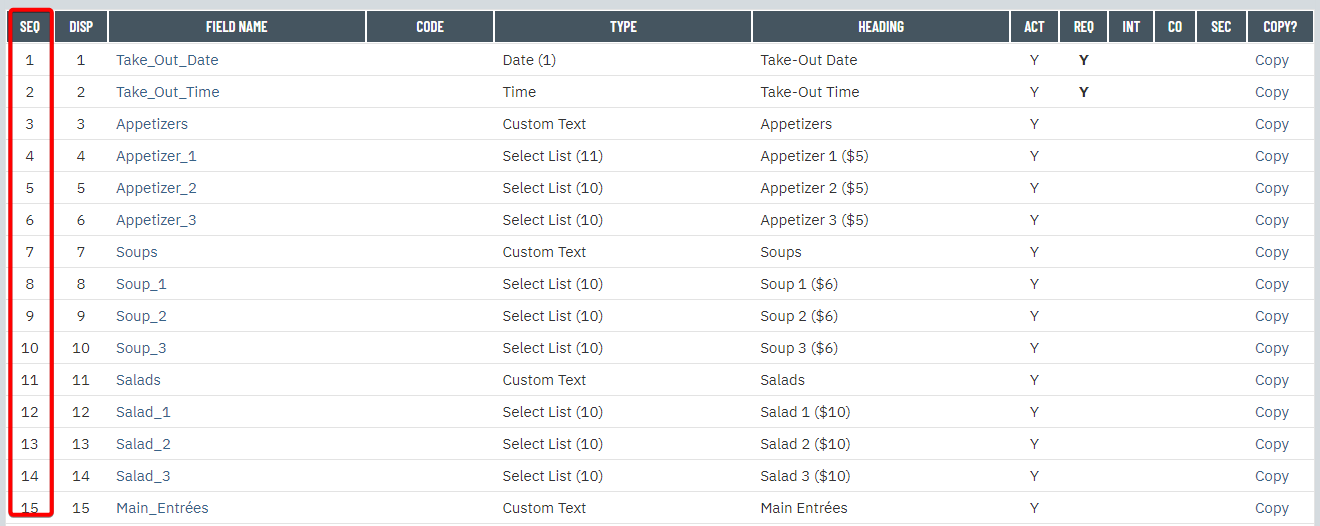 |
| Click Create. | 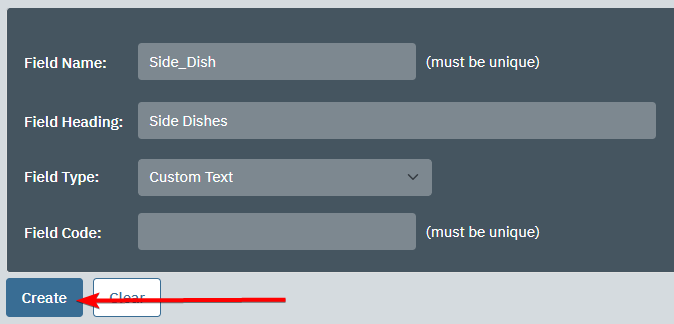 |
| Enter the desired Sequence number into the Sequence # field. | 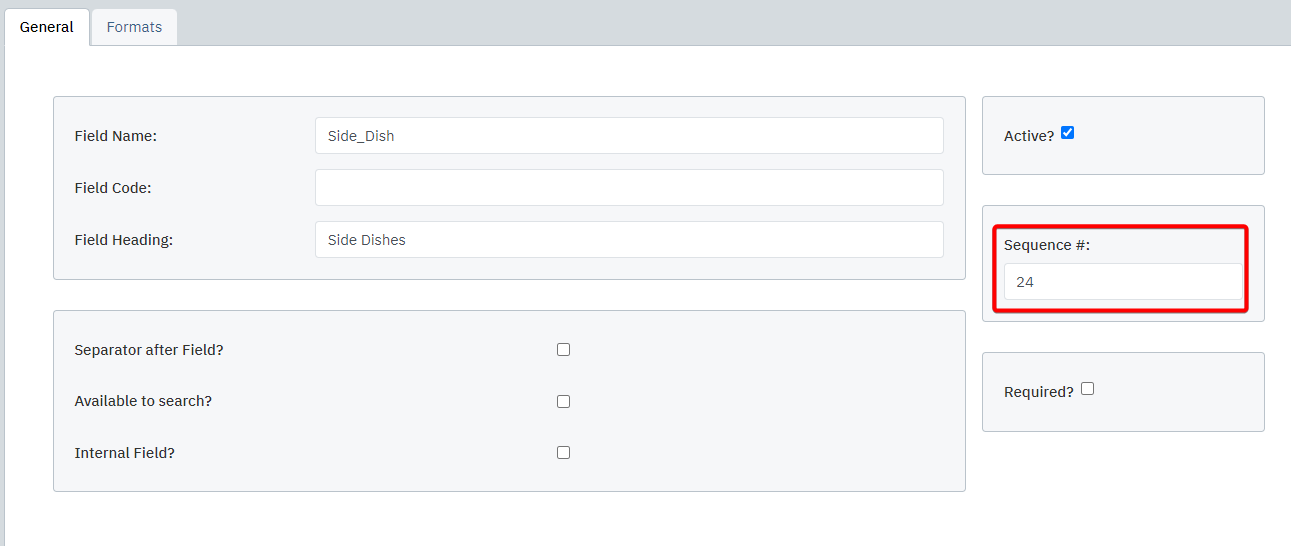 |
| Click the Formats tab. | 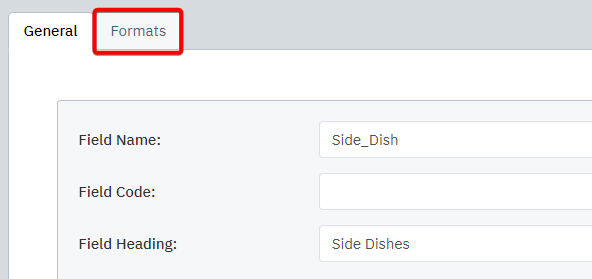 |
Enter Headinginto the Custom Field Heading field, where "Heading" is the text you would like to appear on the form. |
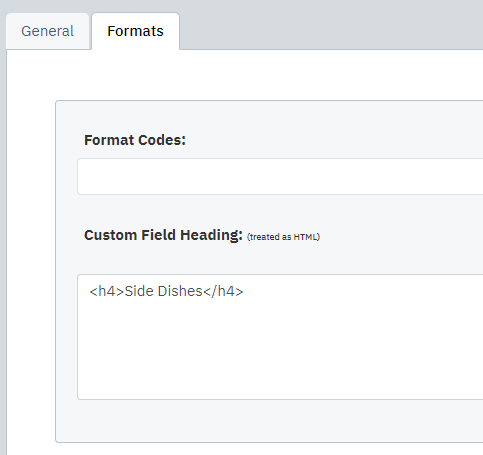 |
| Click Save |  |
Items
Begin by altering existing fields to fit your menu.
Next, add any new fields.
- Click New
- In Field Name, enter your item's name.
- In Field Heading, enter your item's name and price.
- For Field Type, select Select List
- Use the Add Option field to add options 1 - 10. These are the quantity your members can select.
- Click the Formats Tab
- Copy and paste the format below, replacing item name, description, and price
Item
Description
($10) - Click Save. Repeat for any additional items you have
Then, delete any fields you do not need.
Saving your form
| Once you have created all of your custom fields, click Edit Form to return to the form edit page. You do not need to save changes when leaving the Custom Fields page. Changes are saved as soon as you click Create Now when creating a field, Save when editing a field, or OK when deleting a field. |
 |
| Return to the General tab and check the Active box. | 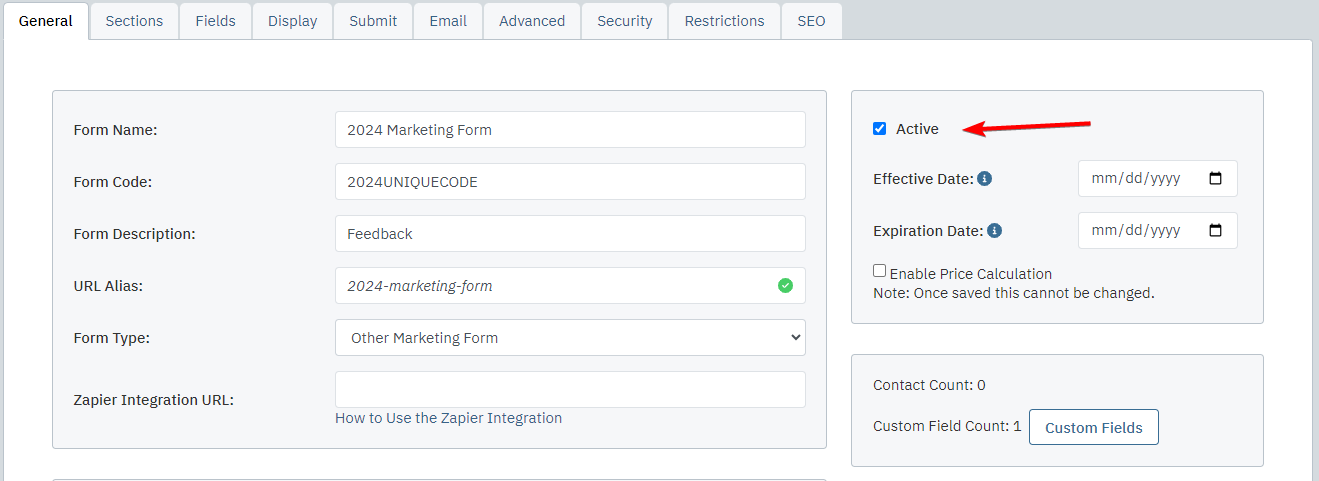 |
| Click Save & Close to finalize you work. |  |
How to Add Order Form Fields to Your Forms
Order form fields can be added to your marketing request forms to calculate sub-total charges, which can be used for integrated bill pay, donation forms, and take out orders.
Note: These forms do not calculate tax or gratuity. We suggest adding a note to your form's Advanced tab so members are aware. The Order Amount field only calculates the sub-total charges.
| On the General tab of your form, set Form Type to Online Take Out Form | 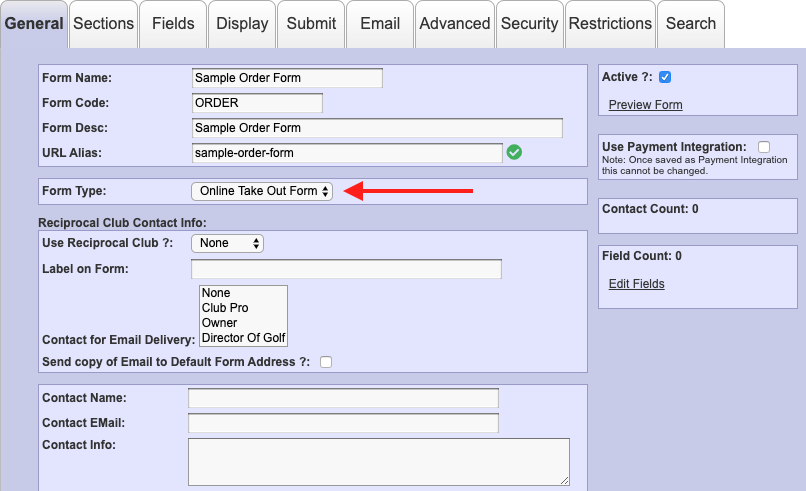 |
| Check the Use Order Form field. This will automatically add an order total field to the bottom of your form. | 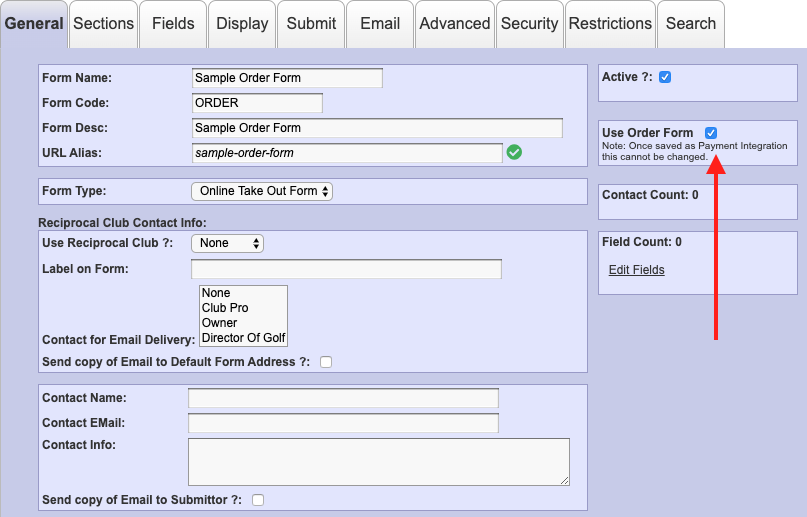 |
|
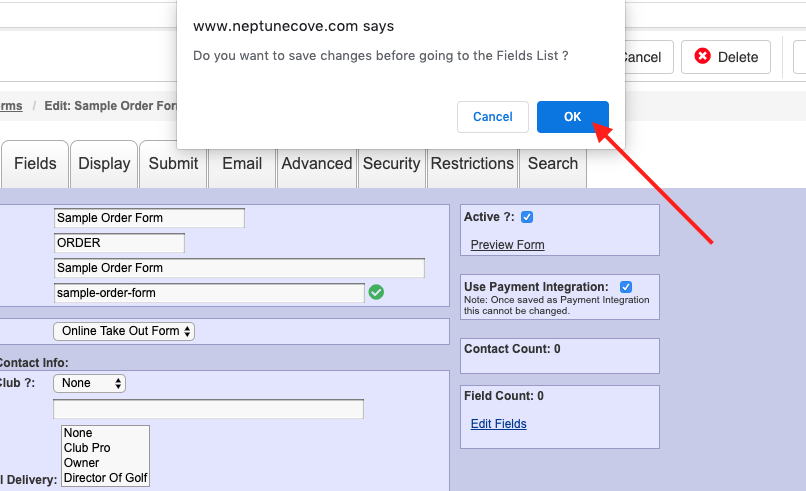
Click Edit Fields to add order form fields to your form.
A pop up will appear to ask you if you want to save your changes, click OK. |
 |
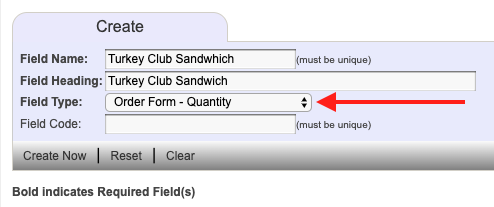
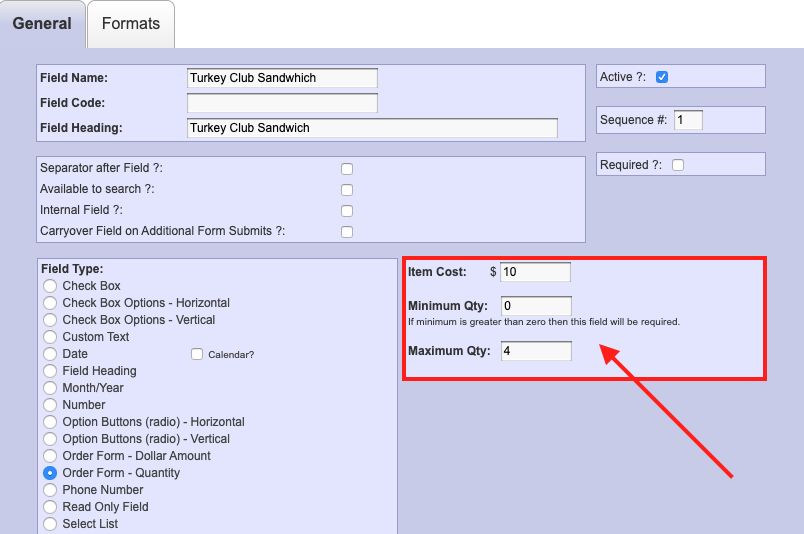
Two new Field Types will be available to use when adding new fields:
|
 |
|
If you chose Order Form - Dollar Amount, enter the Minimum Amount and Maximum Amount users are allowed to enter.
If you chose Order Form - Quantity, enter the Item Cost and the minimum and maximum quanity users are allowed to order. Click Save at the top of the page to save your new field. |
 |