How to Import MembersFirst Event Billing into JCM
This is the sixth article in a series on how to set up billing for your events. Click here to return to the overview.
After an event, once all attendees are checked in and you have the exported billing file, you're ready to import into Jonas JCM.
Open Jonas JCM. Go to Point of Sale System > Event Management > Setup/Edit Event |
 |
| After selecting an Area for the event, click Add Another Event |  |
Enter a date (MMDDYYYY), time (24 hour format), and an Event Name. | 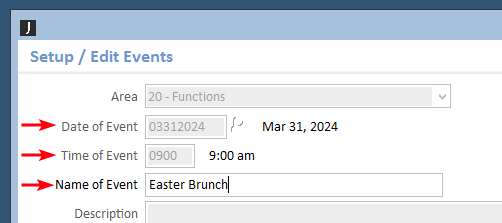 |
Click the Import Members link. |
 |
From here, choose Update to files, then use the Filename field to locate the billing file exported from MRM. Once the file is selected, you'll need to double click row 1 to identify it as the starting row. Click OK | 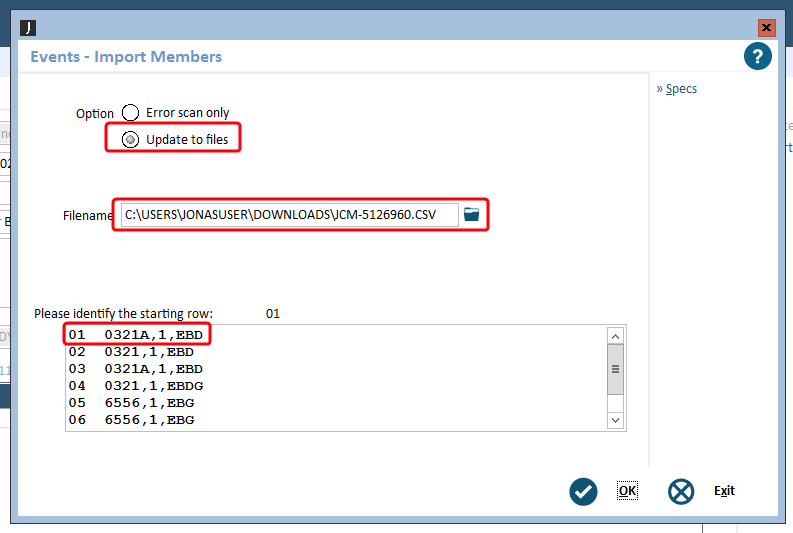 |
| You may be presented with an interface to view the results of the import. View/Print this as desired. | 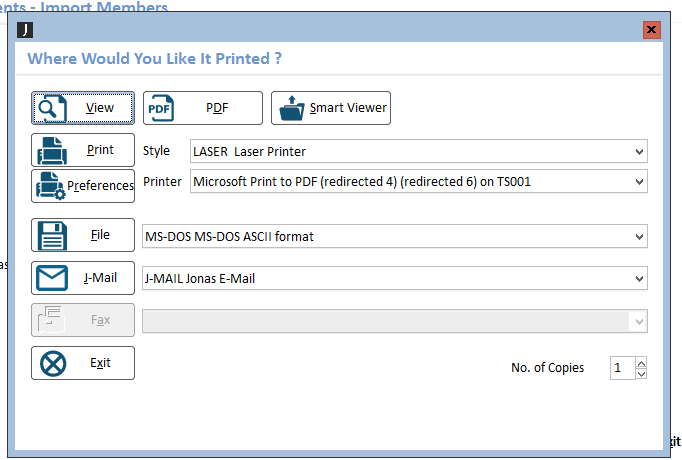 |
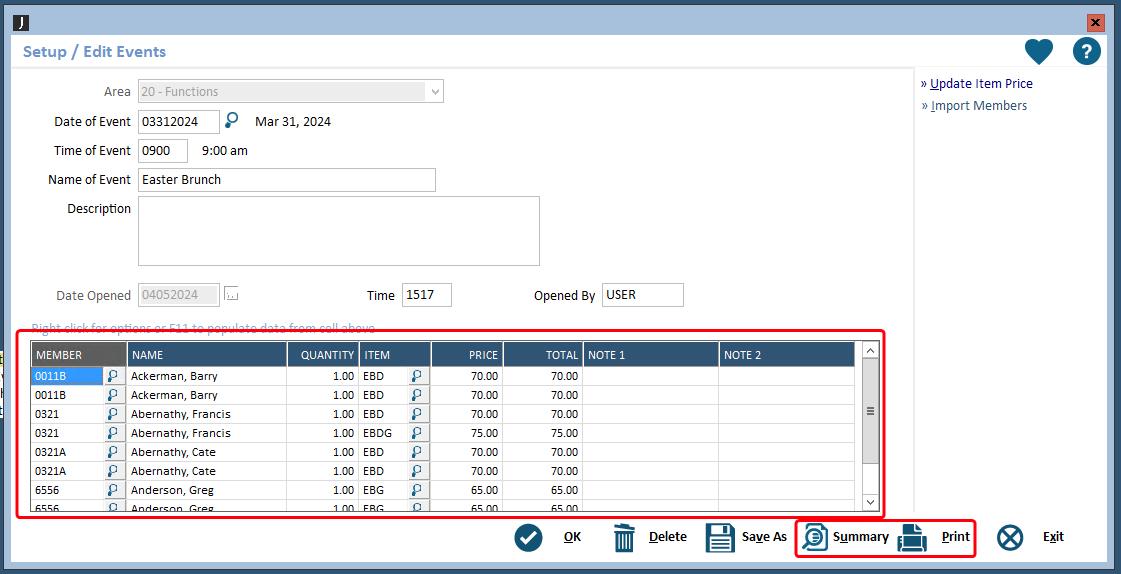
Click back into the Event to see the members now loaded in. This is a great chance to view a summary or print the incoming billing data for review. |
|
To create chits from this billing data, we need to open the event. Go to Point of Sale System > Event Management > Open an Event |  |
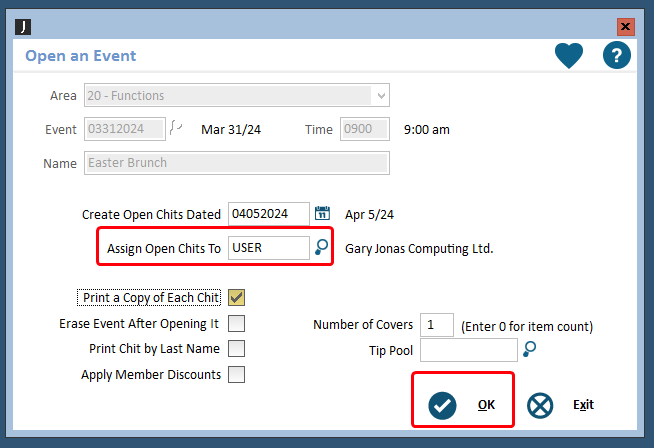
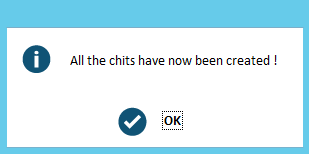
For the Create Open Chits Date field, use the current date. Then select a user in the system to assign the incoming chits too. This could be a Floor Captain or Manager, for instance. Click OK and your chits should be created. |
|
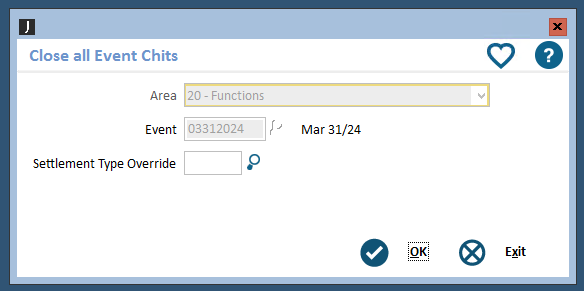
At this point, you have the option to post the chits all at once if you don't need to leave them open to continue working with them. To do this, go to Point of Sale System > Event Management > Close All Chits for an Event. Find your event and to continue to closing the chits. |
|
If you wish to leave the chits open to continue using and assign on to a server, you'll find the chits in Point of Sale System > Chit Processing > Open Chits | 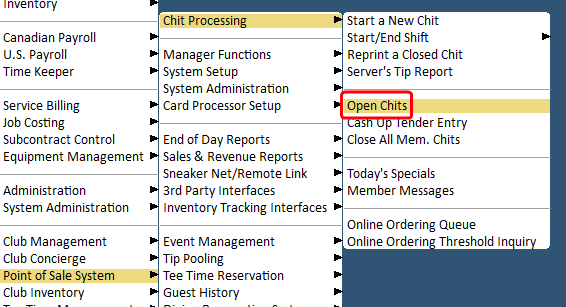 |
| The chits will be assigned to the user selected when the event was opened, ready to be assigned to a server or closed out as desired. | 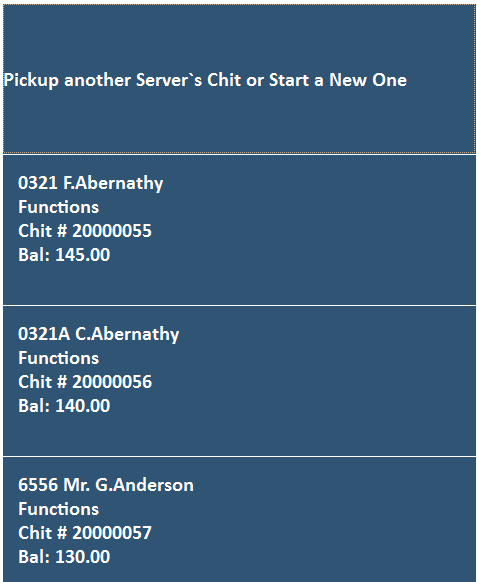 |
| At this point, you have the option to go back to the MRM Event Check-In page to mark the registrants as "Billed" for tracking purposes. | 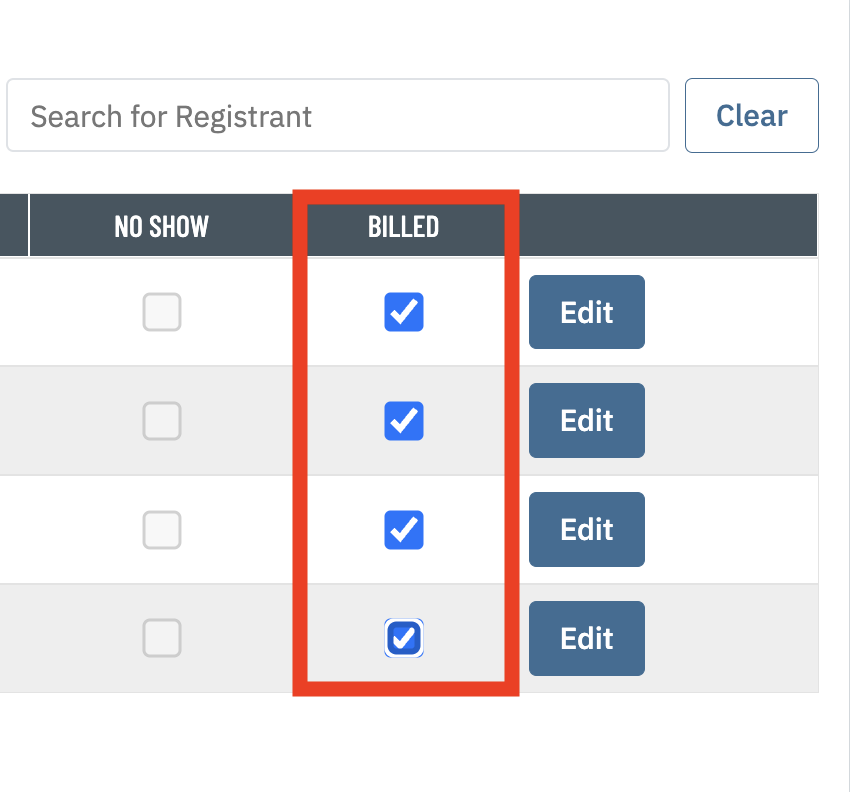 |
This is the sixth article in a series on how to set up billing for your events. Click here to return to the overview.
