�How to Create a Library Document
Step-by-Step Instructions
Library documents are essentially static web pages that you can edit freely using our content management system. Most of the time new library documents will only be accessible to site visitors when you have created a link that points directly to it. In some cases, library documents can be configured to automatically display on a library document list such as Golf Tournament Results or Committee Meeting Minutes.
| Log into Admin Home on your web site. |  |
| Click on Club Content in the Applications box, then click on Document Library. | 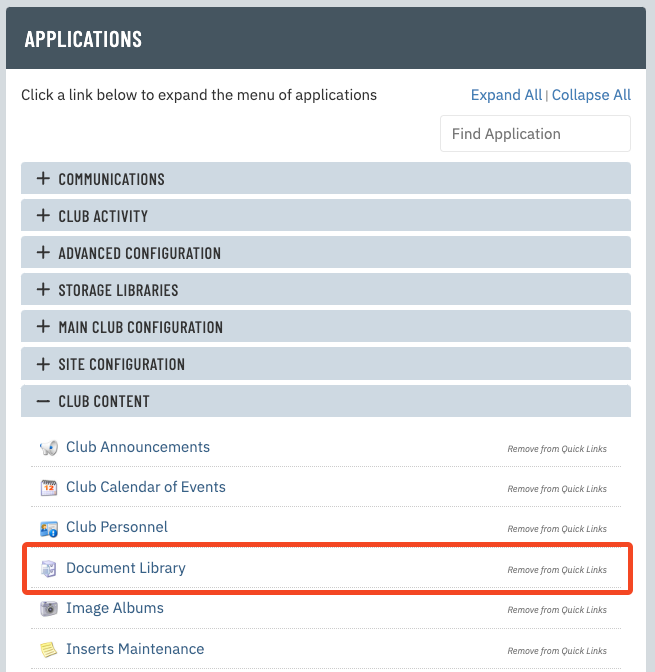 |
| Click New at the top of the page. | 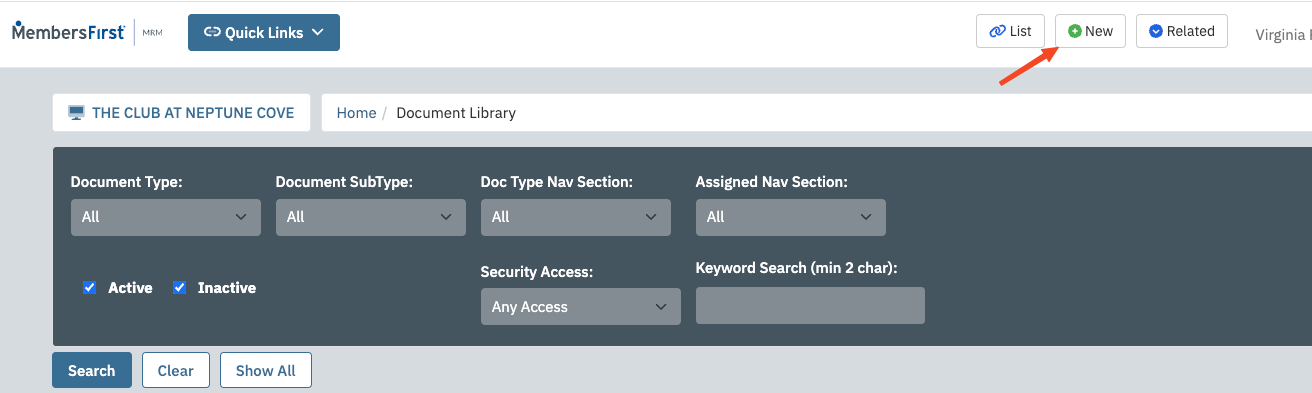 |
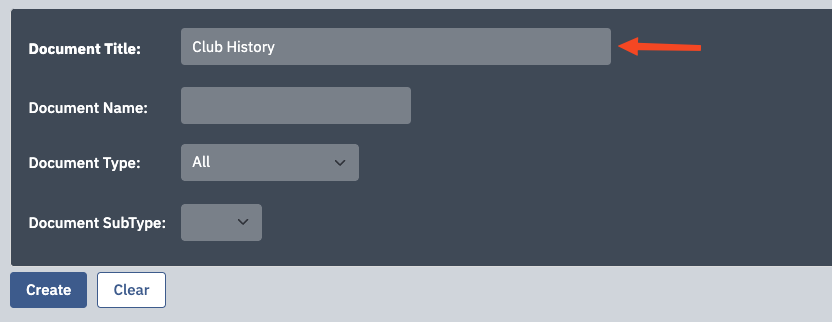
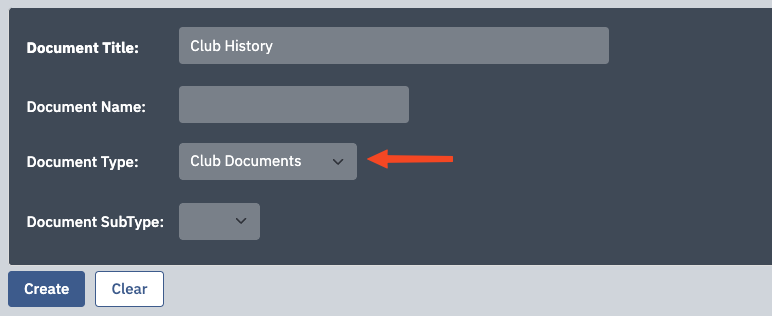
| Enter the title of the document into the Document Title field. This is displayed at the top of the document page on the front end of your site. The Document Name field can be left blank, since it is used for navigation. |
 |
| If the document belongs in a document library list, then use the Document Type drop-down to assign it to the appropriate list. Use the Document SubType drop-down as well if applicable. Even if the document doesn't belong in a list, you can still assign a document type to organize the document library on the admin side of your site. |
 |
| Click Create Now. | 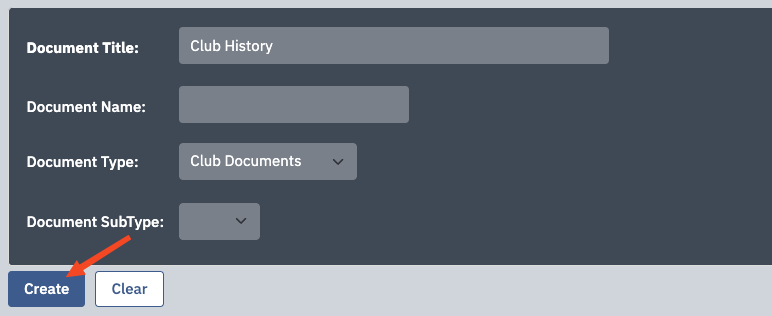 |
| You will now be on the Full Page Text tab. Here is where you enter the text for the document, which appears under the document title. | 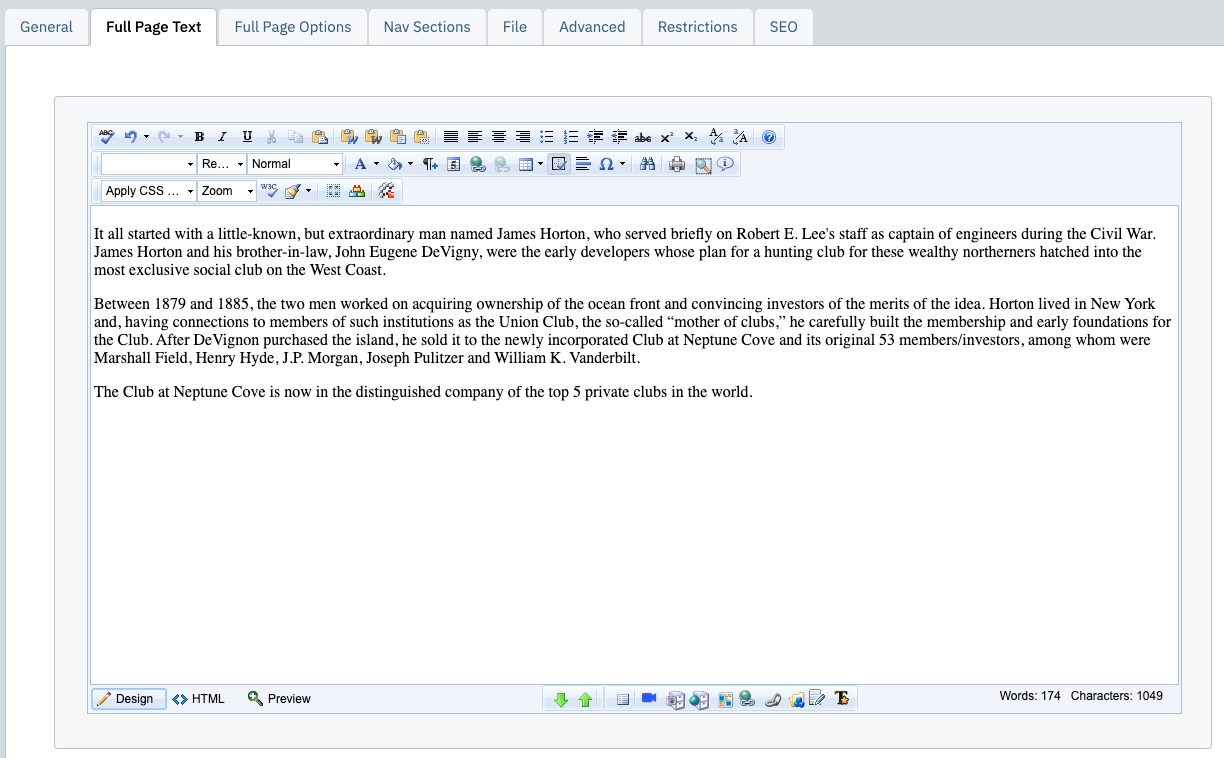 |
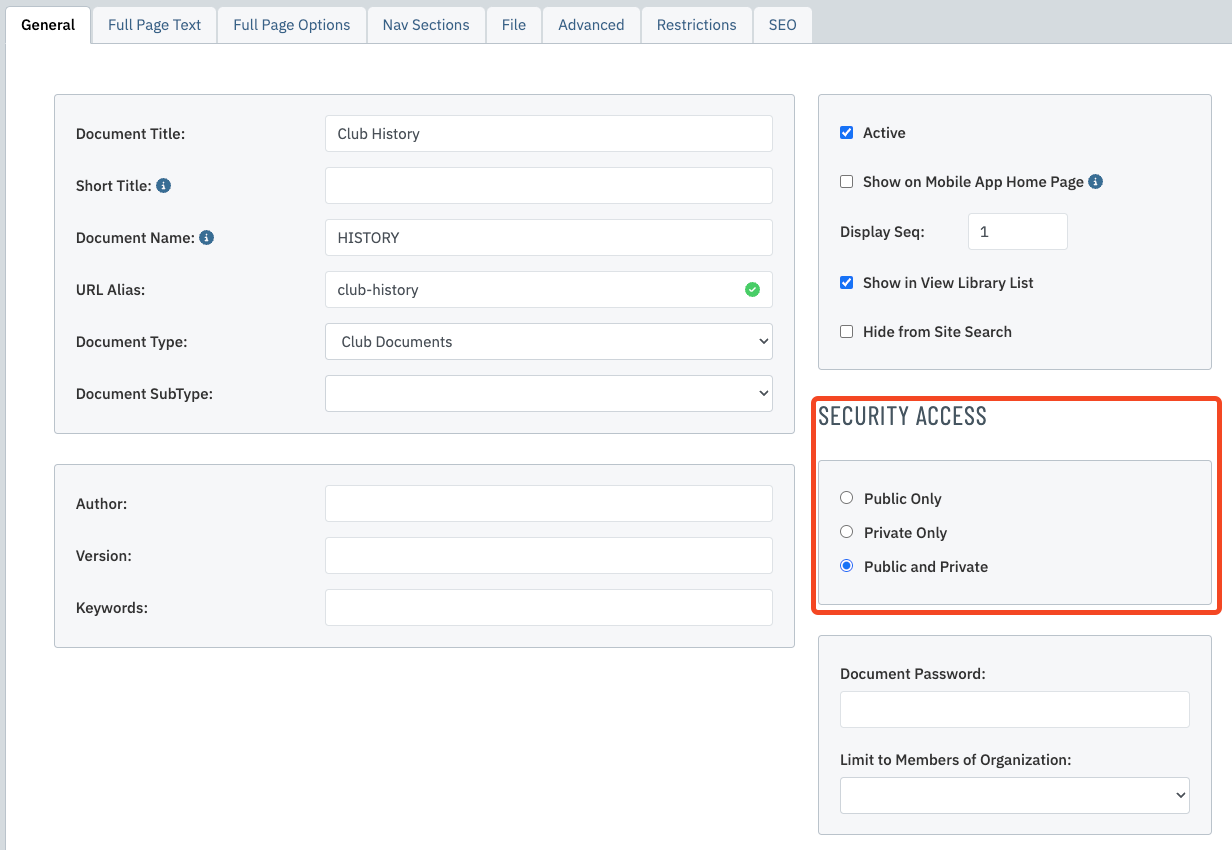
| Click the General tab. Here you can review the Document Title and Document Type information. If you have selected a Document type and you do not want this document to display on a Library Document List (such as Golf Tournament Results or Committee Meeting Minutes) you can simply deselect Show in View Library List. |
 |
| While on the General tab make sure the document has the appropriate Security Access. Public Only documents can only be viewed by users who are not logged in. If a member is logged in an tries to view a document with this access type, he/she will be logged out. Most public documents should use access type Both instead. Private Only documents can only be viewed by users who are logged in. If the user is not logged in, he/she will be brought to the login page when trying to view a document with this access type. Documents with access type Both can be viewed by all users. |
 |
| Check the Active box. If you have the mobile app, check the Show on Mobile App box as well. Click Save & Close to finalize your work. The steps below explain how to create a link to your new library document. |
 |
| Find the content you want to create the link on and go to the editor. | |
| Highlight the text or image that you want to turn into a link in your email and click the Content Hyperlinks button. |  |
| Open the Select Content Type dropdown menu and select Library Documents. | 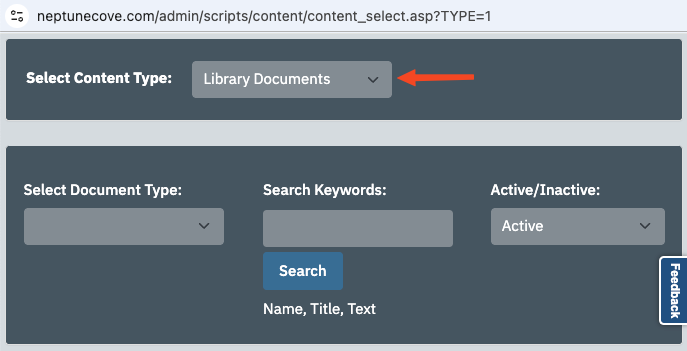 |
| Enter the library document title into the Search Keywords field and click Search. | 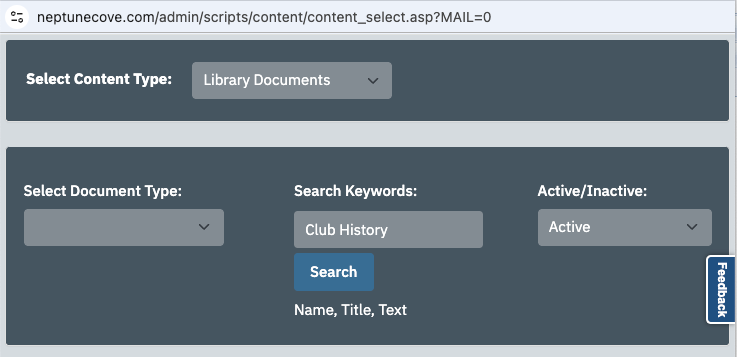 |
| Click the document title in the left column or Link in the right column to select the document. | 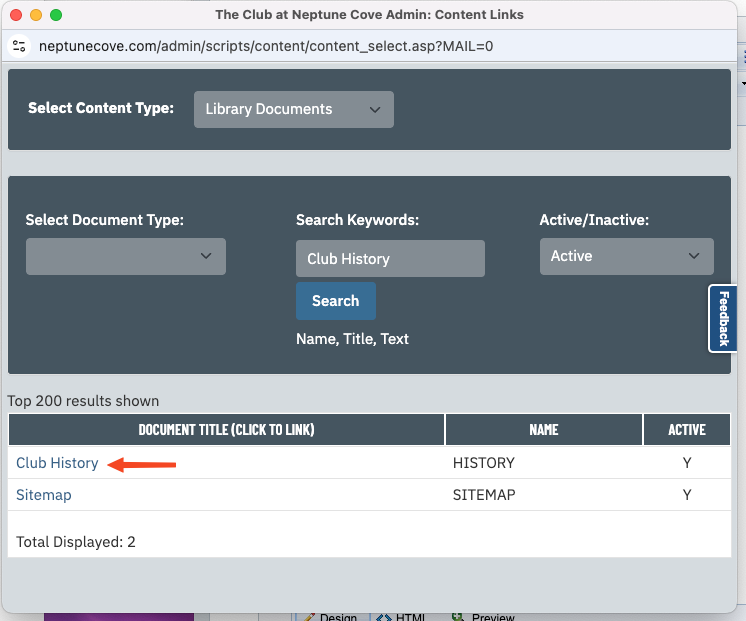 |
| The text will now be blue and underlined to signify that it is a link. |  |