�How to Create & Manage Mailing Lists
Creating a New Mailing List Category
| Log into Admin Home on your web site. |  |
| Click on Advanced Configuration in the Applications box, then click on Codes Maintenance. | 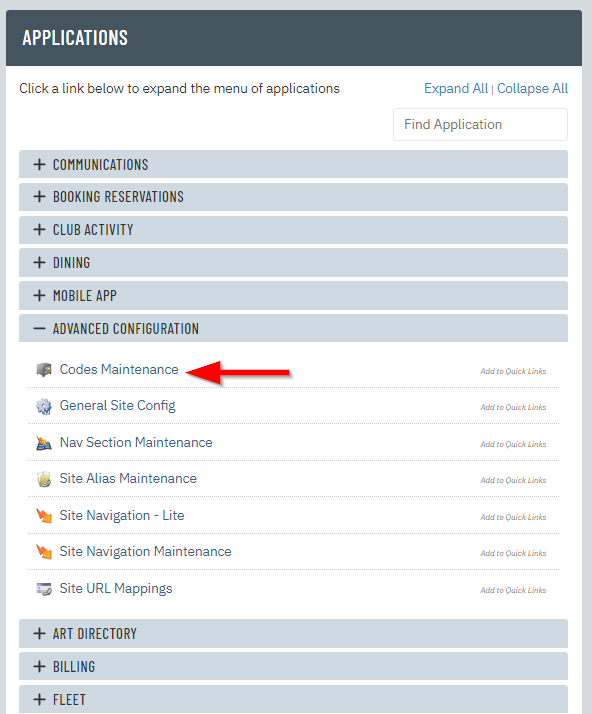 |
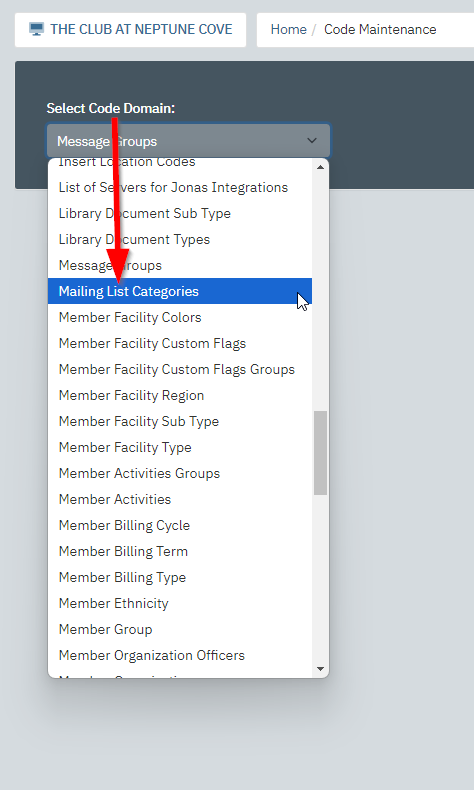
| Select Mailing List Categories from the Select Code Domain drop-down menu. All existing mailing list categories will be listed. |
 |
| Enter the mailing list category code into the New Code field. The mailing list category code is usually an abbreviation of the mailing list category name followed by the date. |
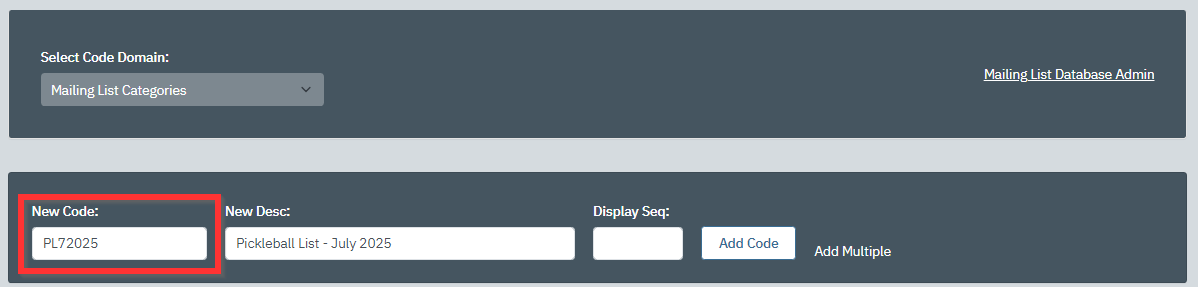 |
| Enter the mailing list category description into the New Desc field. This is what will be displayed in the Mailing List Category selection when sending an email. |
 |
| Click Add Code to create the mailing list category. | 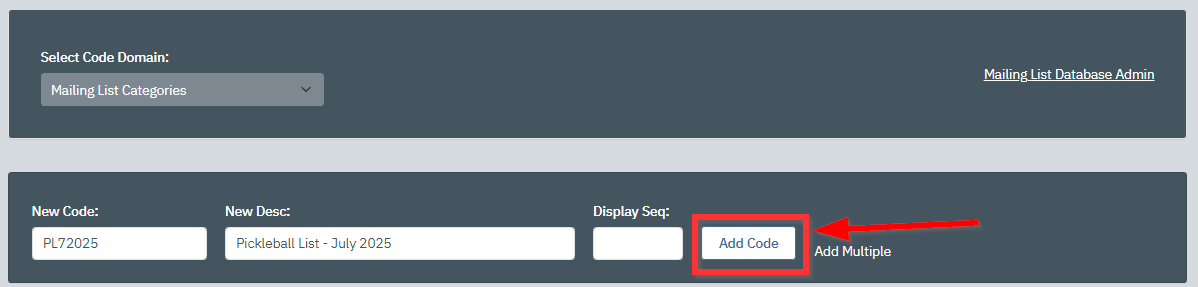 |
| You are now ready to import a Mailing List into your new category, by following the instructions below. | |
Importing a Mailing List Into Your New Mailing List Category
| Open a spreadsheet on your computer. | |
| List all email email addresses in separate rows under the first column. | |
| Go to File > Save As. | |
| Save as type Text (Tab Delimited) (*.txt). | |
| Log into Admin Home on your web site. | |
| Click on Communications in the Applications box, then click on Mailing List Database Admin. | 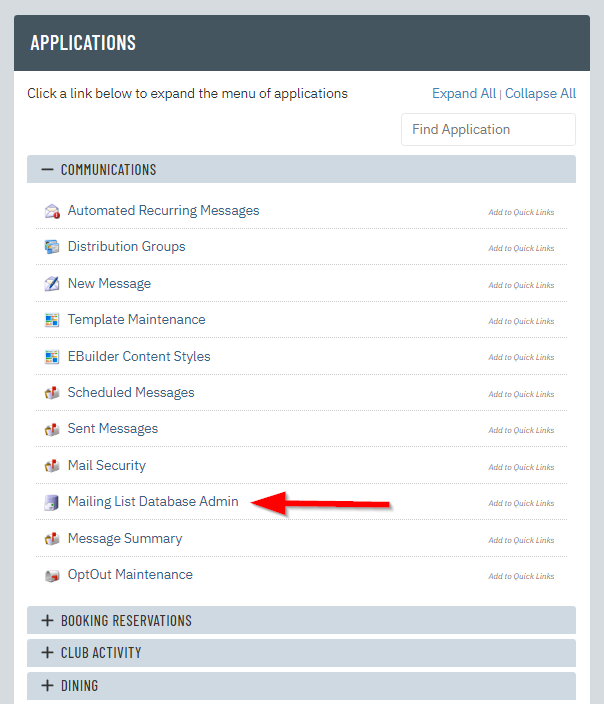 |
| Click Related at the top. |  |
| Click Import List. | 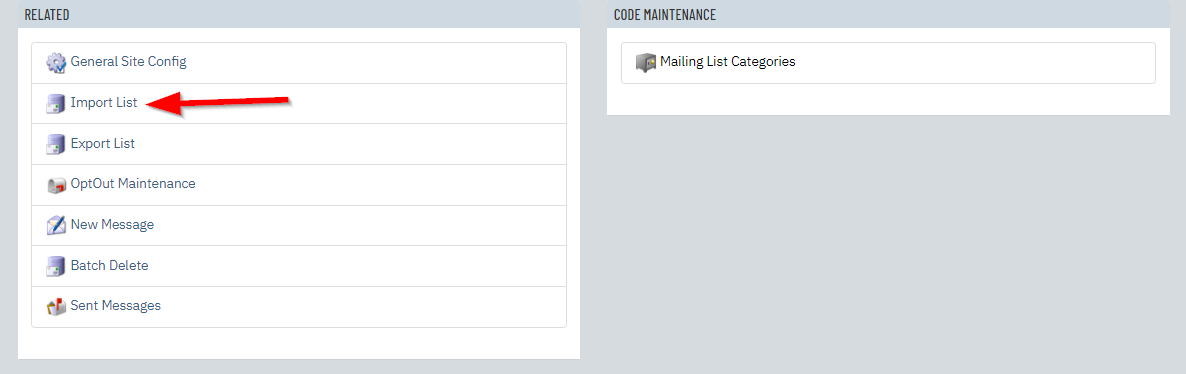 |
| Click Choose File in the Upload File box. |  |
| A pop up window will appear. Find the spreadsheet you created in steps 1-4 and double click it to select it. | |
| In the Import File Format box, open the Field Delimiter dropdown menu and select Tab. | 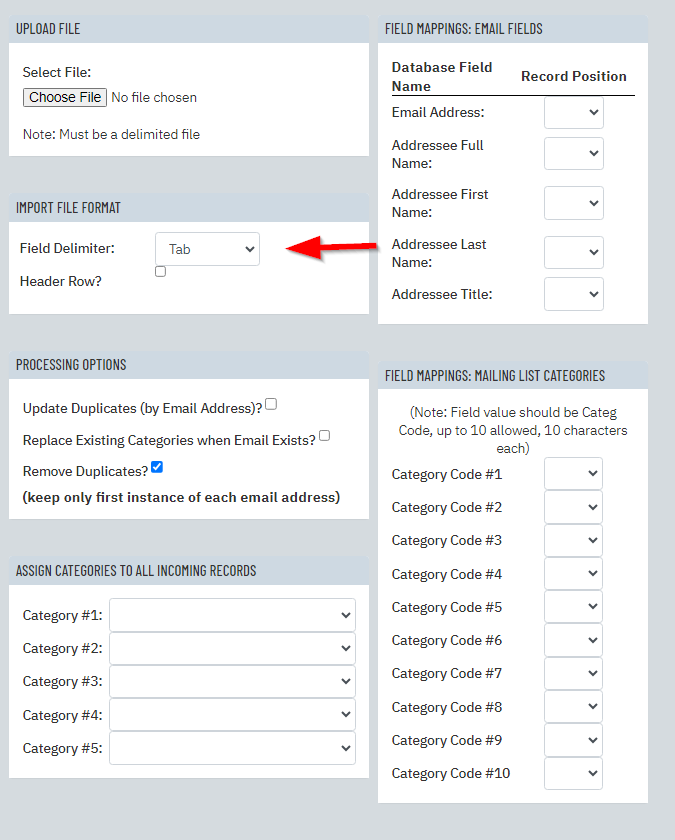 |
| In the Assign Categories to all incoming Records box, open the Category #1 dropdown menu and select the Mailing List Category that you created. | 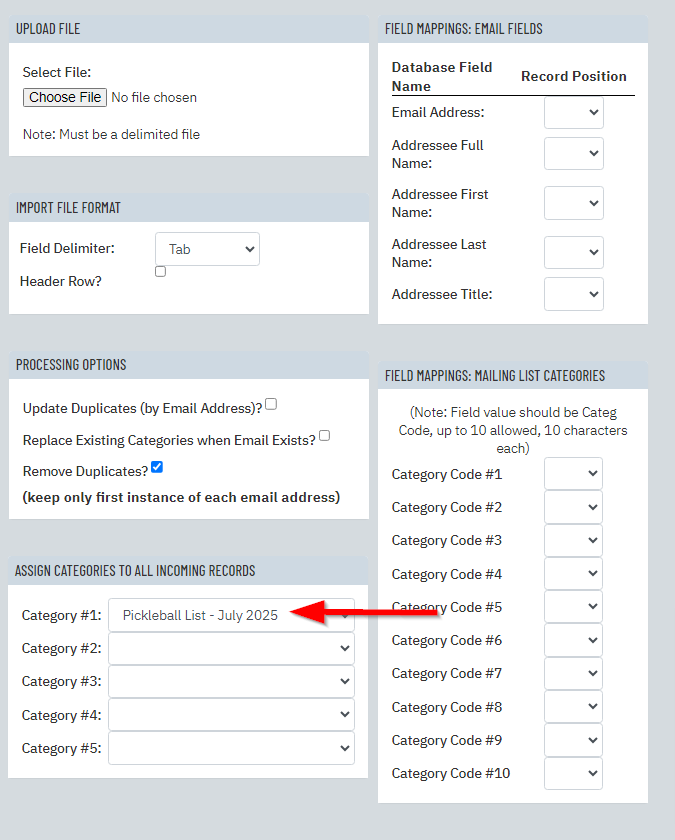 |
| In the Field Mappings: Email Fields box, open the Email Address dropdown menu and select 1. | 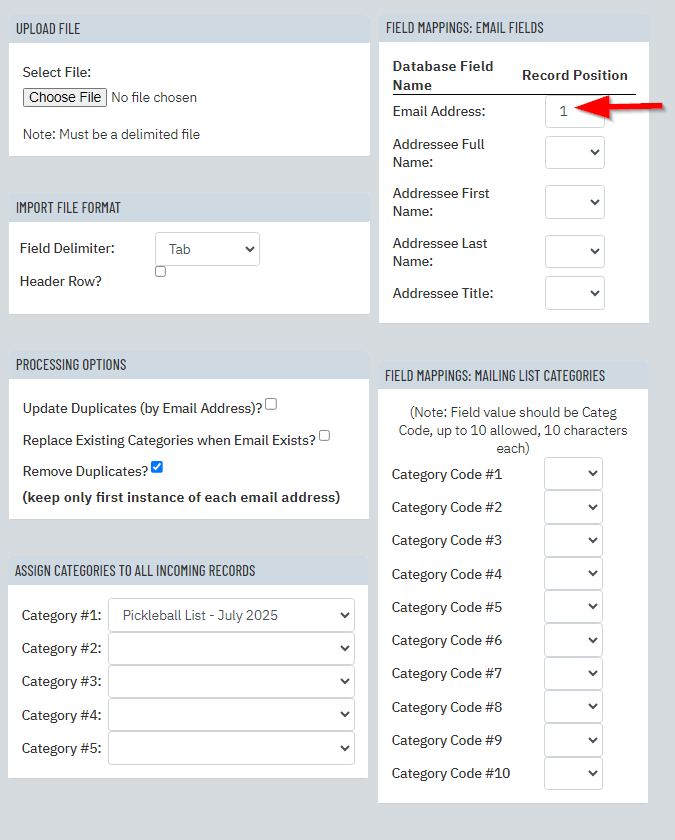 |
| Click Import at the top of the page. Click OK when the confirmation pop up appears. |
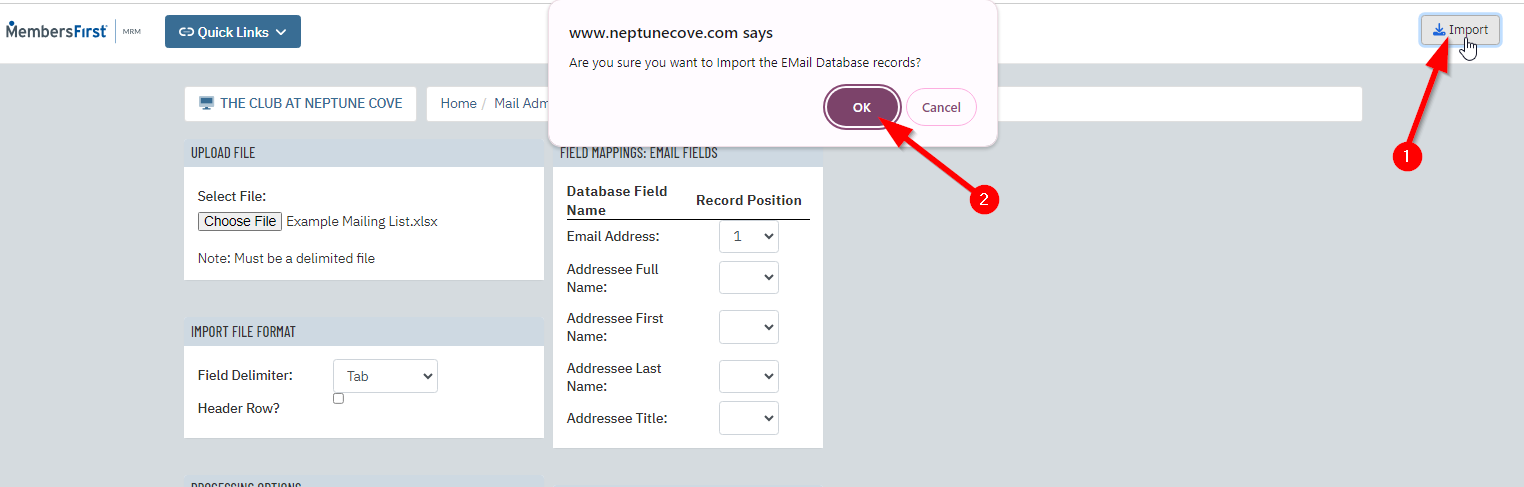 |
| When the processing is complete, click Click Here to Validate. | 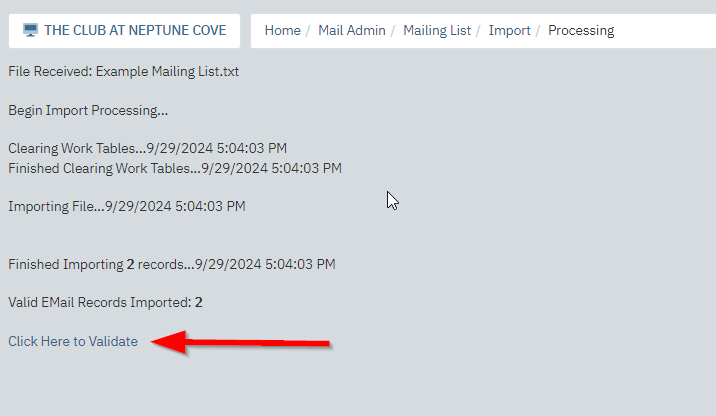 |
| Click Click here for Final Processing. Any invalid email addresses will be displayed on this page. The entry will be imported, but emails will not be sent to the address. |
 |
| Once processing is complete, click Click here to continue. These email addresses are now saved in your Mailing List Database and can be used for future eblasts from your website. | 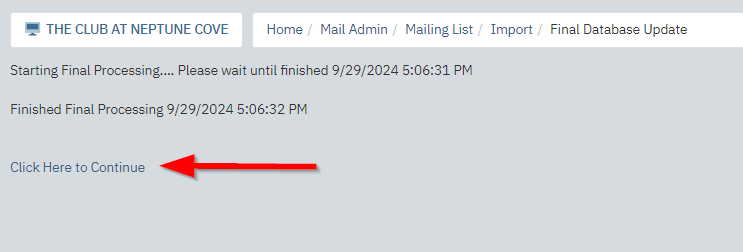 |