†How to Use Message Groups When Sending Emails
Message Groups give members the option to opt out of certain categories of emails, as opposed to all emails sent by the club. This offers more flexibility and decreases the likelihood that members will decline all communication.
If you are interested in enabling this feature, first think through the various emails your club sends. For example:
- General Club Announcements
- Dining & Social
- Fitness
- Golf
- Junior Activities
- Tennis
Once you have determined the categories, you will need to set them up on the website.
| Log into Admin Home on your club's website. | 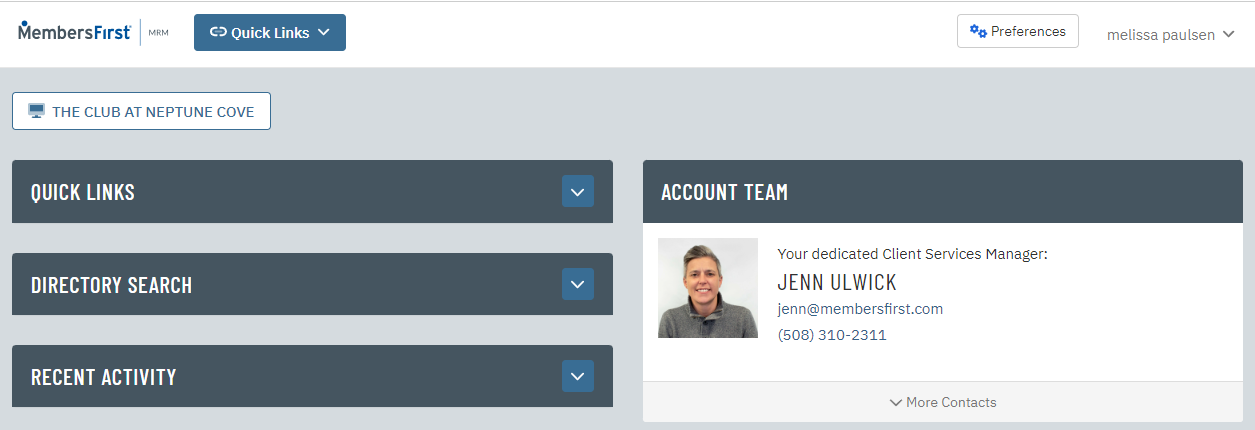 |
| Click on Communications in the Applications box, then click on New Message. | 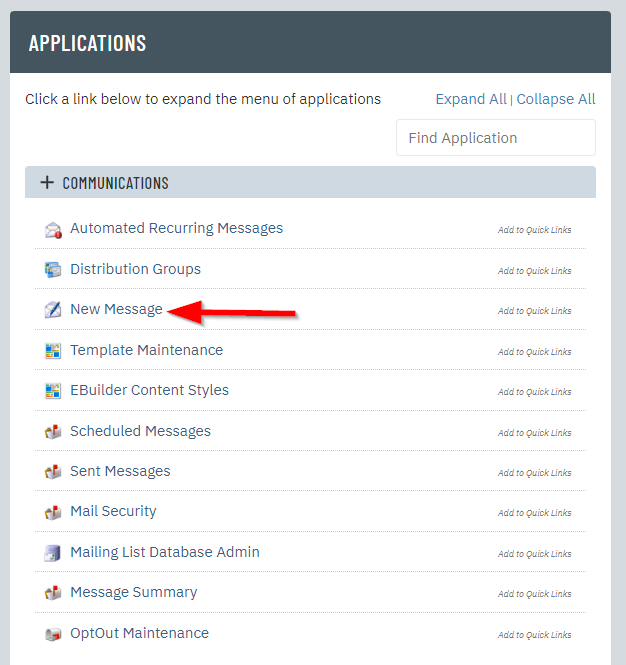 |
|
From here, click Related. |
 |
| Next, in the Codes Maintenance box, click on Message Groups. | 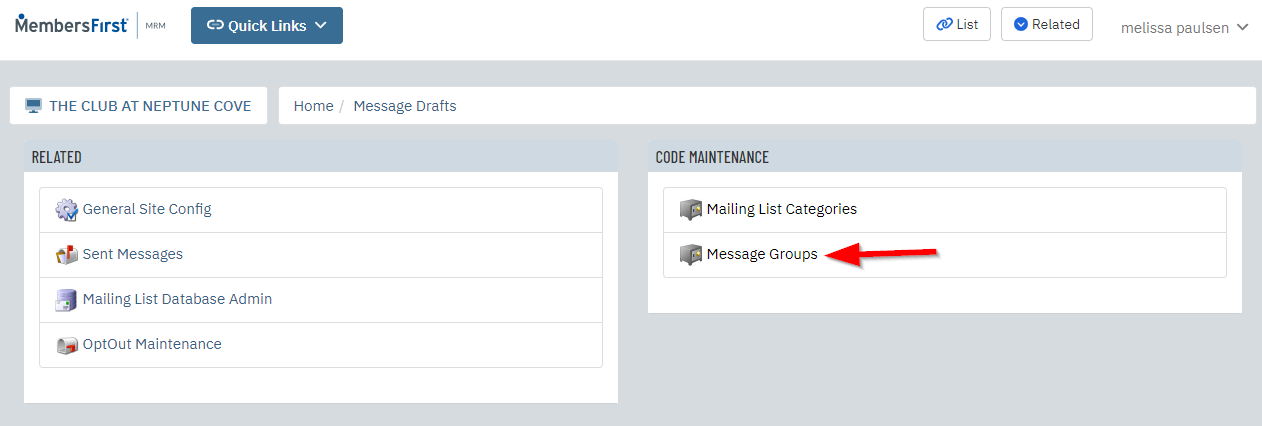 |
|
To create each Message Group, fill in the following information:
Repeat for each Message Group (category) you need to add. After you have set up each category, contact your Client Services Manager to enable opt-outs by message group. |
 |
|
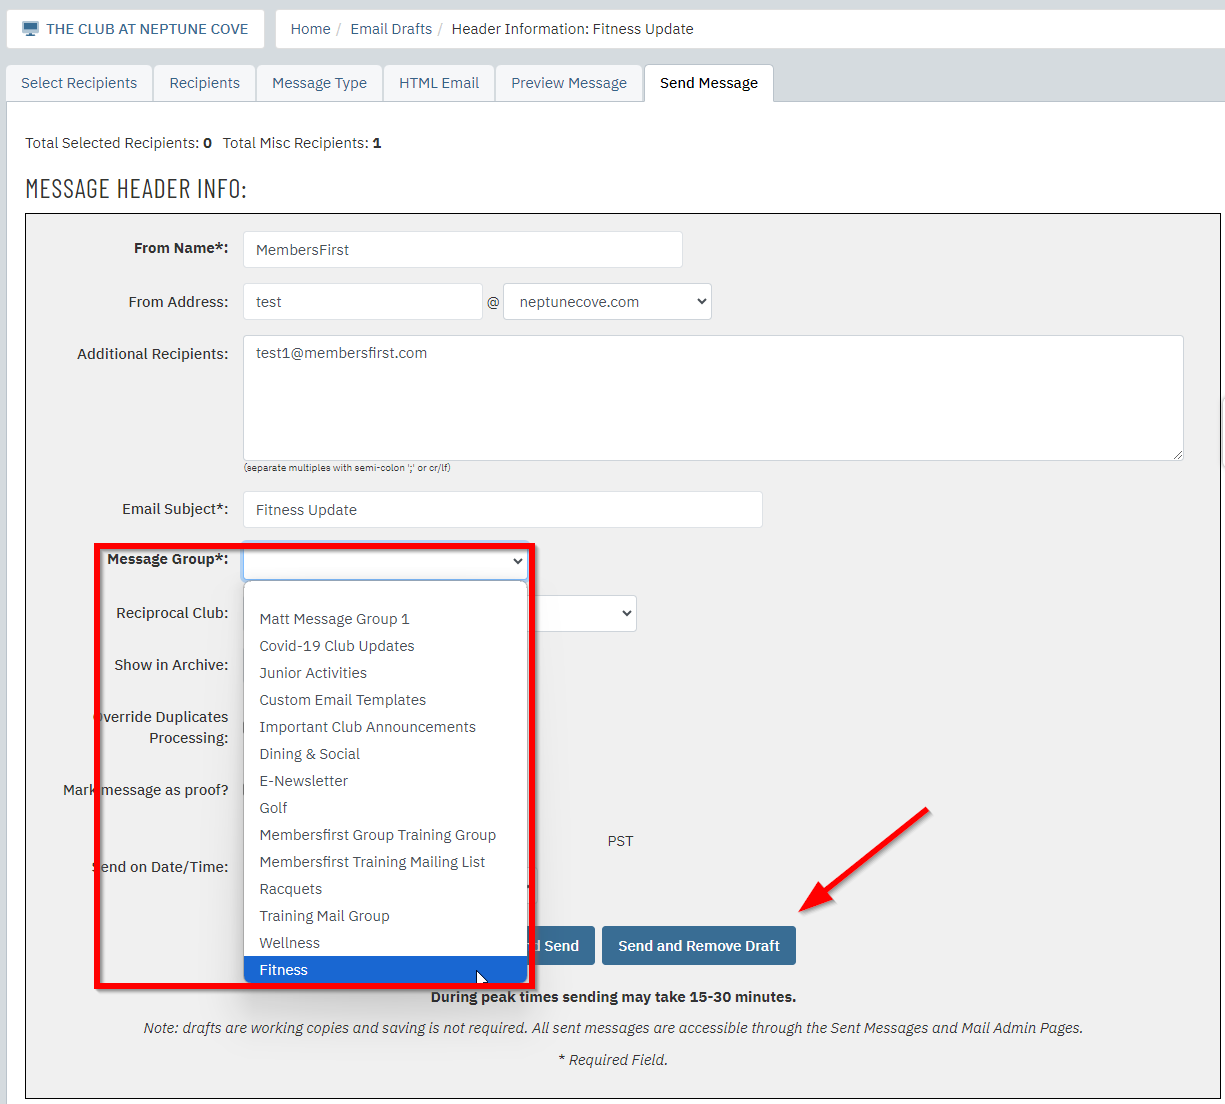
Once the feature is enabled, when creating a new email you should follow the same steps you have in the past. Further instructions on this topic are available here. When sending the final email, select the recipients the same way you normally do. Then, in the Send Message tab select the appropriate Message Group from the dropdown. This will automatically remove anyone who has opted out of that specific Message Group. Send the email. Note: If you do not select a Message Group, the email will not send and you will see the following message: "You must select a Message Group in order to properly identify the Opt Outs." |
 |
|
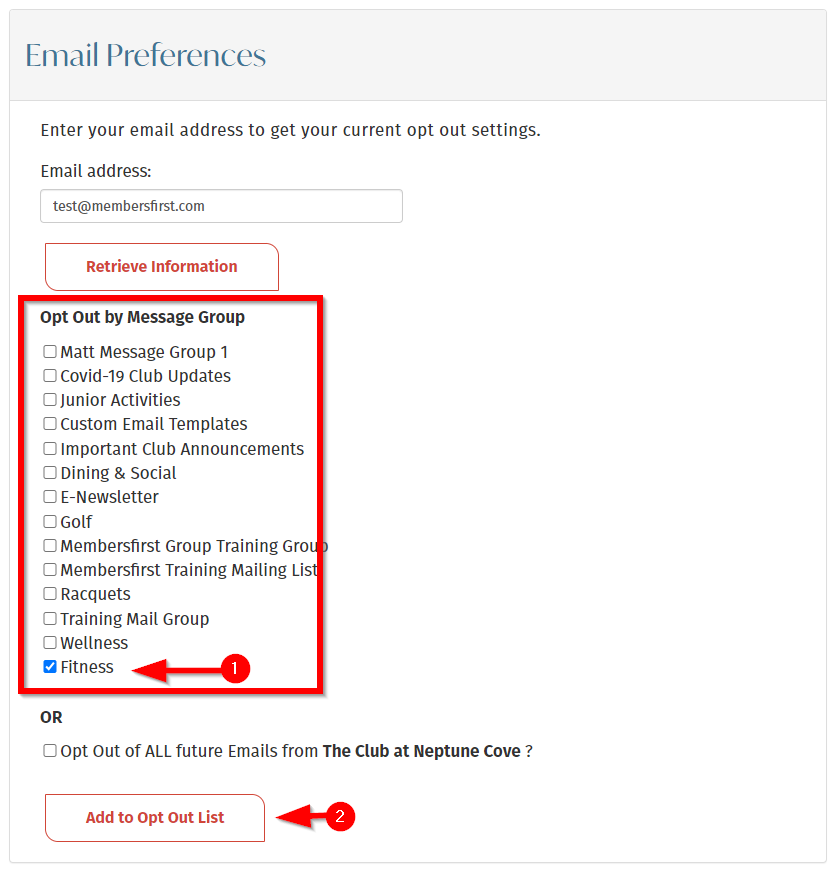
Members can opt themselves out of various groups by clicking on the Click Here to Stop Future Mailings link at the bottom of any email from the club. |
 |
|
Then, from the Email Preferences page, he/she should
|
 |