�Editing Website Banner Images
Unique banner images are available on navigation section pages (primary navigation pages) and document library text pages (found in the left navigation). Other types of pages will not have the ability to have unique banner images applied and will use the same image as the section it’s within (its “parent” page).
Depending on the design of your site, the banner image area may extend beneath your top navigation bar so a top portion of your image may be “hidden” behind the top navigation. Images will be centered within the space designed for the banner image area of your site design. If your site design was made to be responsive, the size of the image will vary depending on the device used to view the website. As the design shifts to accommodate varying width devices, the banner image area will sometimes crop the top/bottom and other times crop left/right of the banner image. For this reason, and because search engines cannot read text over images, avoid placing text over your banner images. PRO TIP: Make sure the focal point of your image is centered.
Step 1: Crop ImageImage Dimensions: |
 |
If you do not have this link, please contact your Client Services Manager for the image dimensions to use. To minimize load time when viewing site pages, make sure to optimize the image to keep file size to a minimum prior to completing the next steps. For more details on cropping and optimizing images see this article. |
|
Step 2: Updating the Banner ImageBanner Image Location |
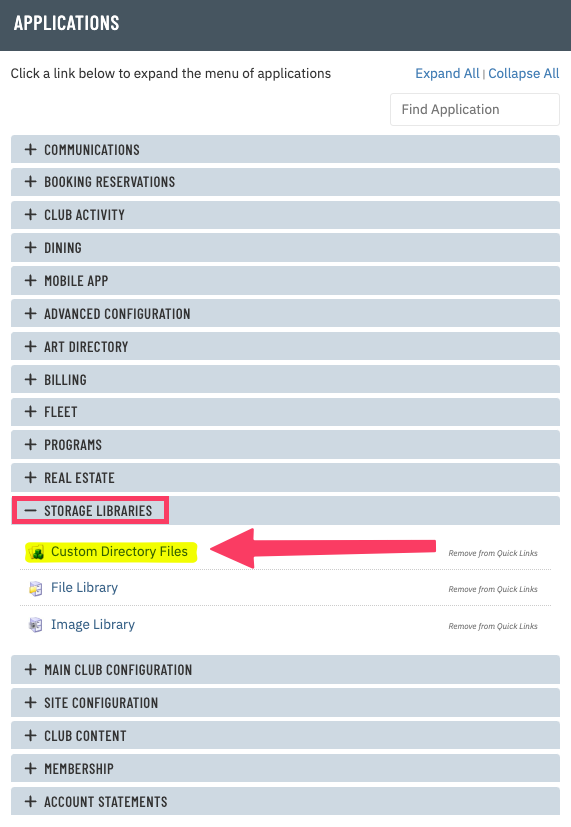 |
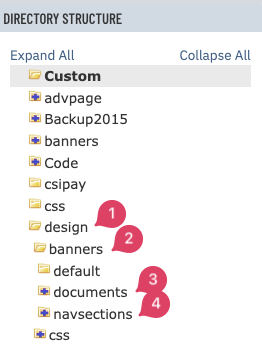
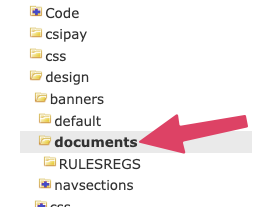
The Custom Directory is available to administrators that were given the Club Administrator admin user type. If you do not see the Custom Directory Files link when doing the above search, you have custom access levels and will need to be granted access to the custom directory. Please see your club’s main website administrator to be granted access. Banner images will be placed in sub-folders that live under either the documents or navsections folders depending on the page you wish to place the new banner image on. Default public and private image banners have been created for your site. The default images will be used when section pages do not have a unique image defined specifically for that section. You will find these default images under the default sub-folder. Once in the custom directory, do the following:
Please note: The custom directory contains folders and files that make up the build of your site. Over-writing and deleting files in this area have the potential of breaking the site. Please keep your changes limited to these documents and navsections sub-folders only. For your site design, each folder may only contain 1 image. If you upload additional images to this folder, the site design could break. |
 |
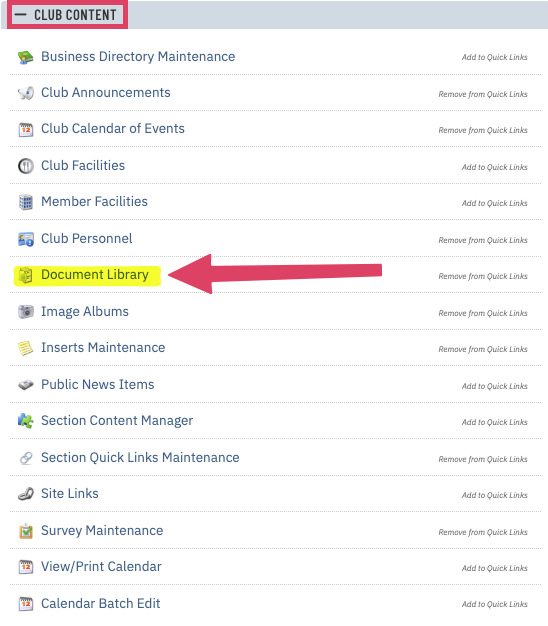
Folder Naming ConventionDocument Library If the page you’d like to replace the banner image for is a text page, seen in the left navigation of your website and it is found in the admin side's document library, it is a sub-page that can have a new image. To see if your page is within the Document Library, go to Applications>>Club Content>>Document Library: |
 |
| If the page you are trying to update lives here, please make note of the Document Name code used for your page (or the code that comes after DN= in the navigation URL): (Banner images for these pages are found in a sub-folder under the documents folder.) | 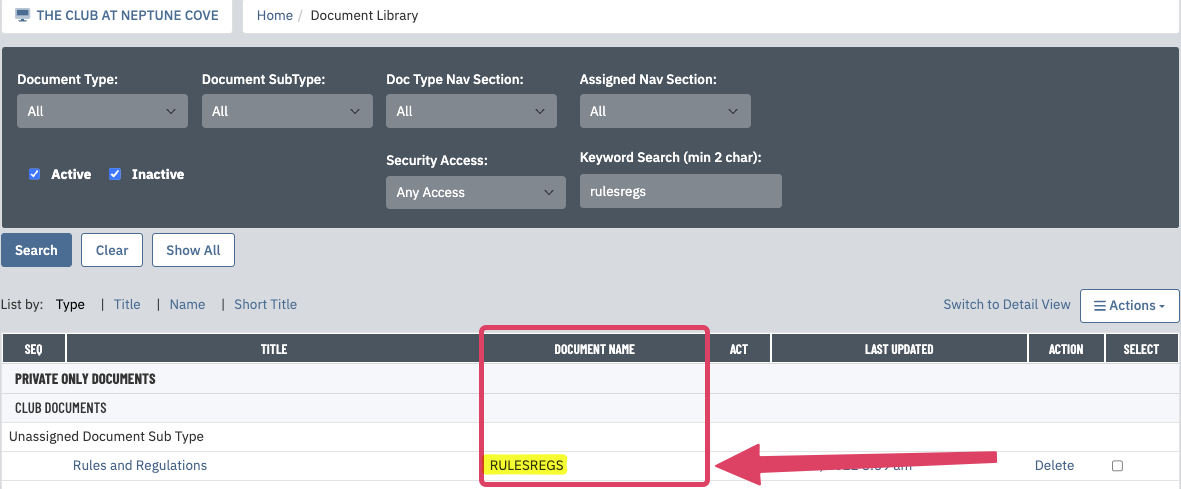 |
|
 |
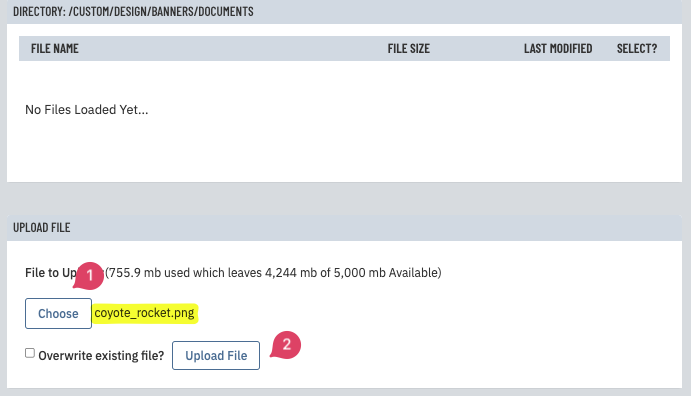
Remove any banner images that exists in the folder.
|
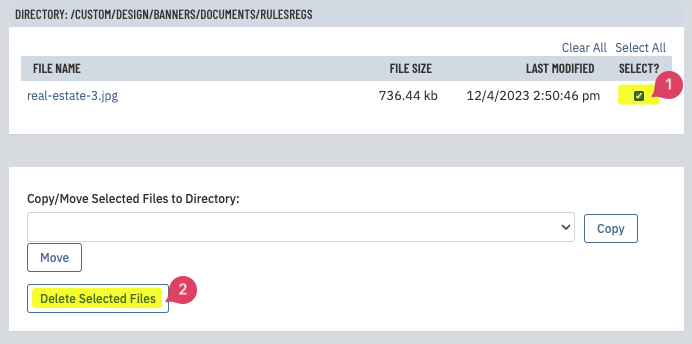 |
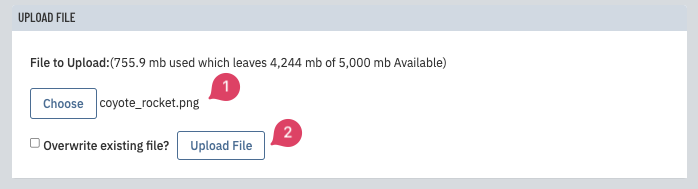
Upload you new banner image that you cropped in step 1.
|
 |
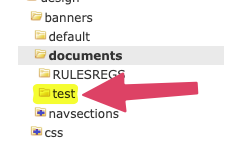
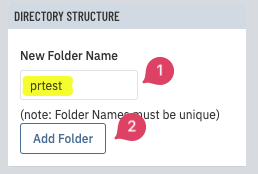
| Creating a New Document Sub-Folder If a folder doesn't exist that matches the document name code, you will need to create the folder first using the same name as the document name code for your page. Click on the documents folder.
|
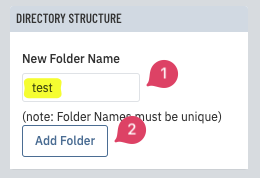  |
To add an image to the new folder, do the following:
|
 |
| Adding a New Navigation Section Page Banner
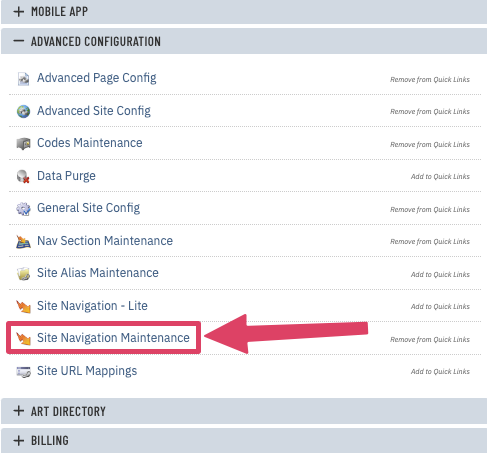
If the page you'd like to replace the banner image is on is a section page (parent-level page living in the primary navigation) and is found in the admin side's section navigation, it is a page that can have a new banner image. To ee if your page is within the site's navigation sections, search for Nav Section in the Applications area of the admin home page and click on the link. |
 |
| If the page you are trying to update lives here, please make note of the navigation section Code used for your page (or the code that comes after NS= in the navigation URL). | 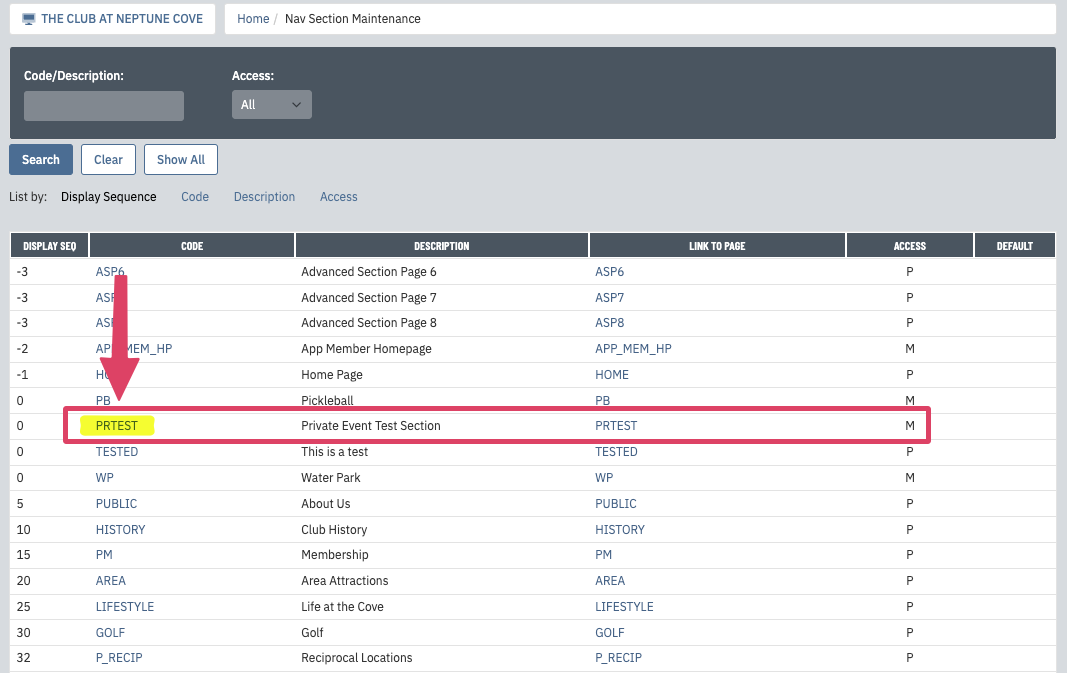 |
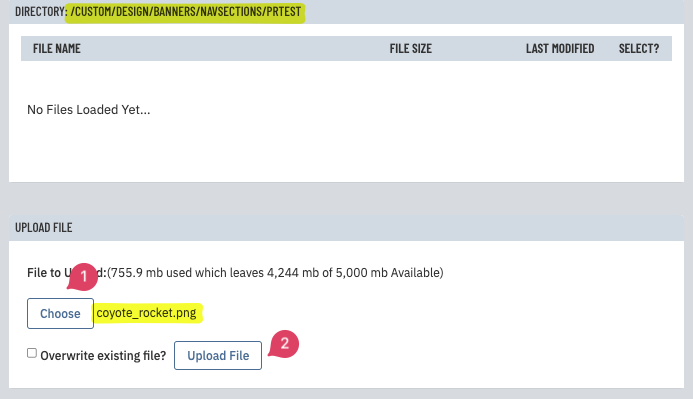
Click into the navsections folder.
|
 |
Upload you new banner image that you cropped in step 1.
|
 |