Sending an Email with the new EBuilder from Start to Finish
| Log in to the Admin Homepage of your site and open the “New Message” module under “Communications” (optionally click “Add to Quick Links” to add this module to your quick links area) |  |
| Name your new message draft and click Create Draft. Note: Creating drafts for the new EBuilder functions the same as our classic editor. Each draft is saved to your admin account and is not accessible by other admins. To share a draft we recommend using a template instead. |  |
| Click Select next to Miscellaneous Recipients, then enter the email addresses you want to send this email to. Then click Next. | 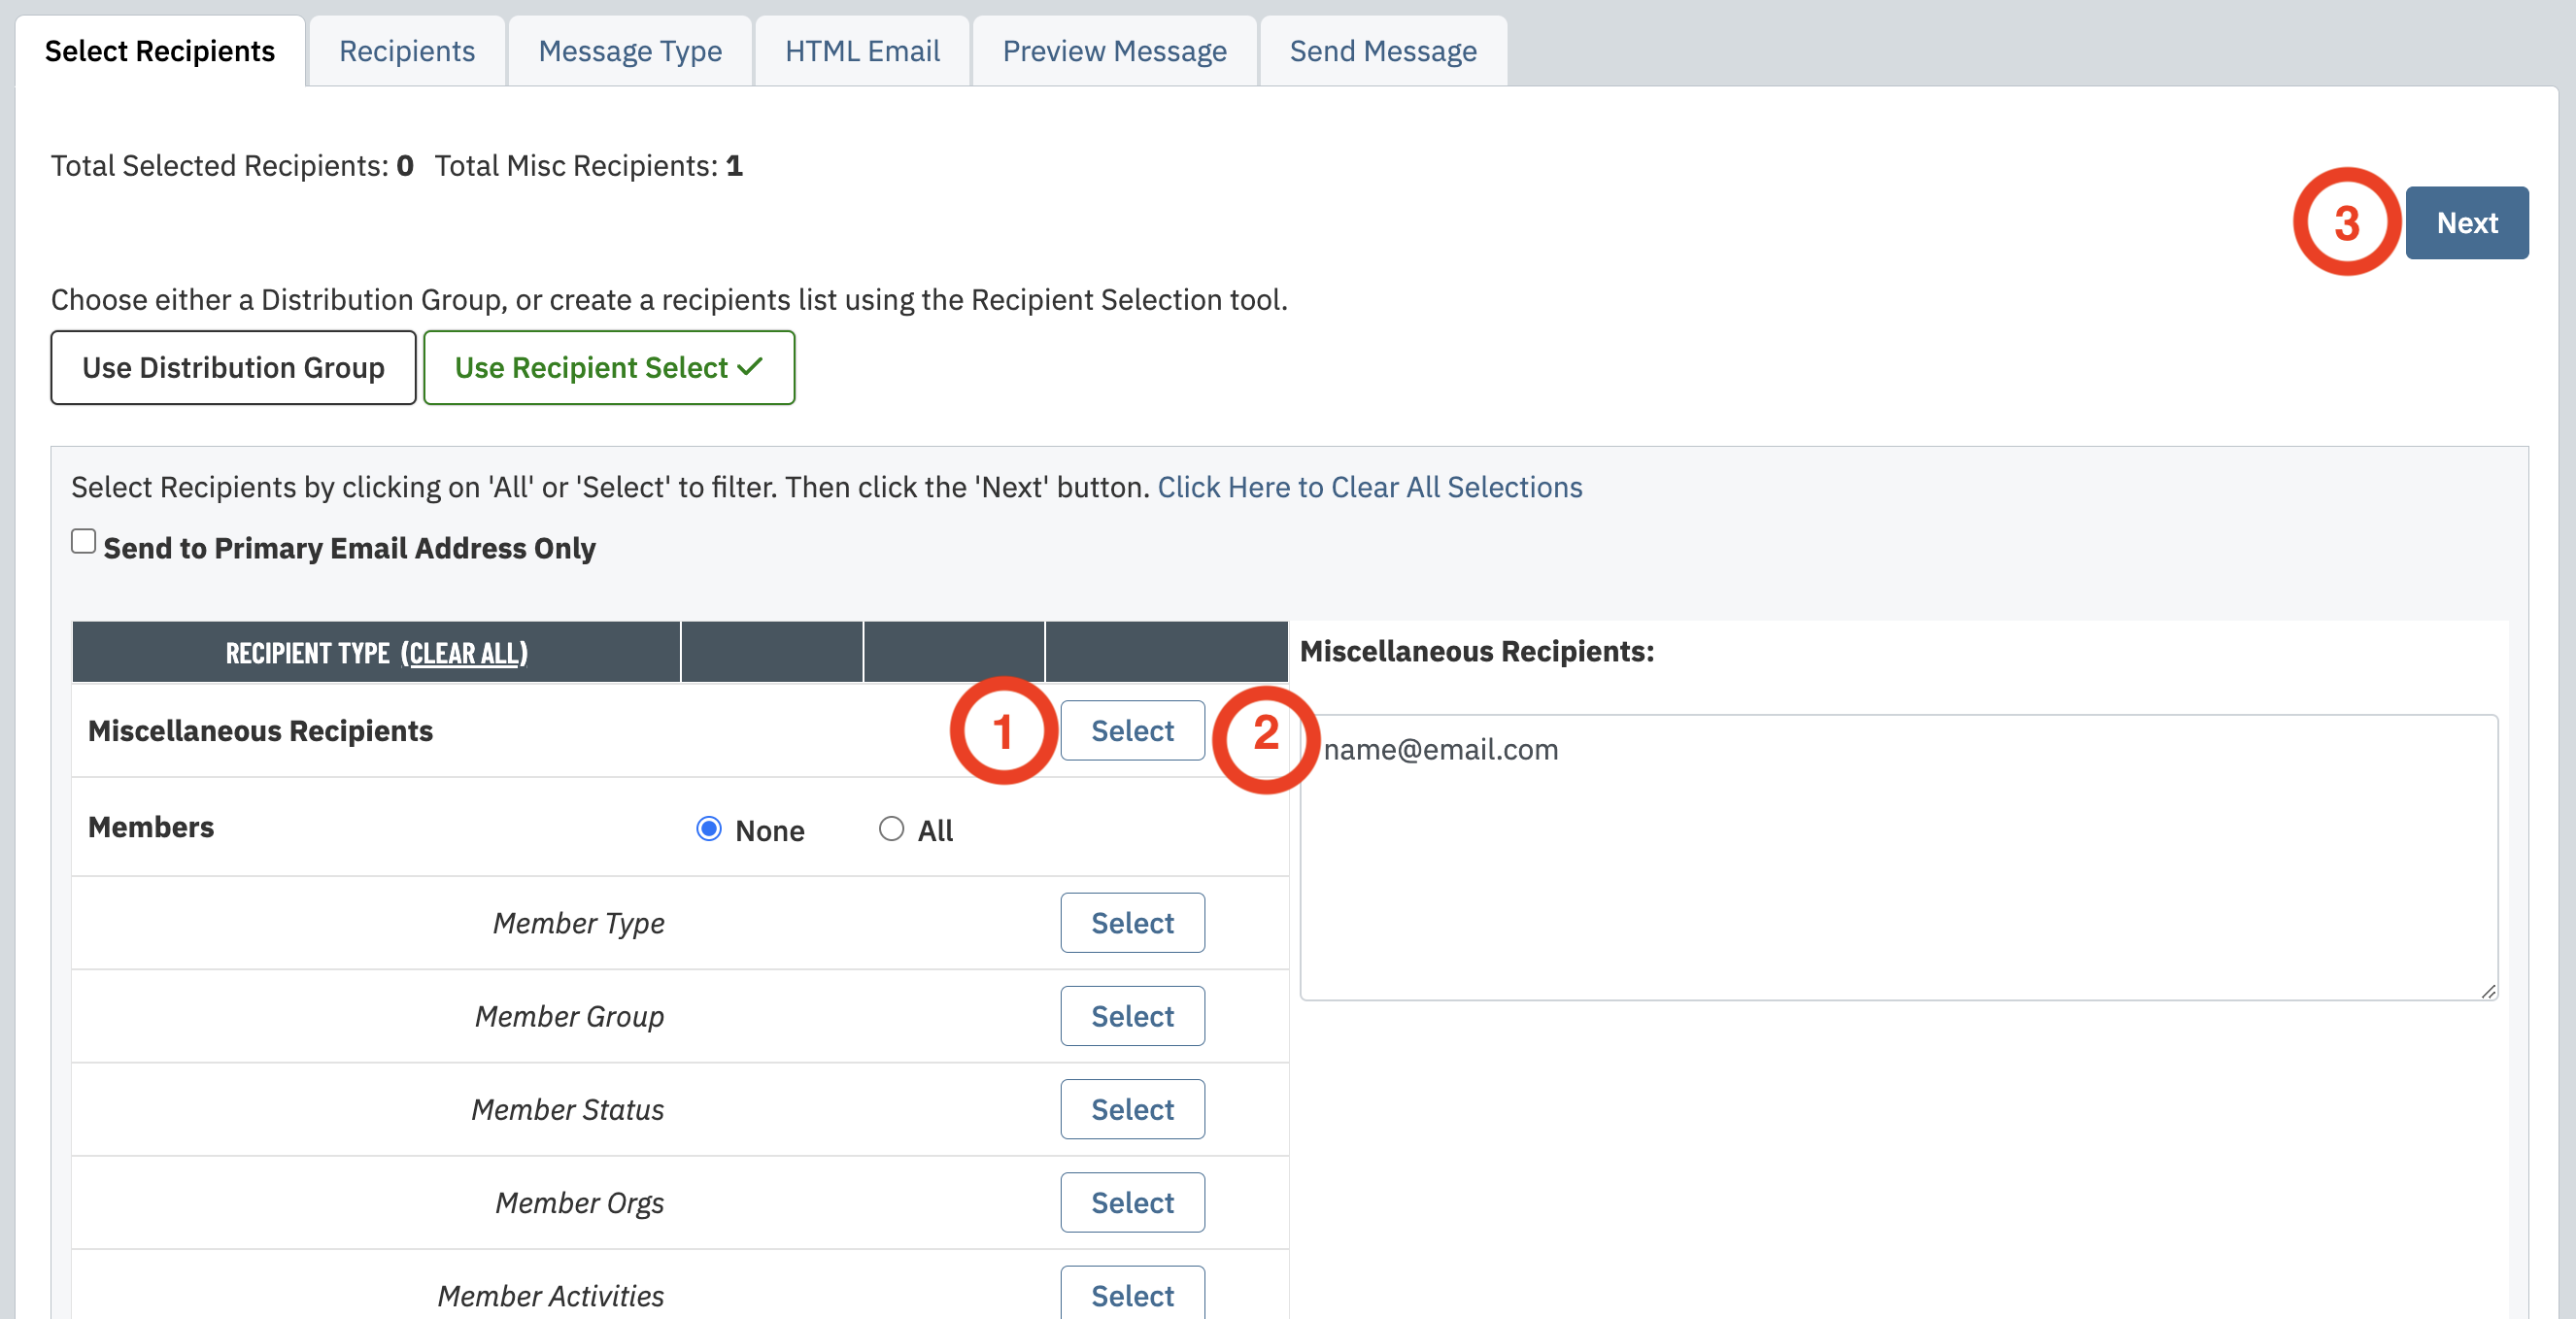 |
| Pay close attention to the recipient line on the top of the email. This will let you know if you have mistakenly targeted too many or too few people. | 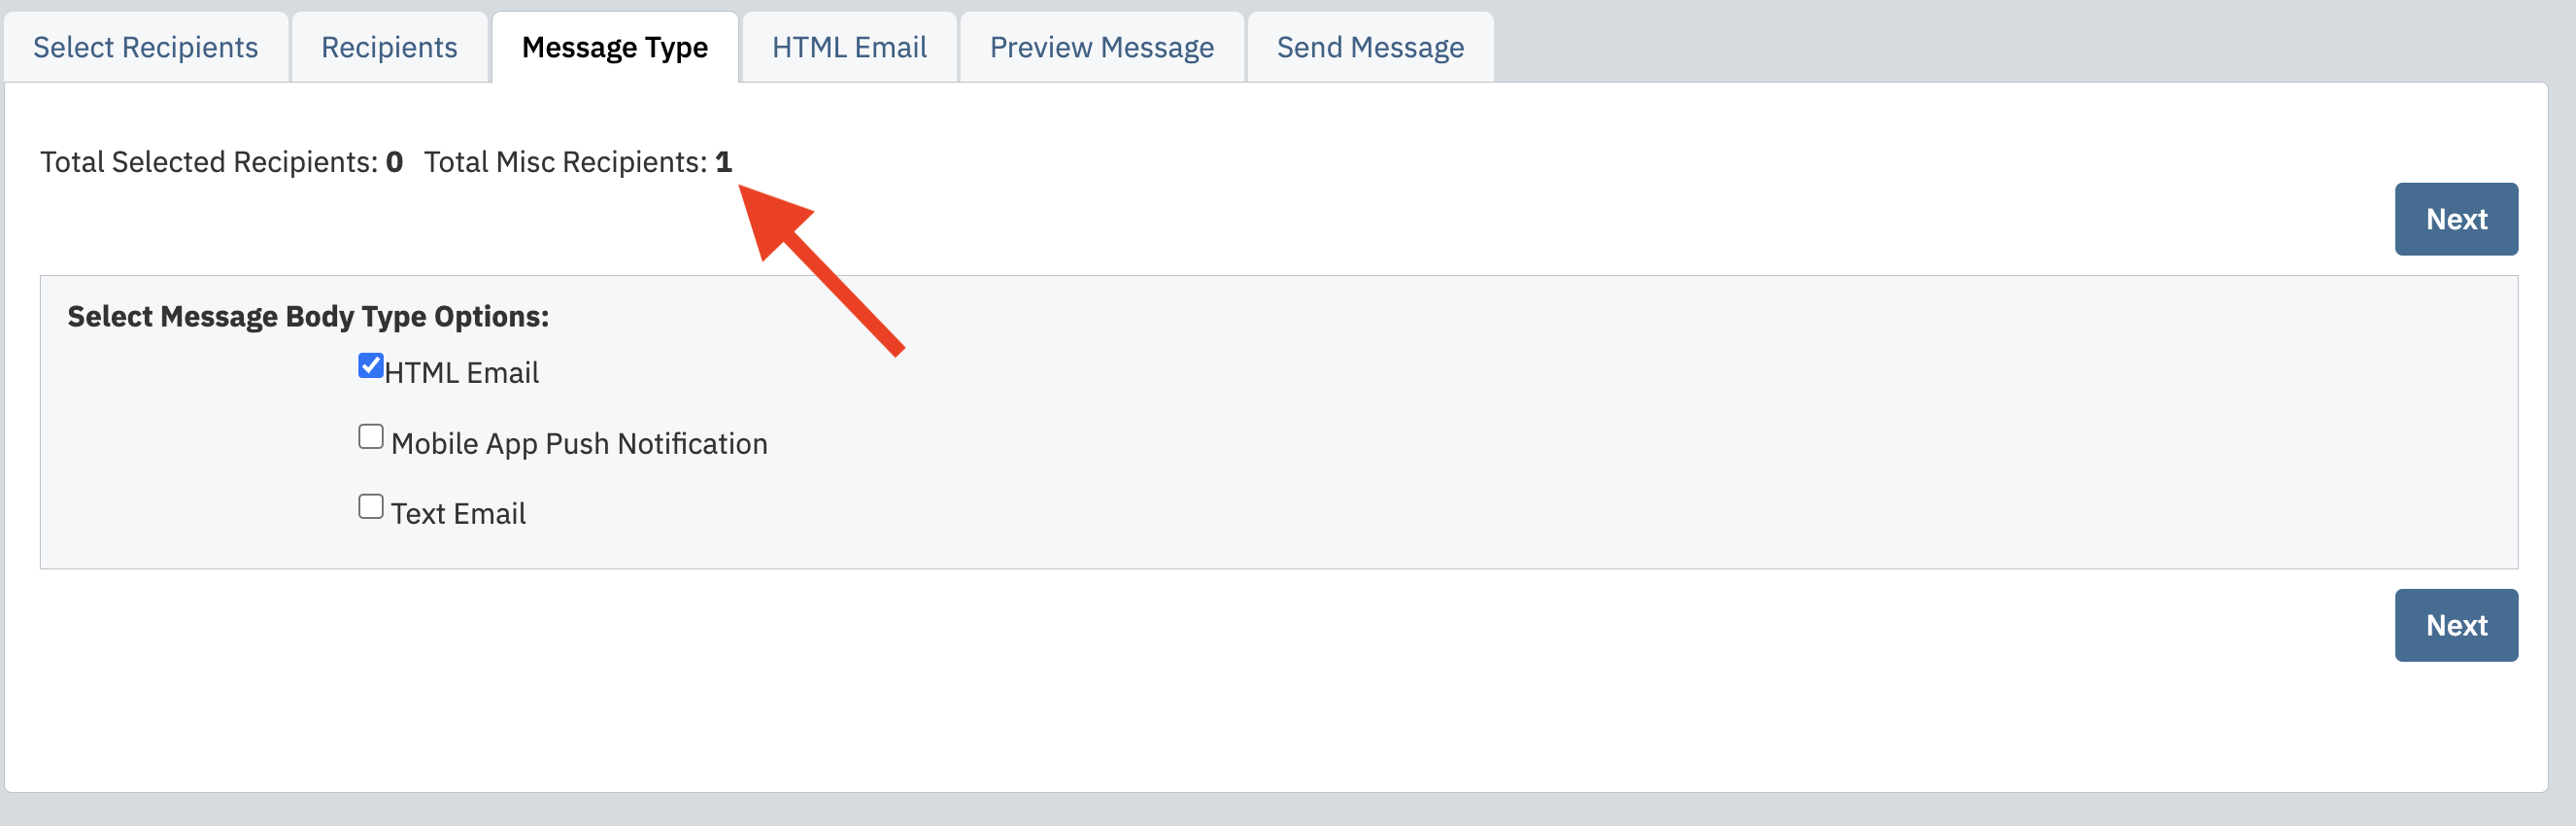 |
| Select HTML Email otherwise your email is going to just be plain text and not include templates, pictures, links, etc. Then click Next. | 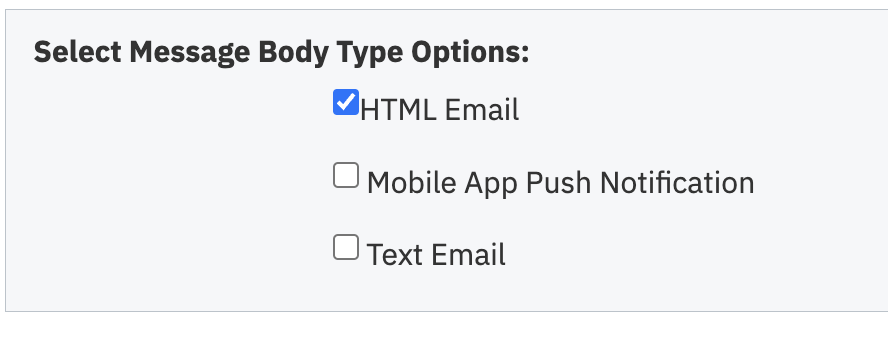 |
| Now you will be on the HTML Email tab. This will automatically open the EBuilder Editor and this is where you will create the content of your email. |  |
| From here, you can select which Content and Rows to add to the EBuilder. Clicking on the Rows button will display available options to add Rows to the builder. Note: You can save time here by creating a template in advance. Click here to read article. | 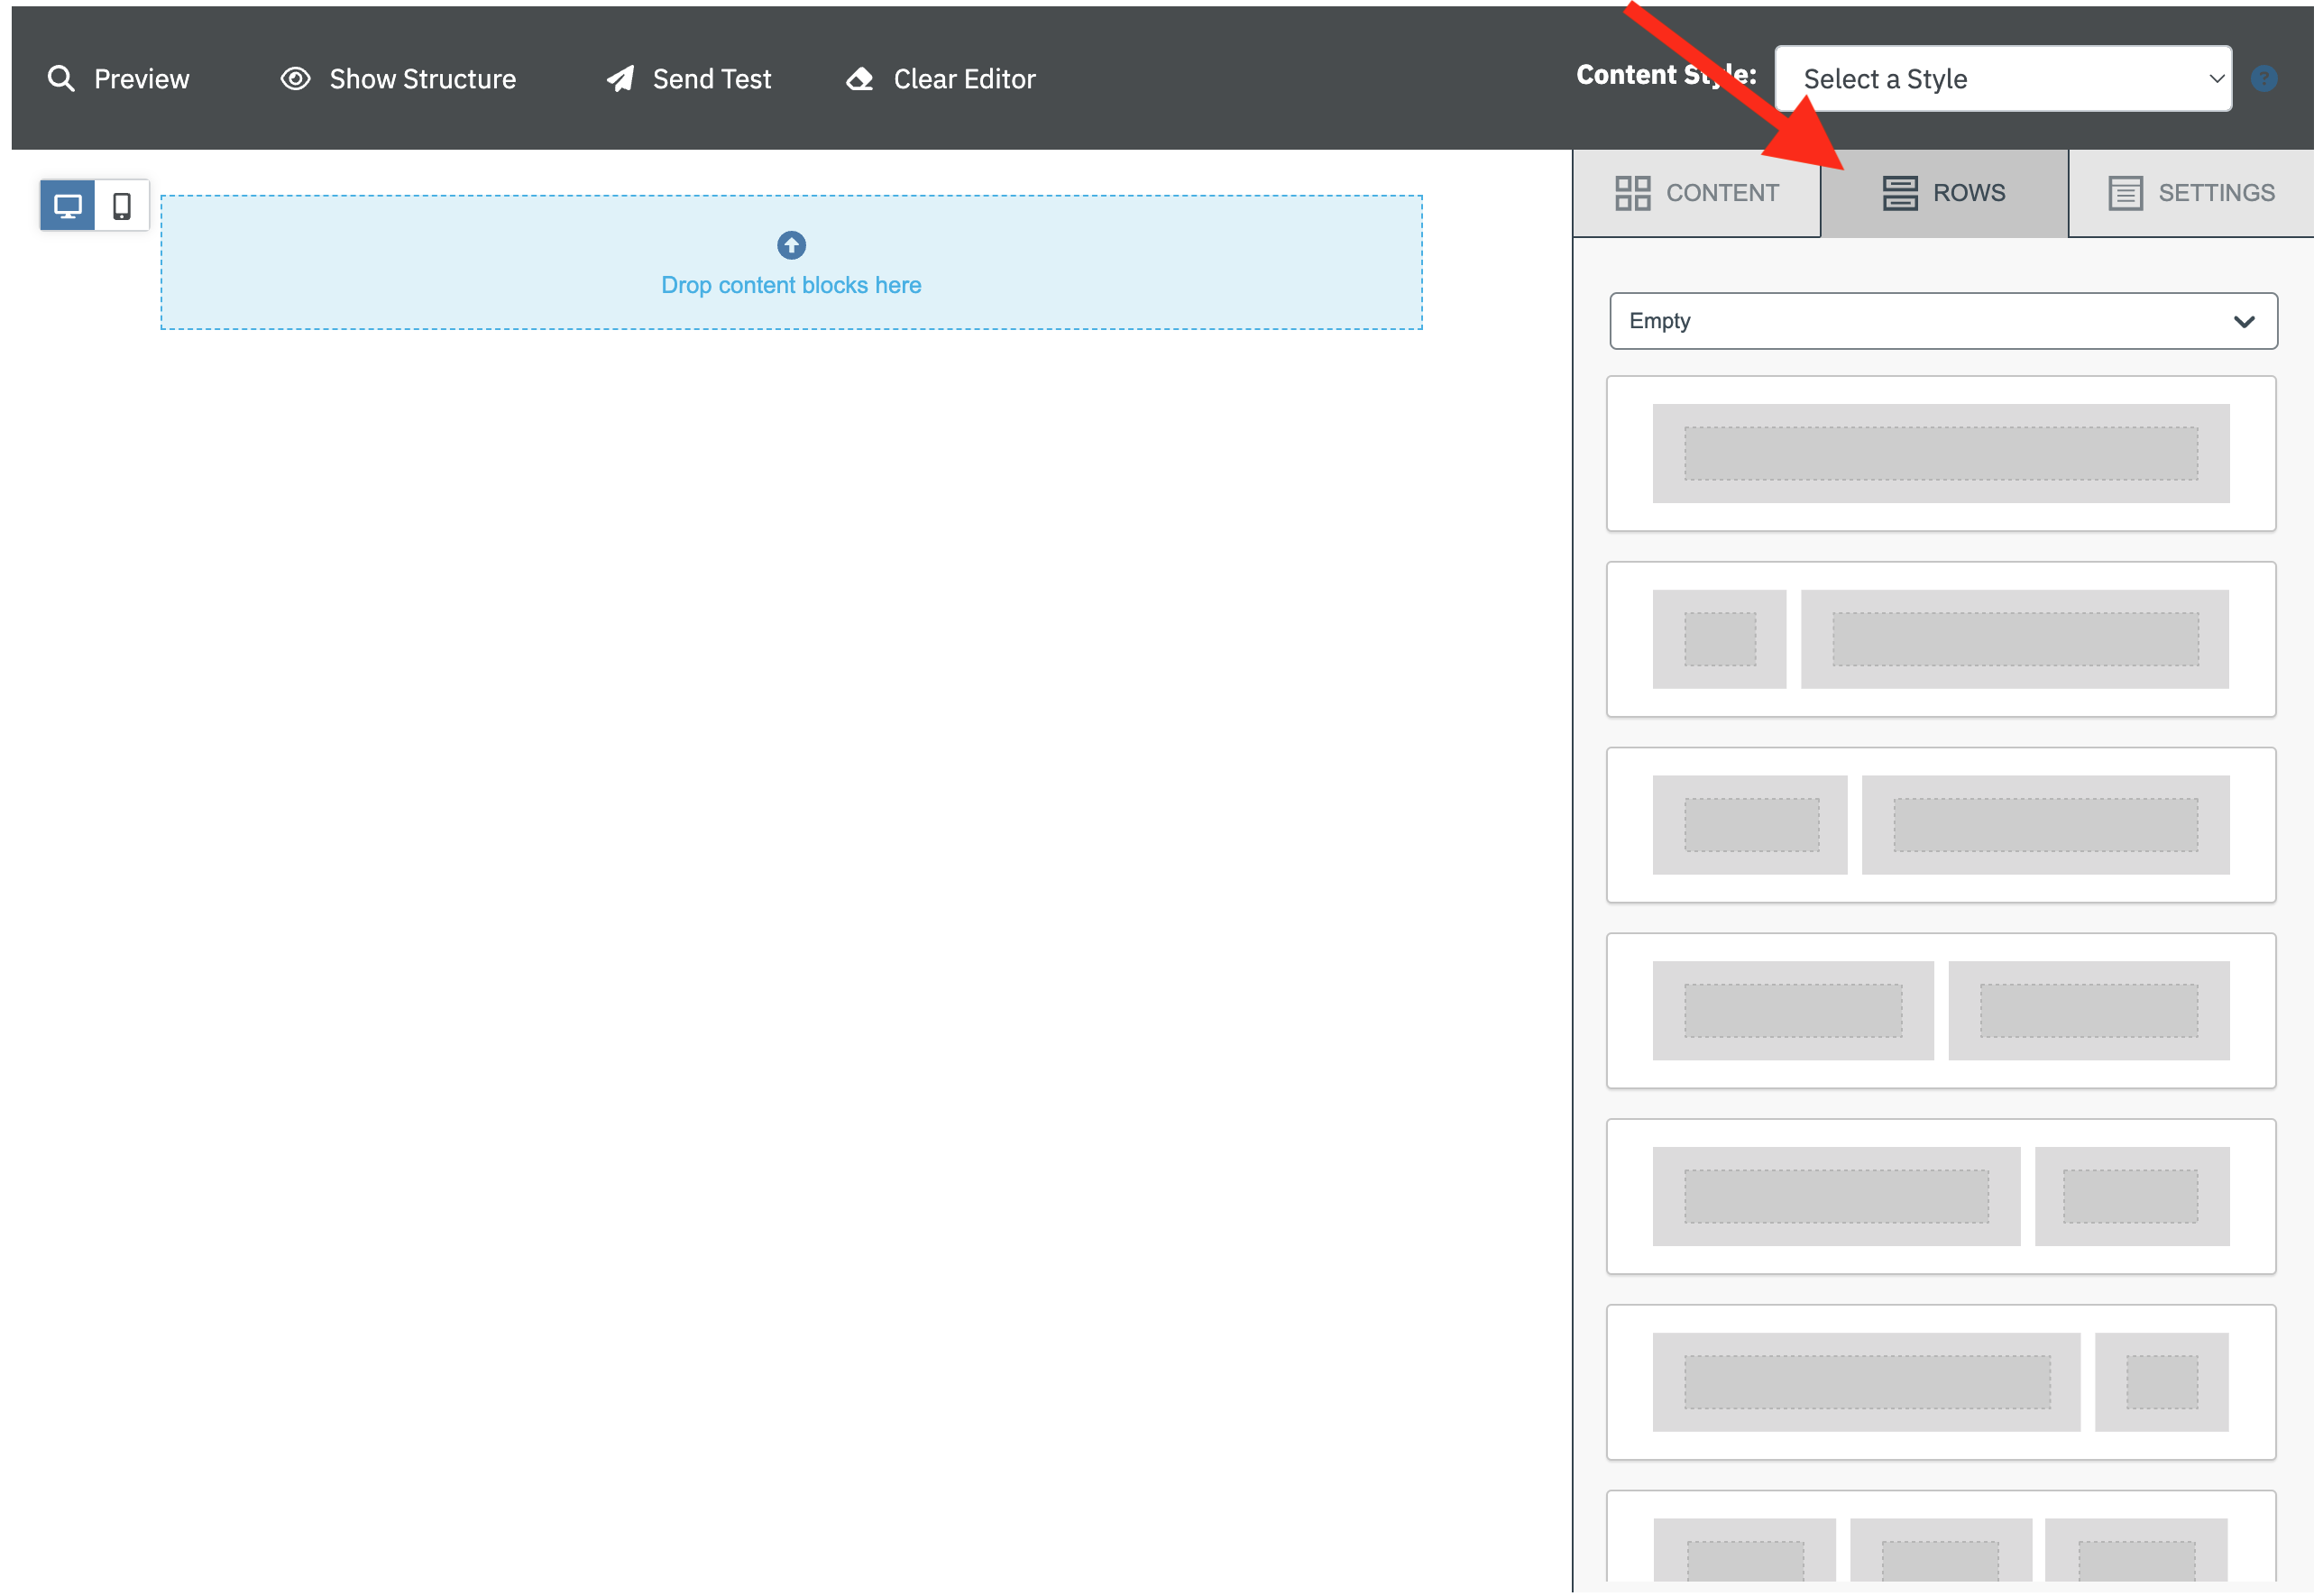 |
| Start building out your EBuilder by selecting which Row layouts you want by clicking on one and dragging it into the EBuilder column to the left. | 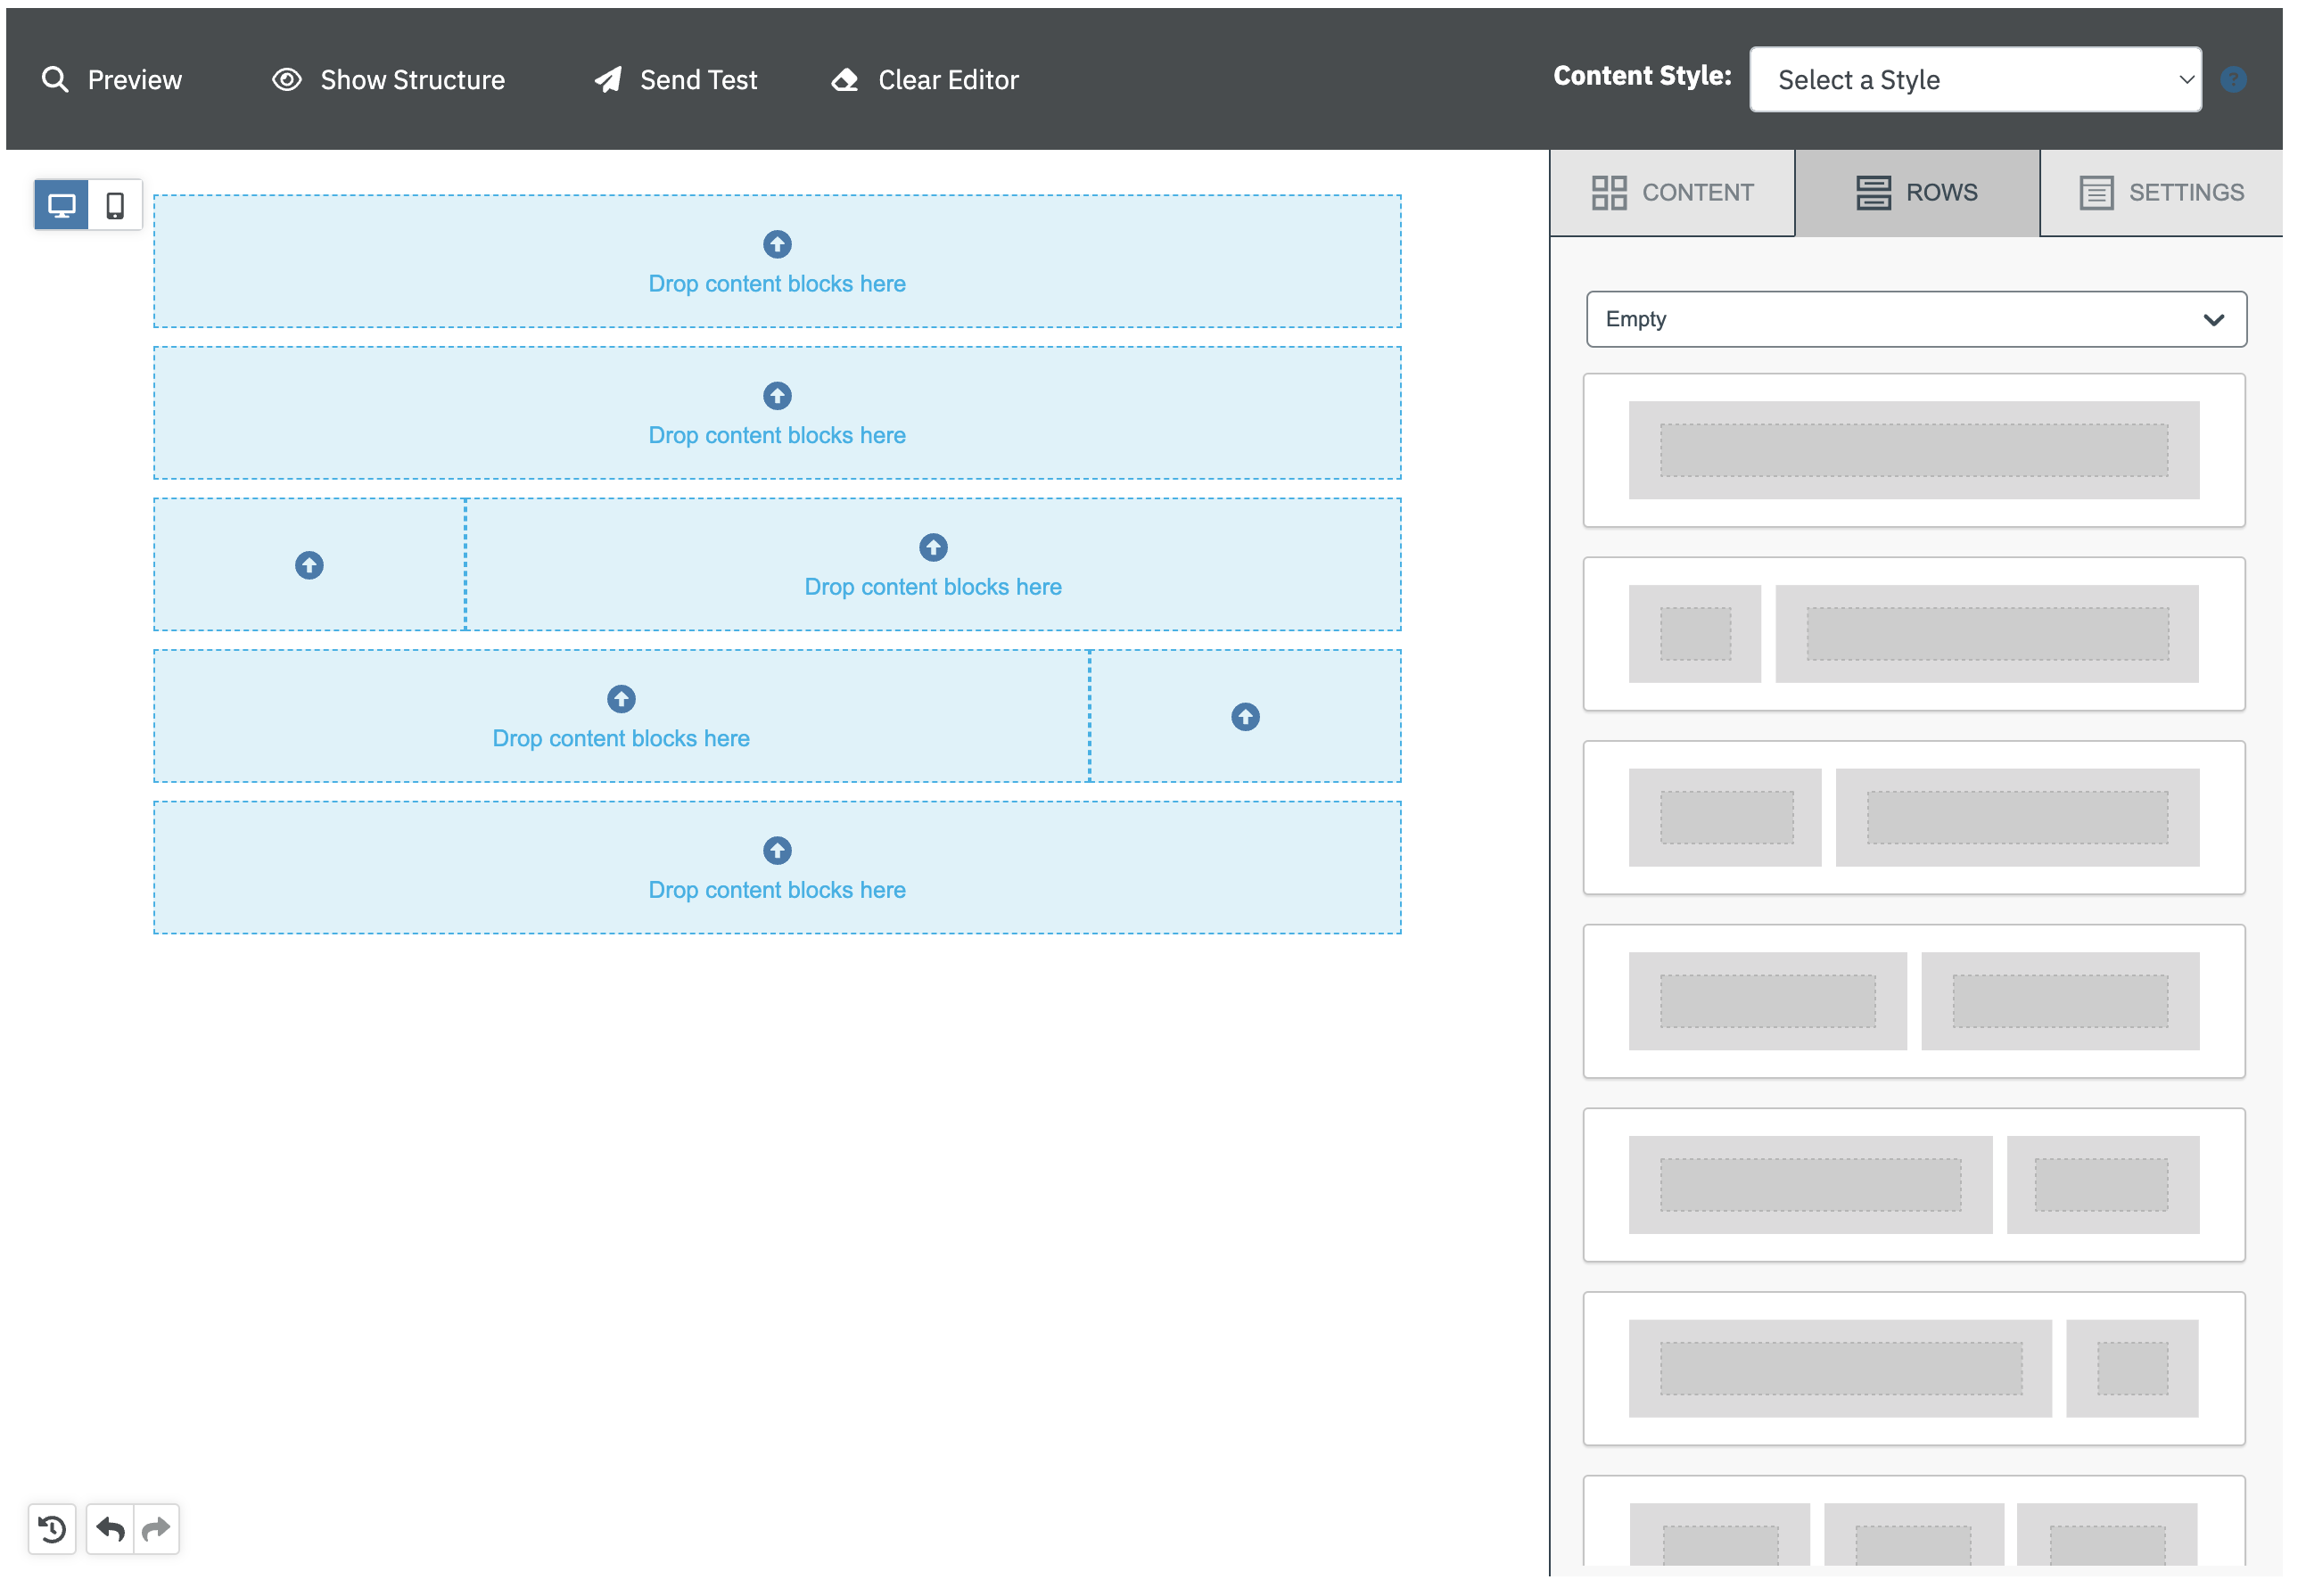 |
| Once you have your Rows added, click on the Content button to select what type of content you want to add to each Row. |  |
| If you want to add an image (ex: logo or banner image) to a Row, drag the Image icon from the Content column directly to the Row | 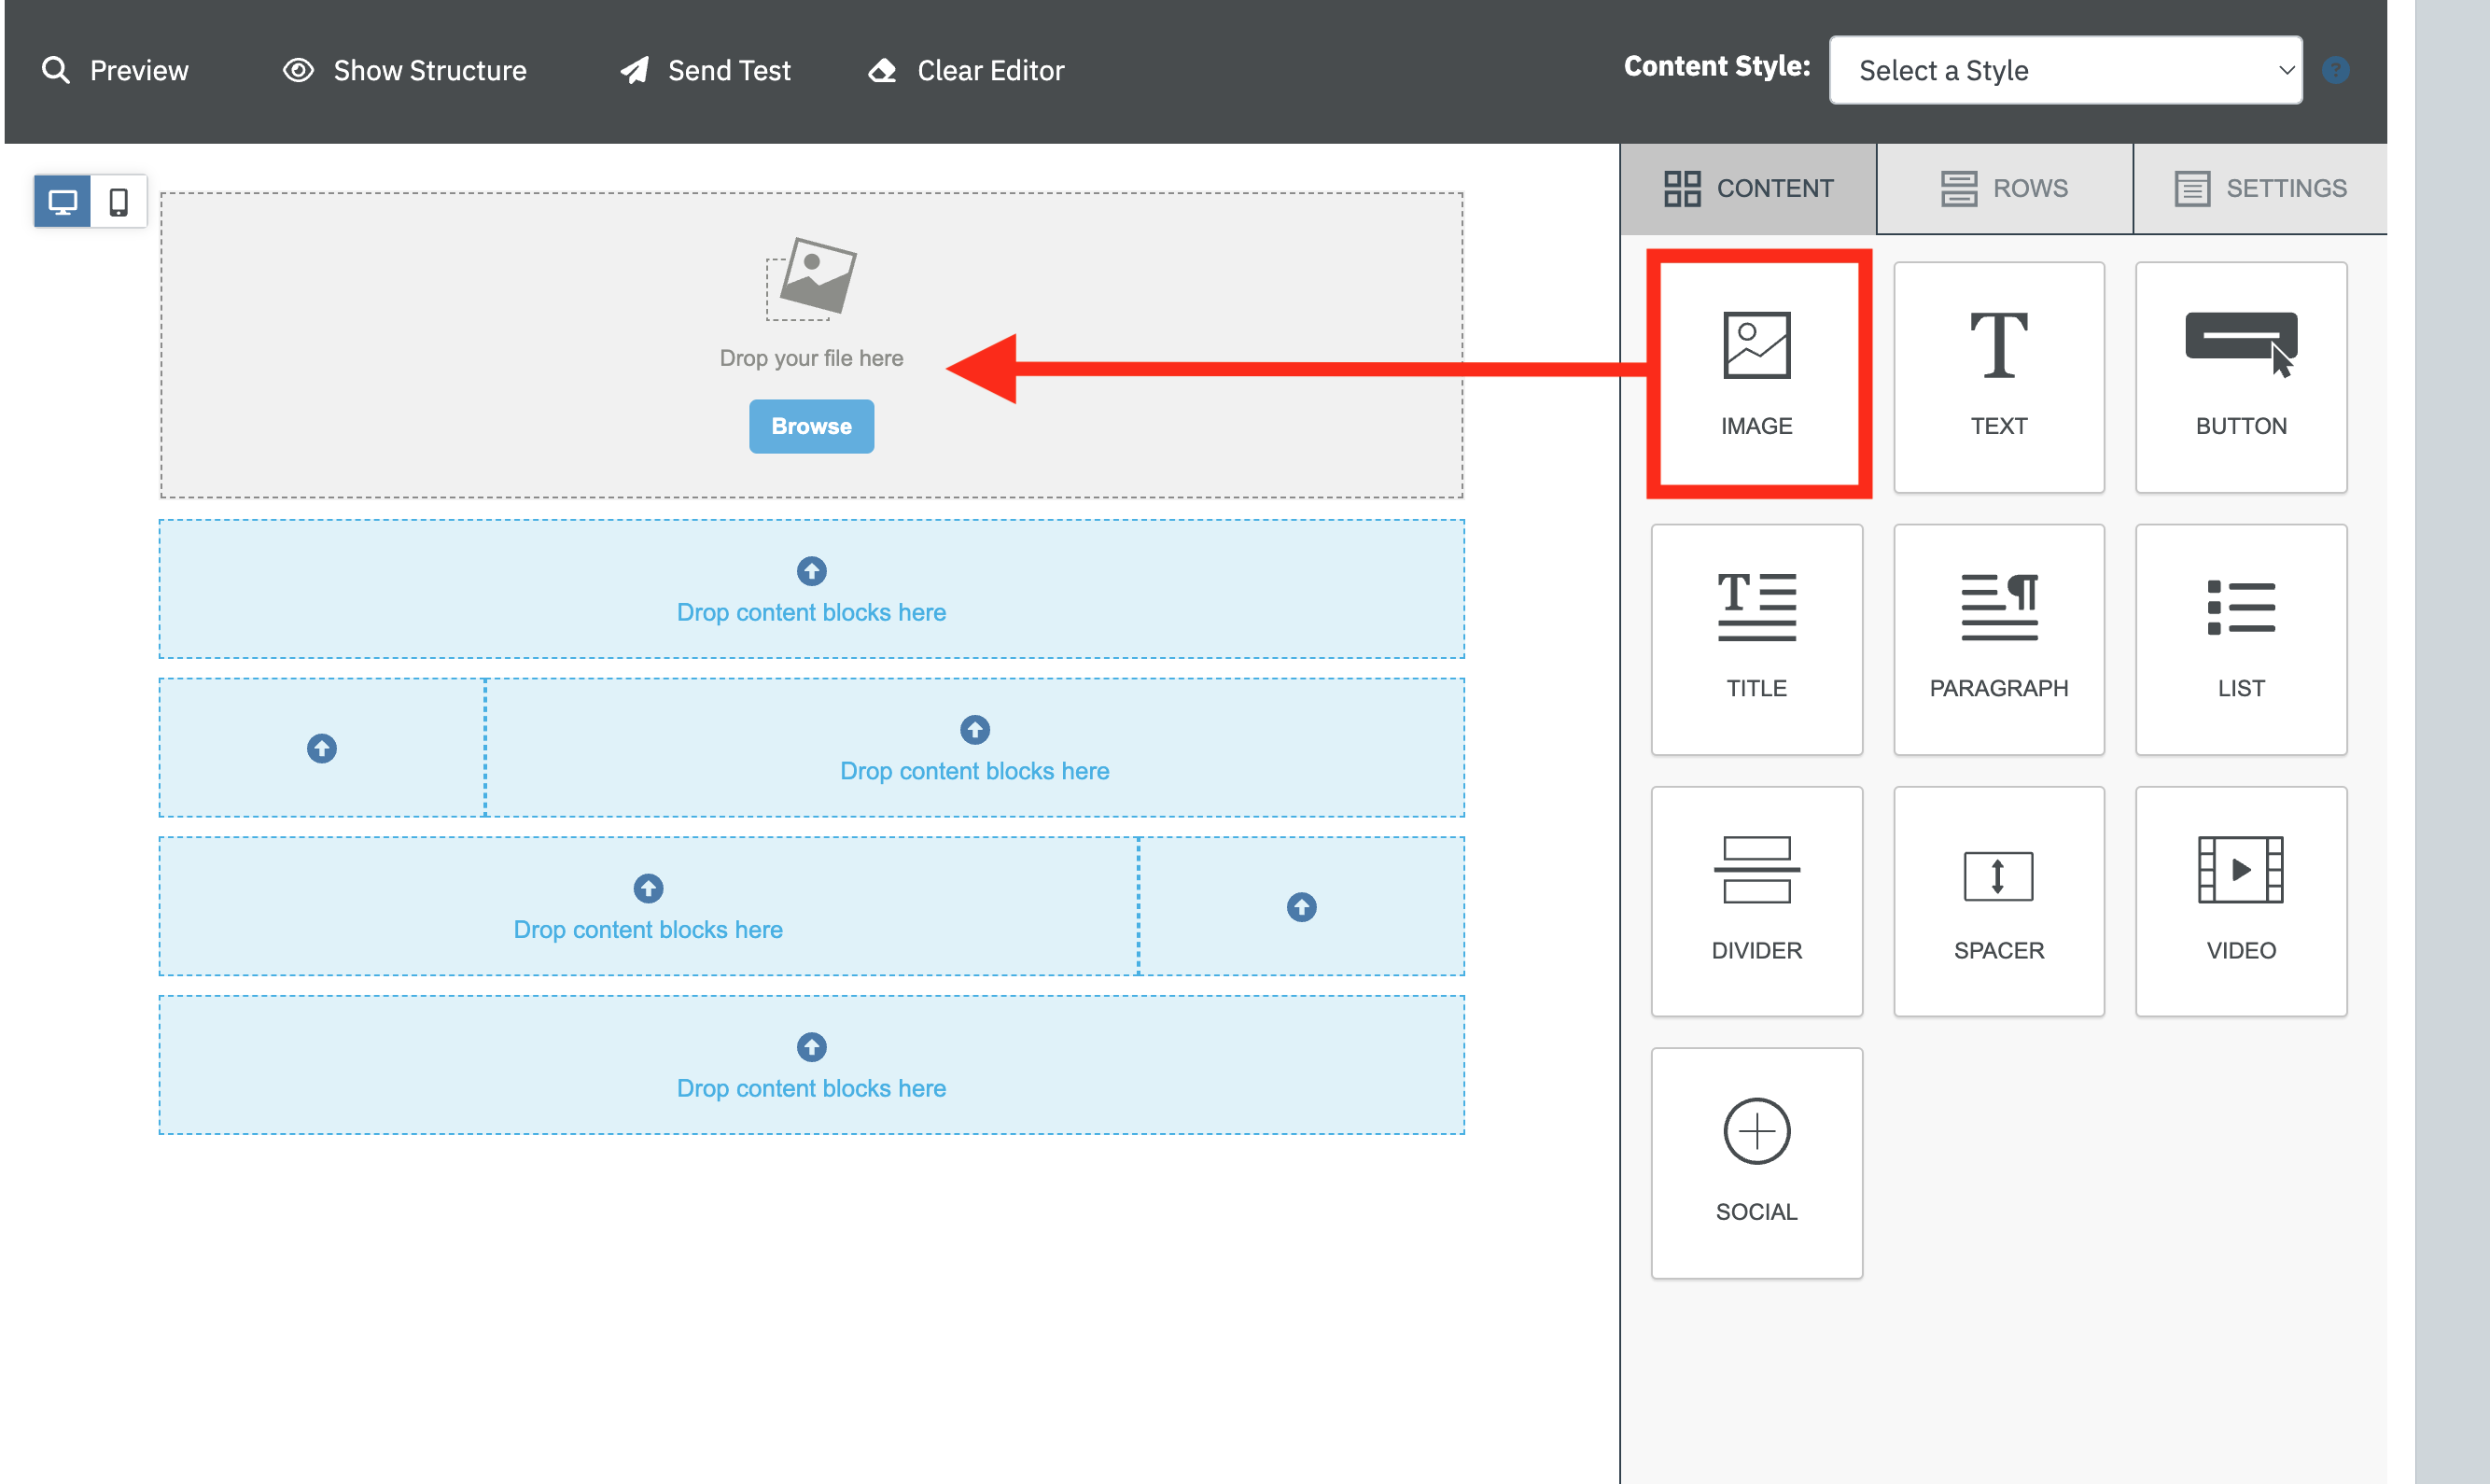 |
| To add the image, click on the Browse button to search for either a Local Image from your Image Library or a Global Image. Search for the image you want to add to this Row and click on the Insert button. | 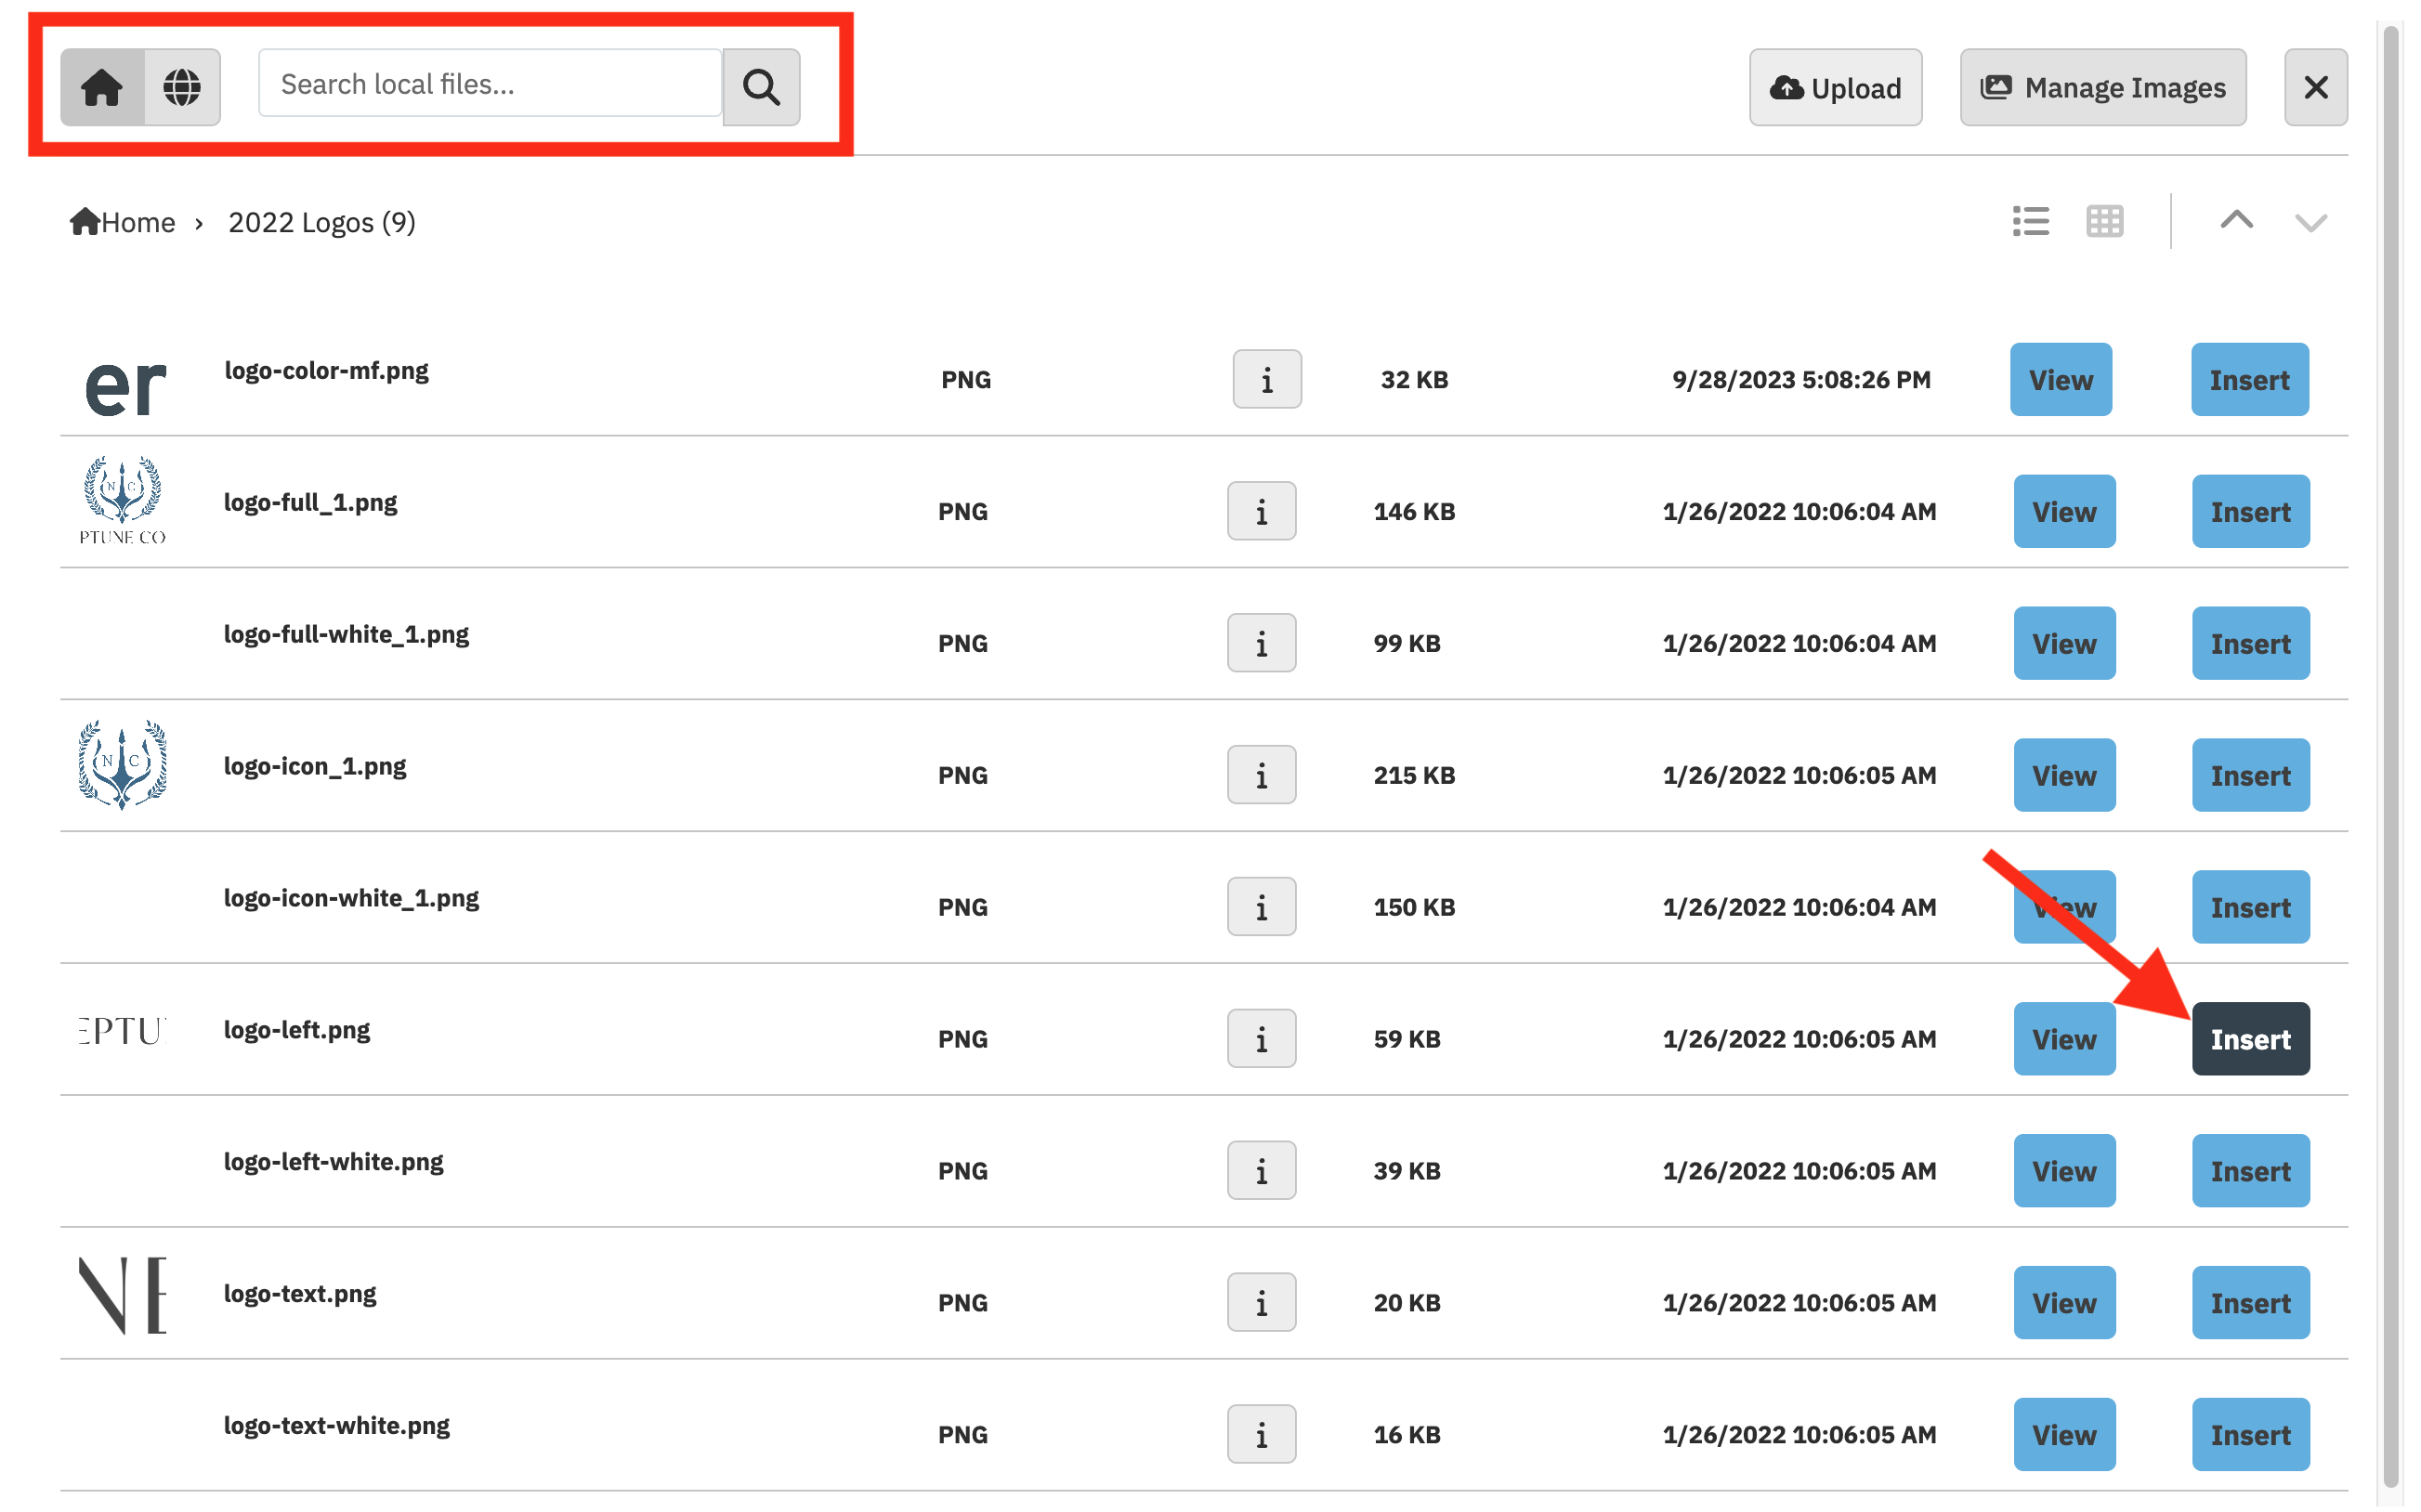 |
| This will add the selected image to the Row. For more information on editing the size layout and content of the image - Please refer to this article. | 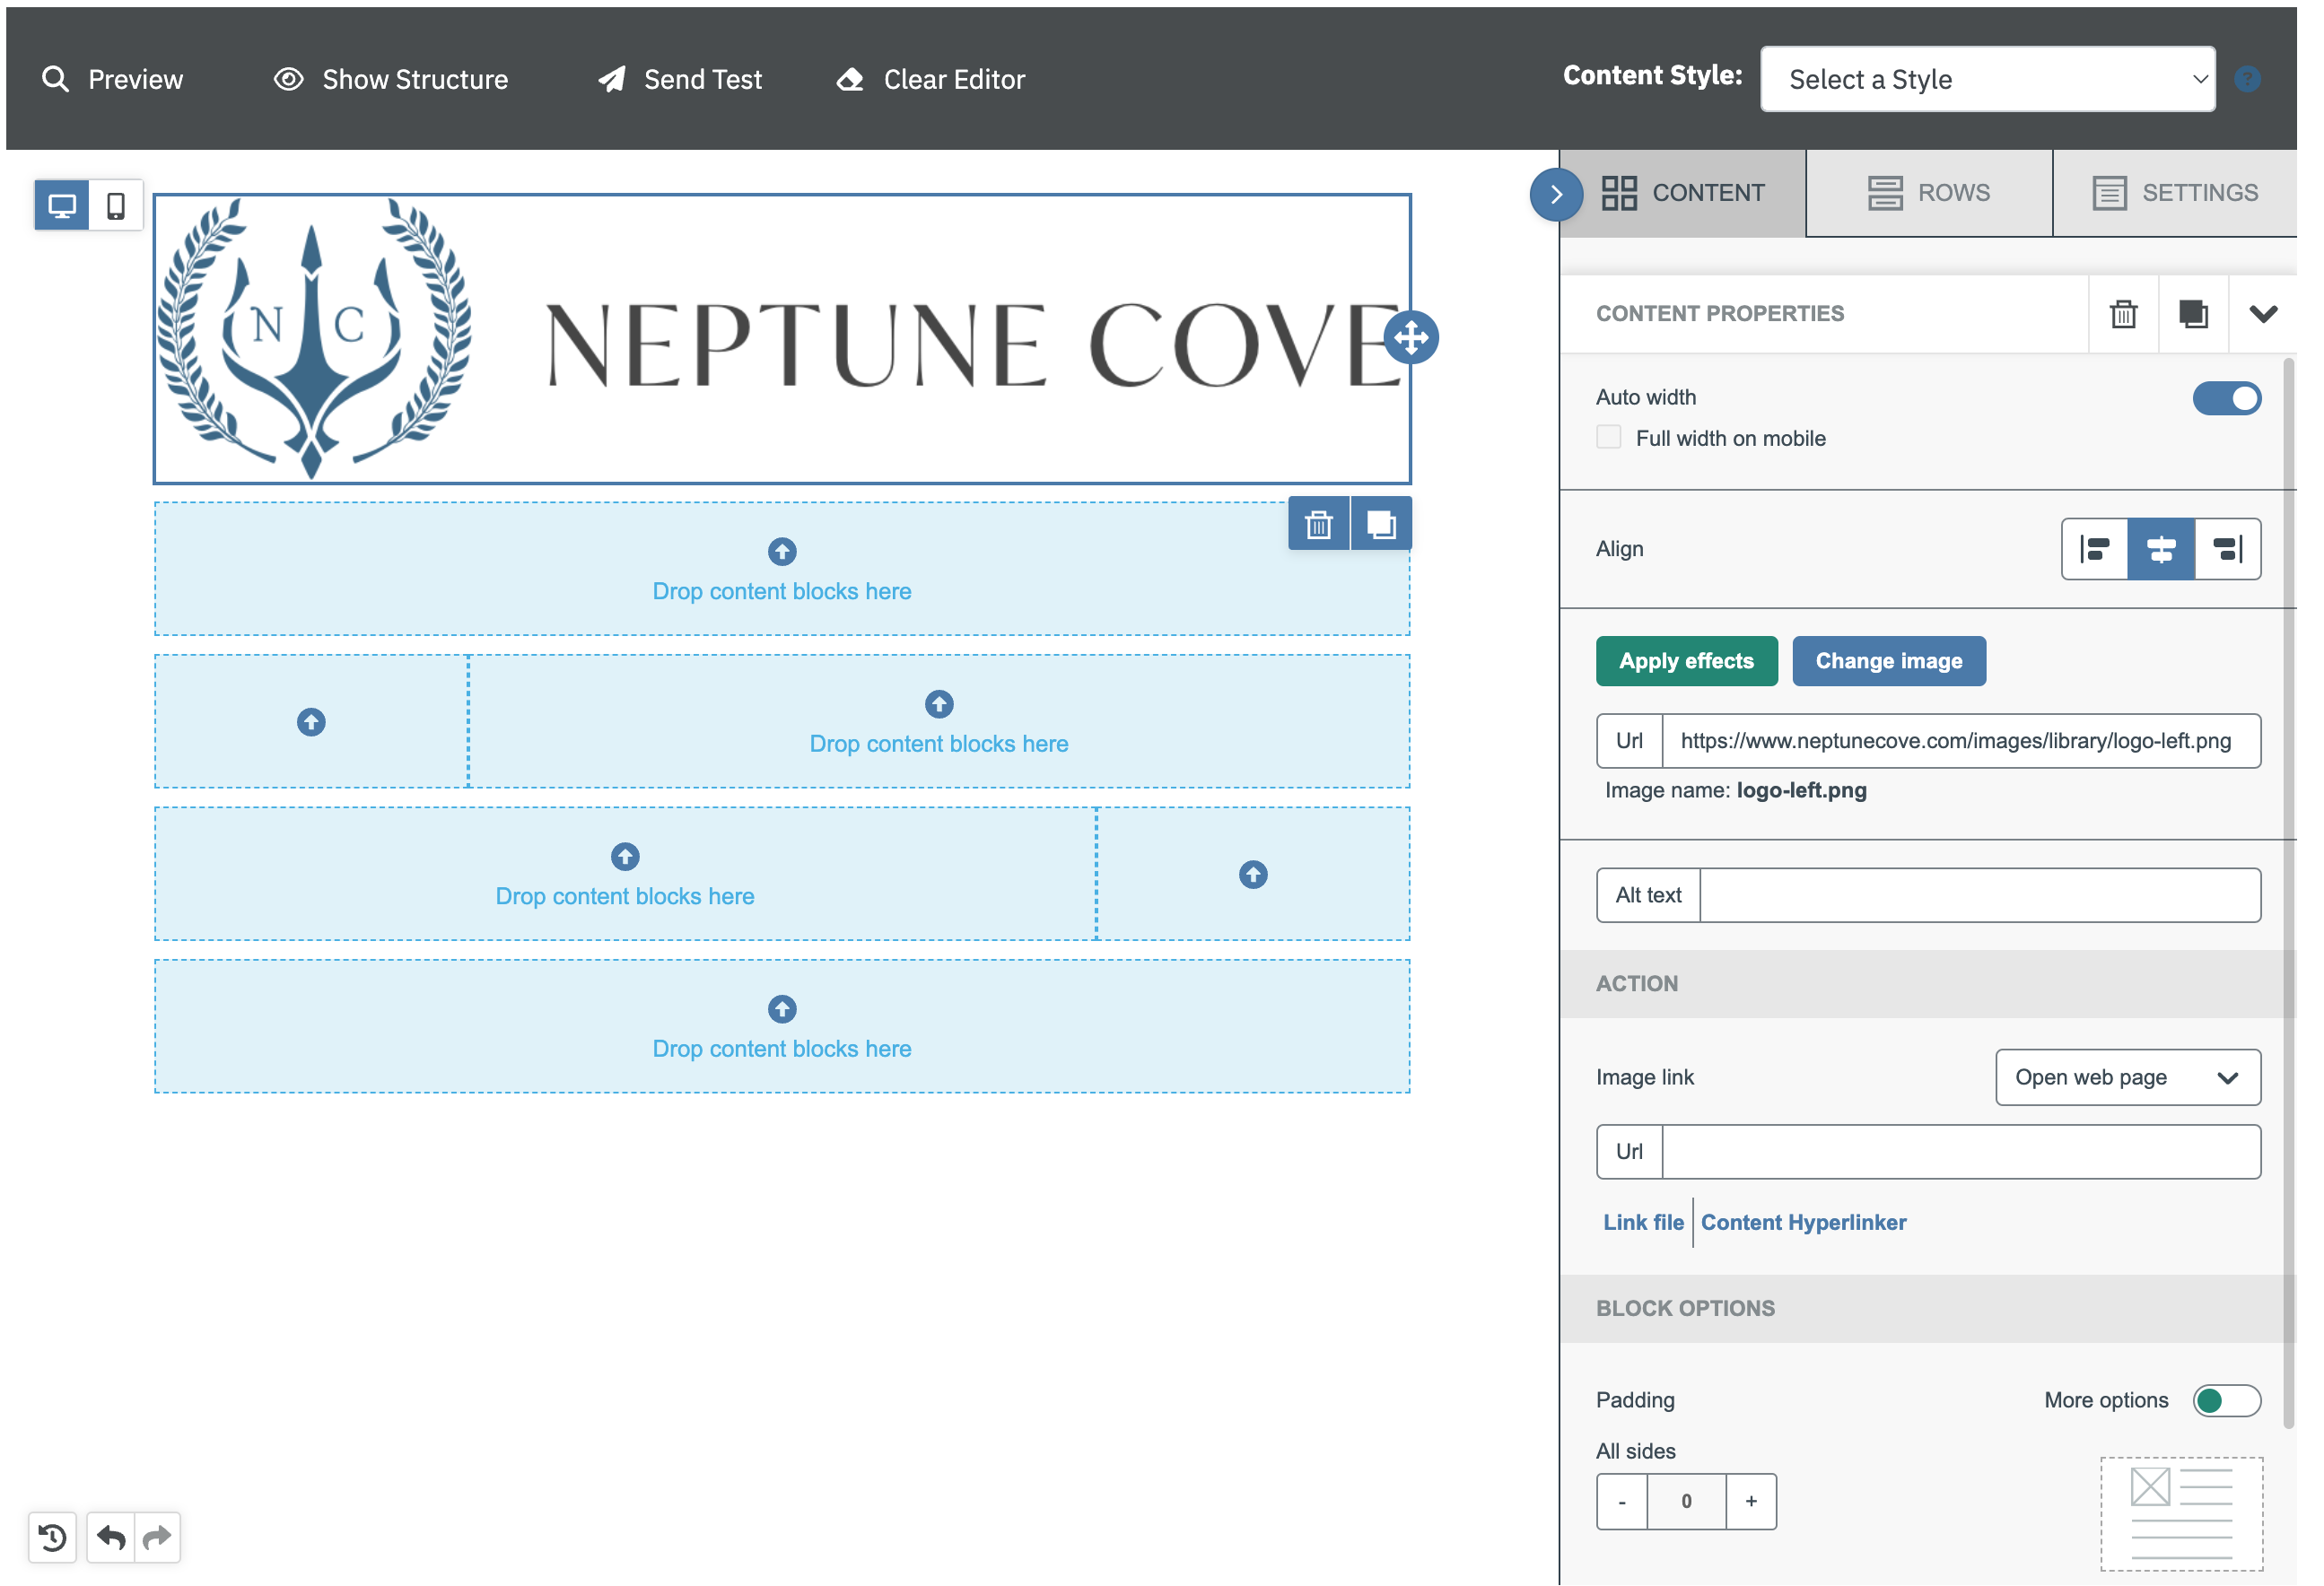 |
| If you want to add text to a Row, drag the Paragraph icon from the Content column directly to the Row. | 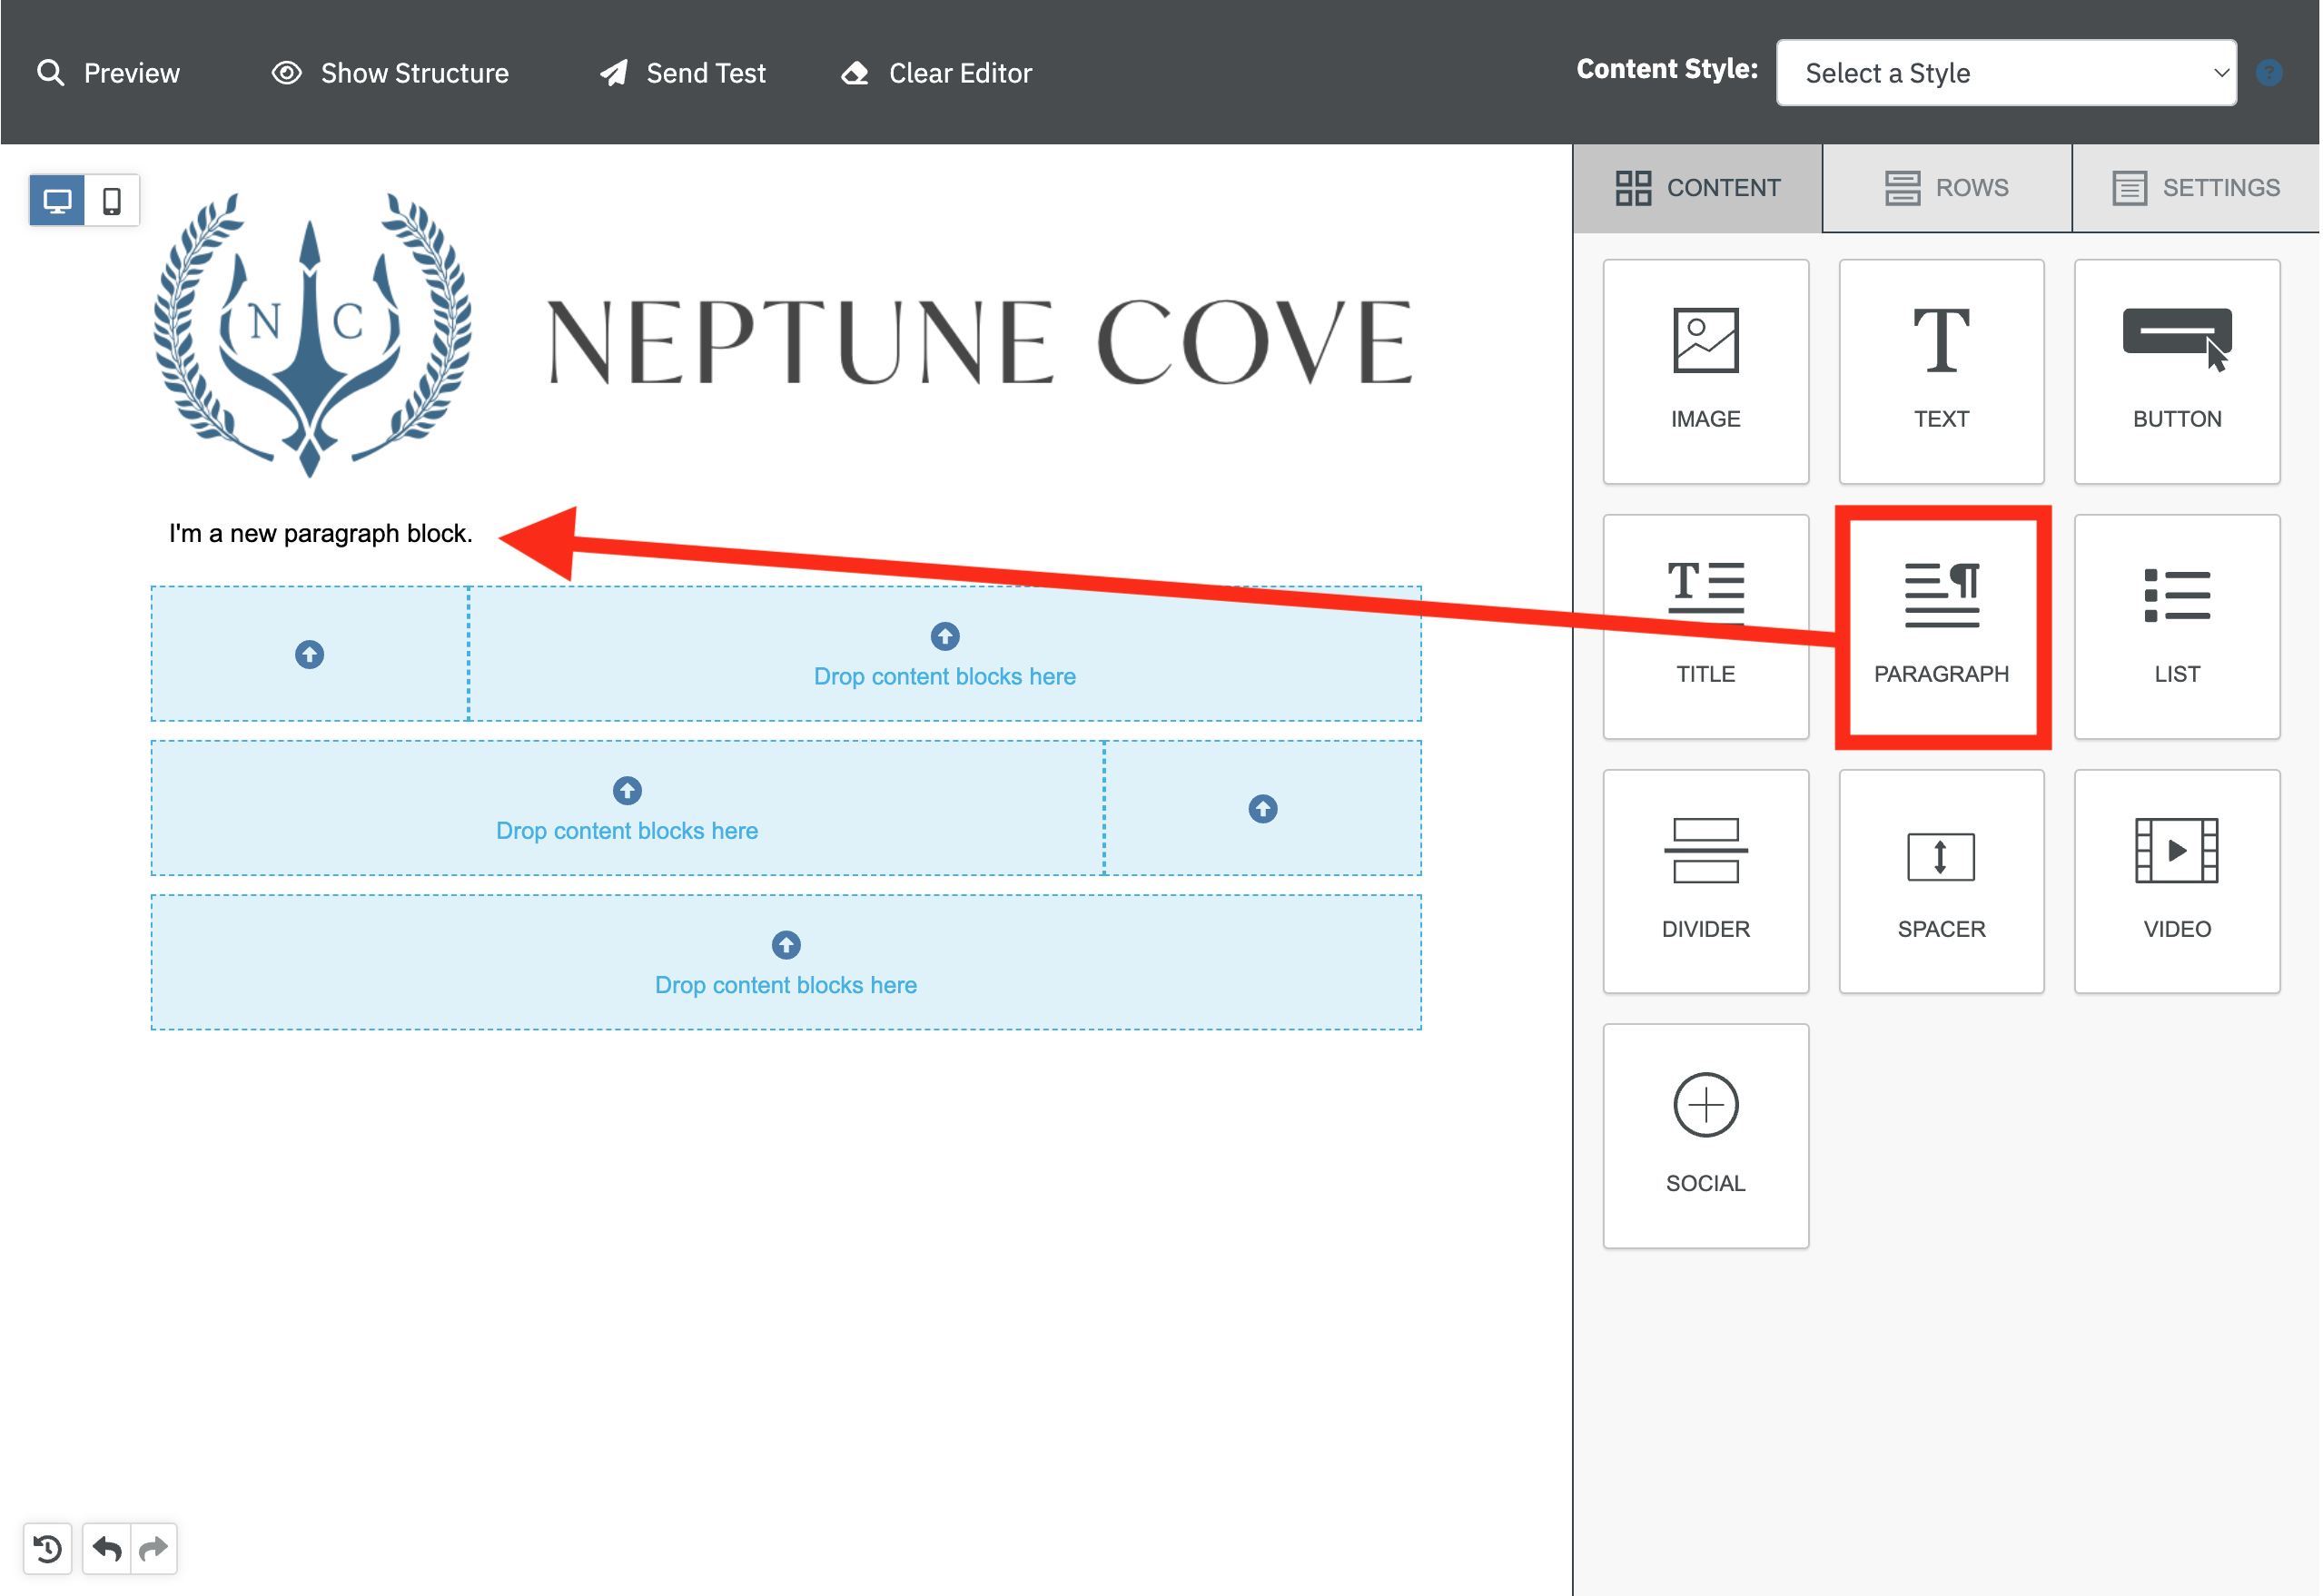 |
| Continue adding content to each Row until your email is complete | 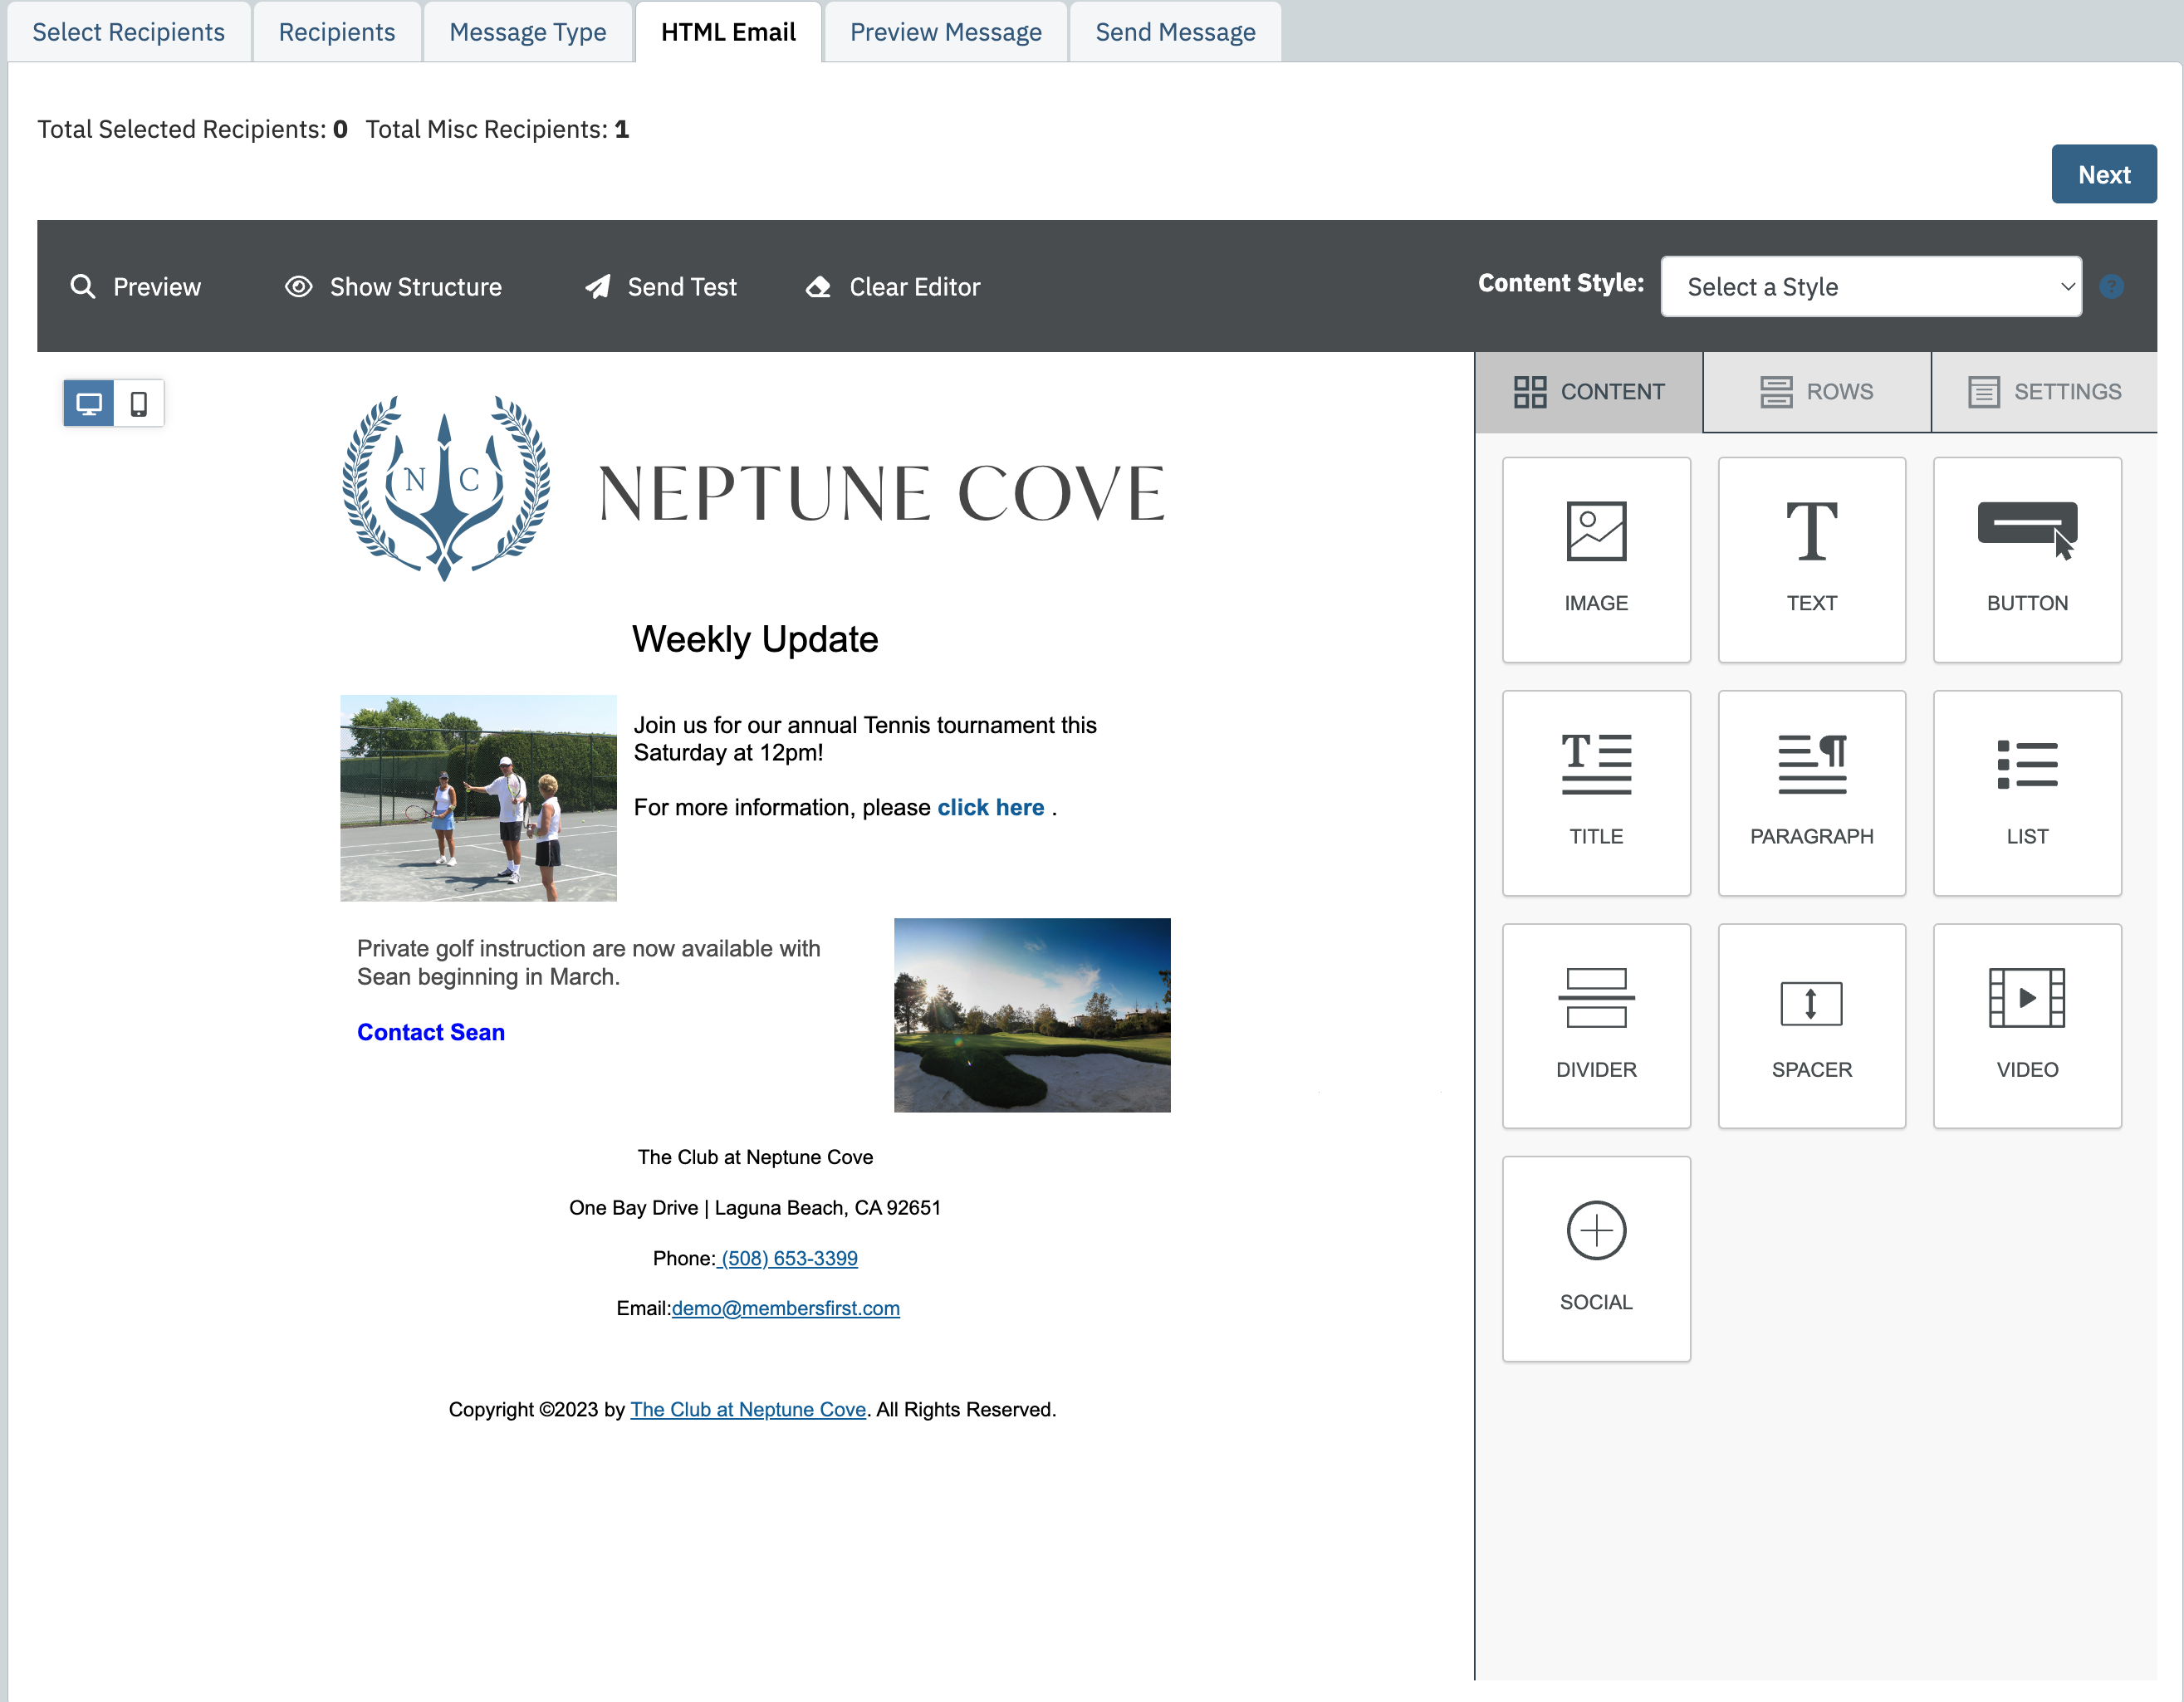 |
| Once the content has been added, click on the “Next” button at the top of the editor | 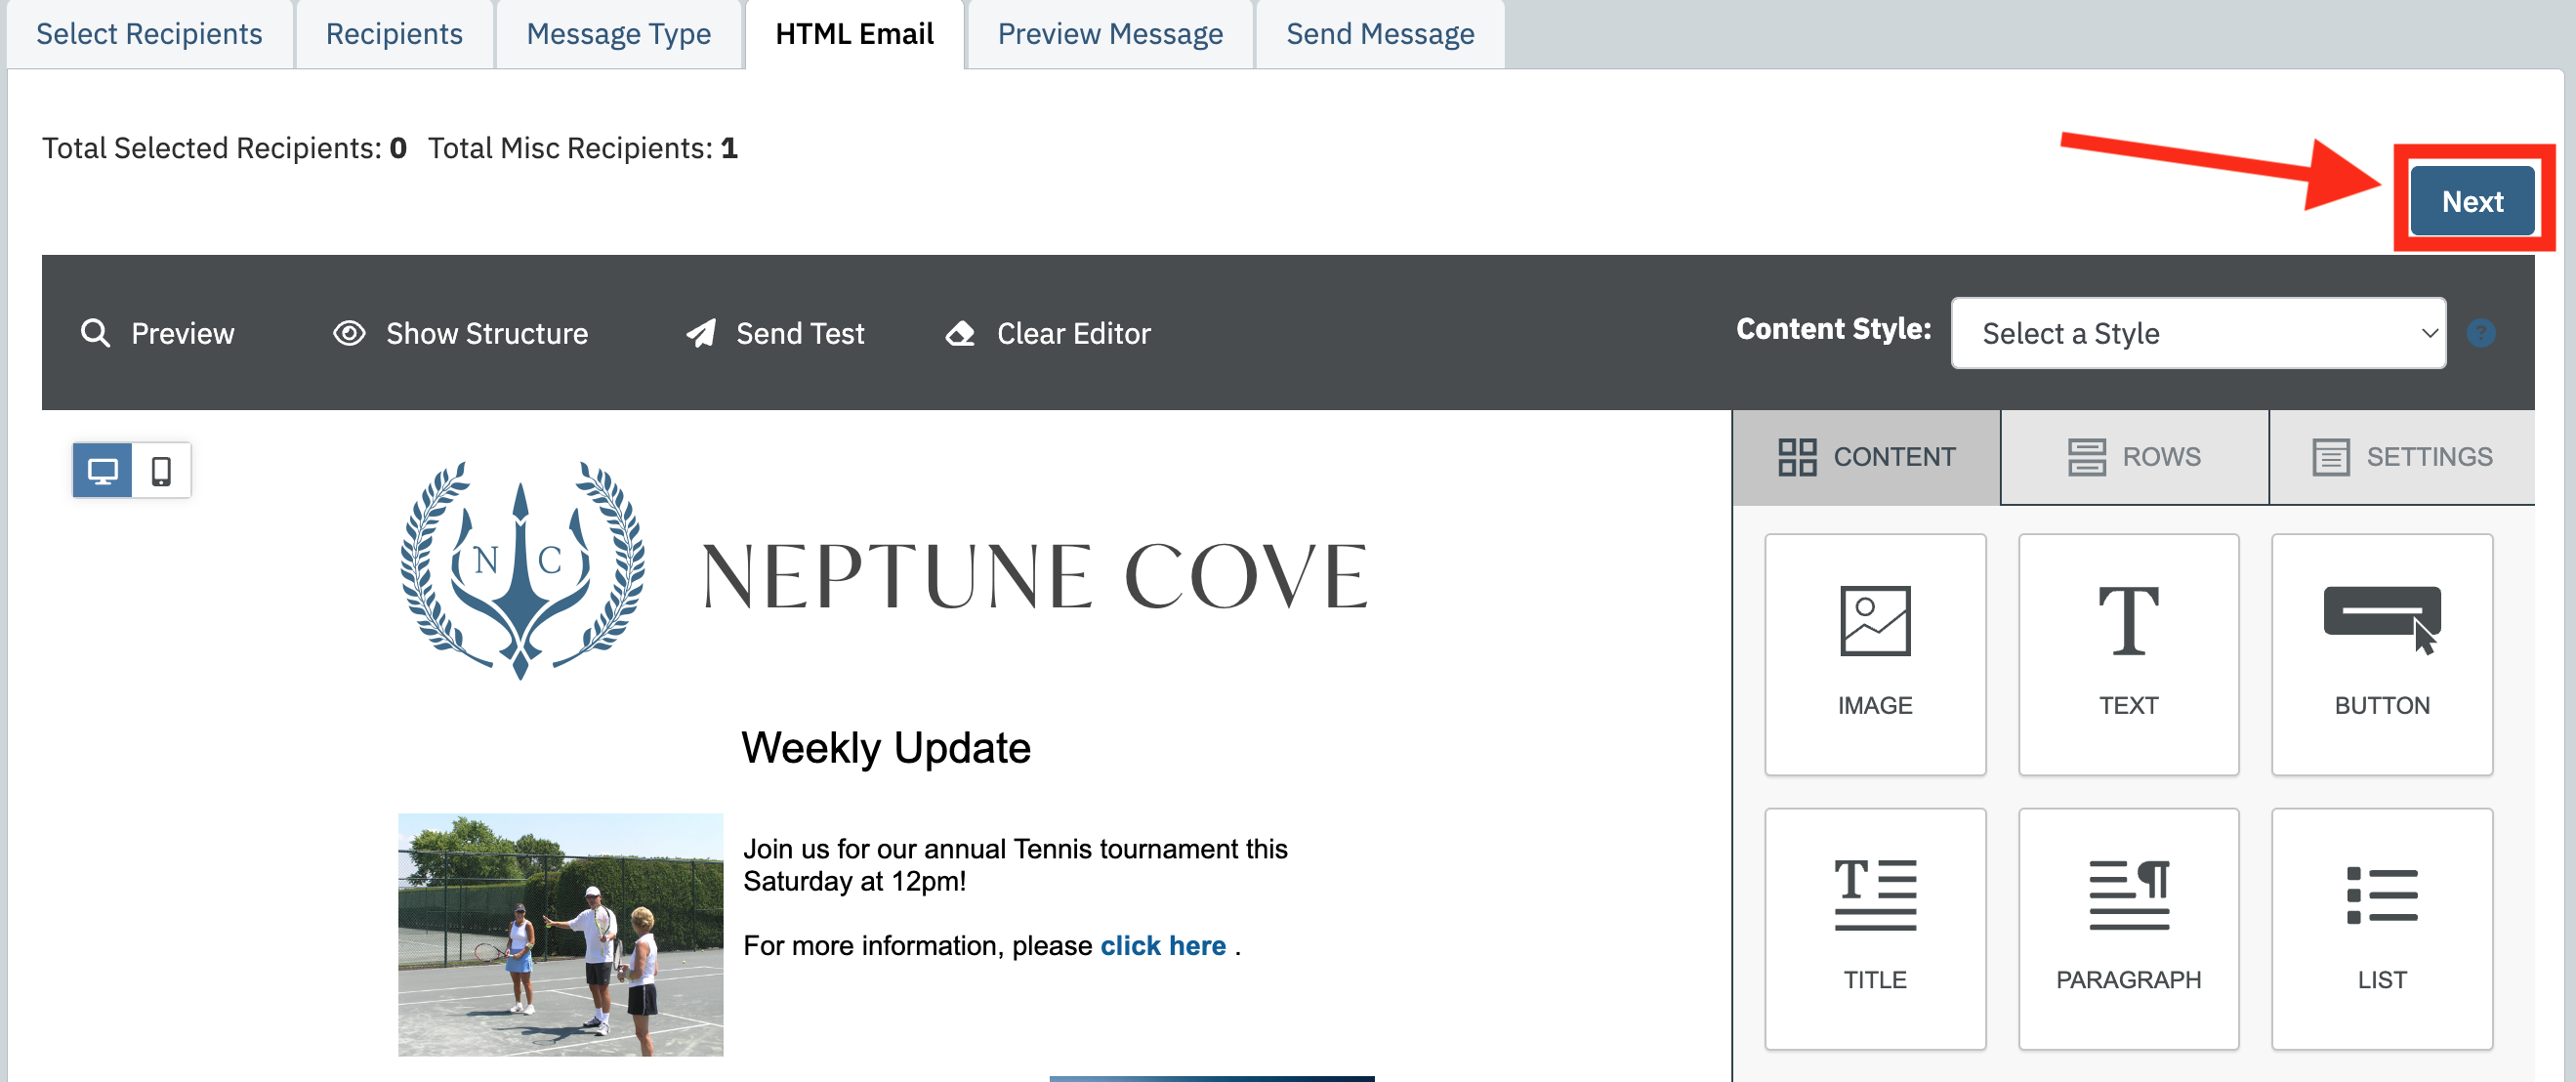 |
| This will bring you into the Preview Message tab where you can review the email |  |
| Once reviewed, please click on the “Next” button at the top of the editor | 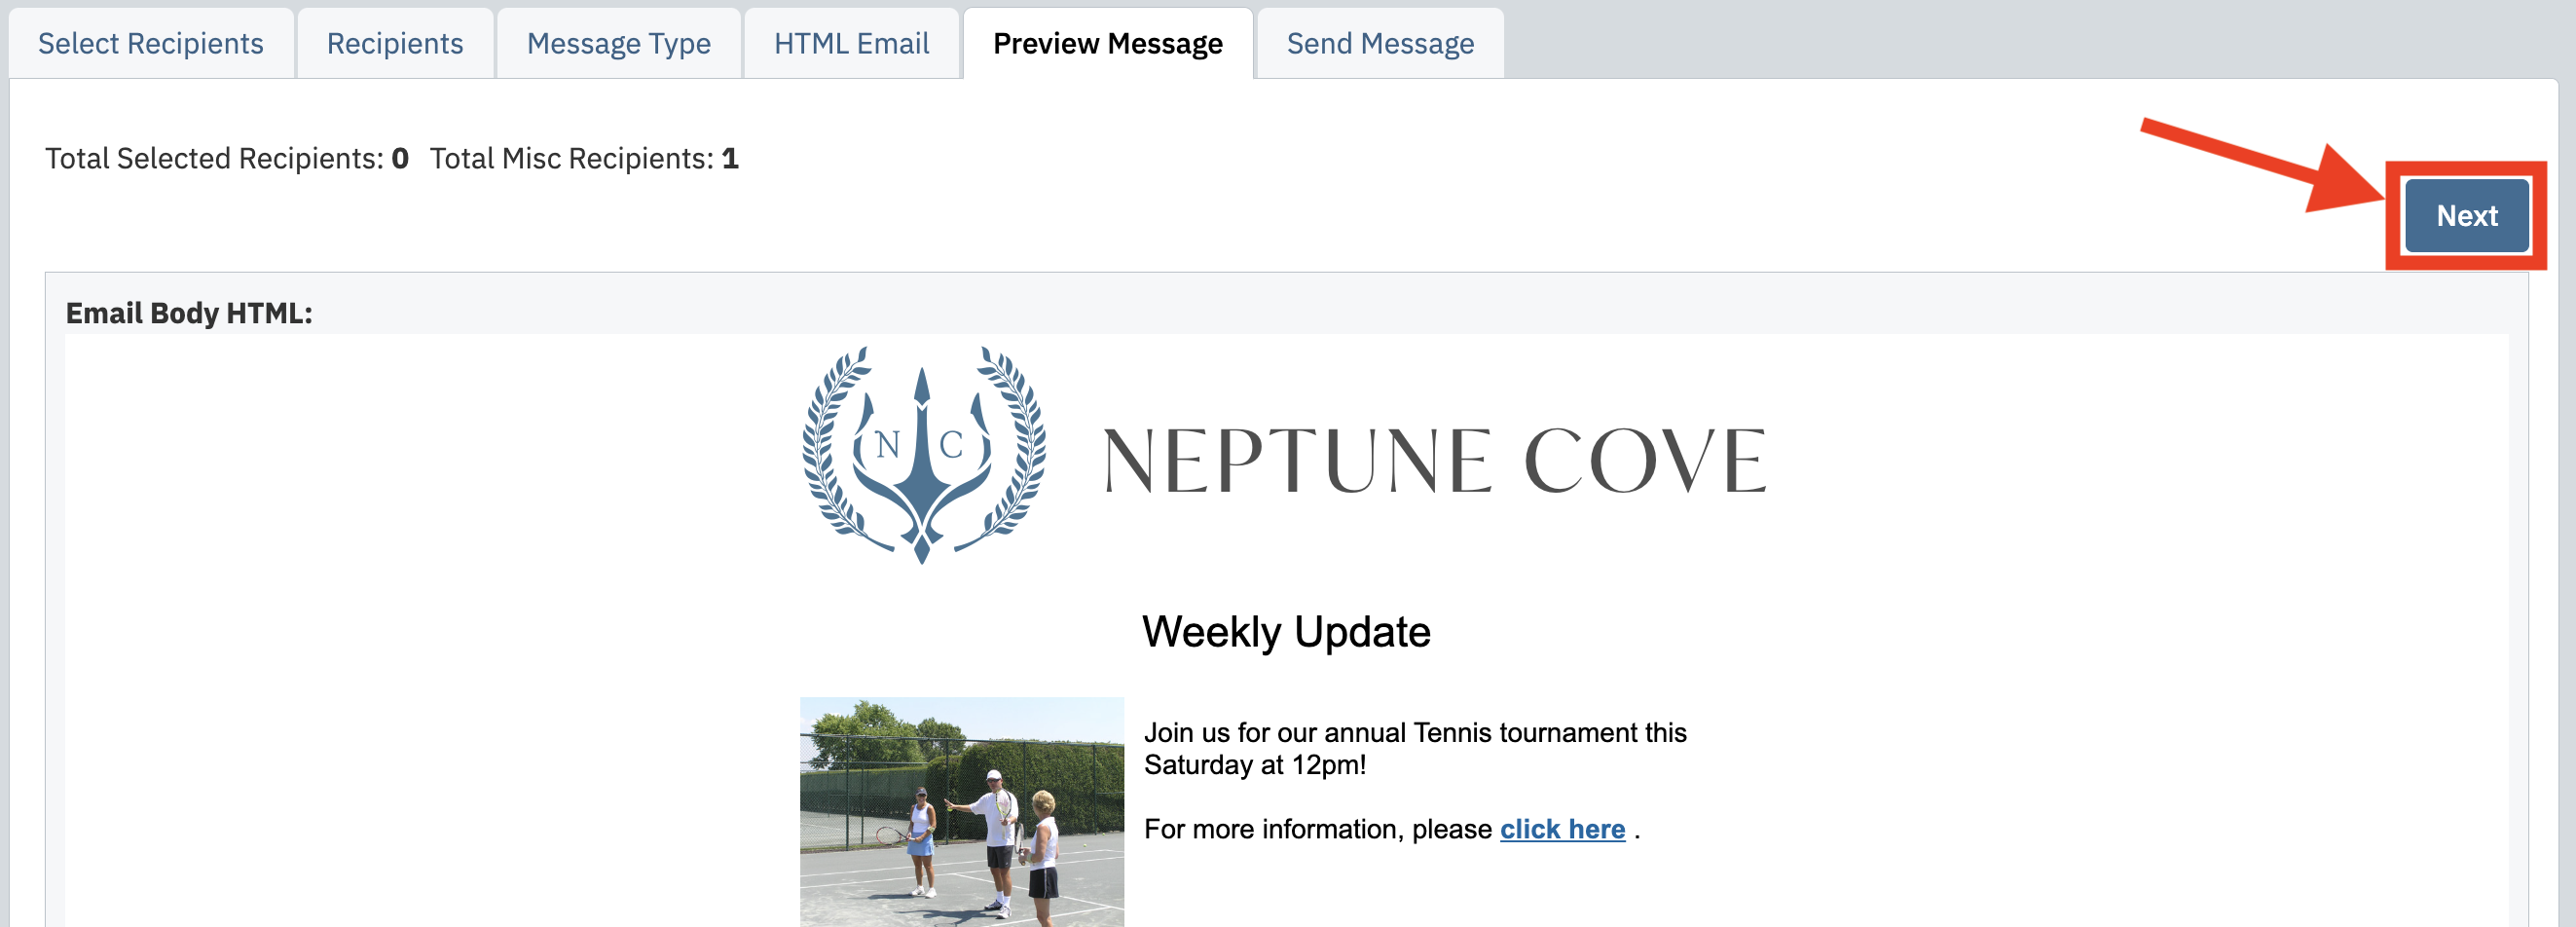 |
| This will bring you into the Send Message tab |  |
| From here, you can update the From Name, From Address, Additional Recipients, Email Subject and additional information For more information on this tab, please click on this article. |  |
| Once this is completed, you can either click on the “Save Draft and Send” or “Send and Remove Draft” button at the bottom of this screen to send the email | 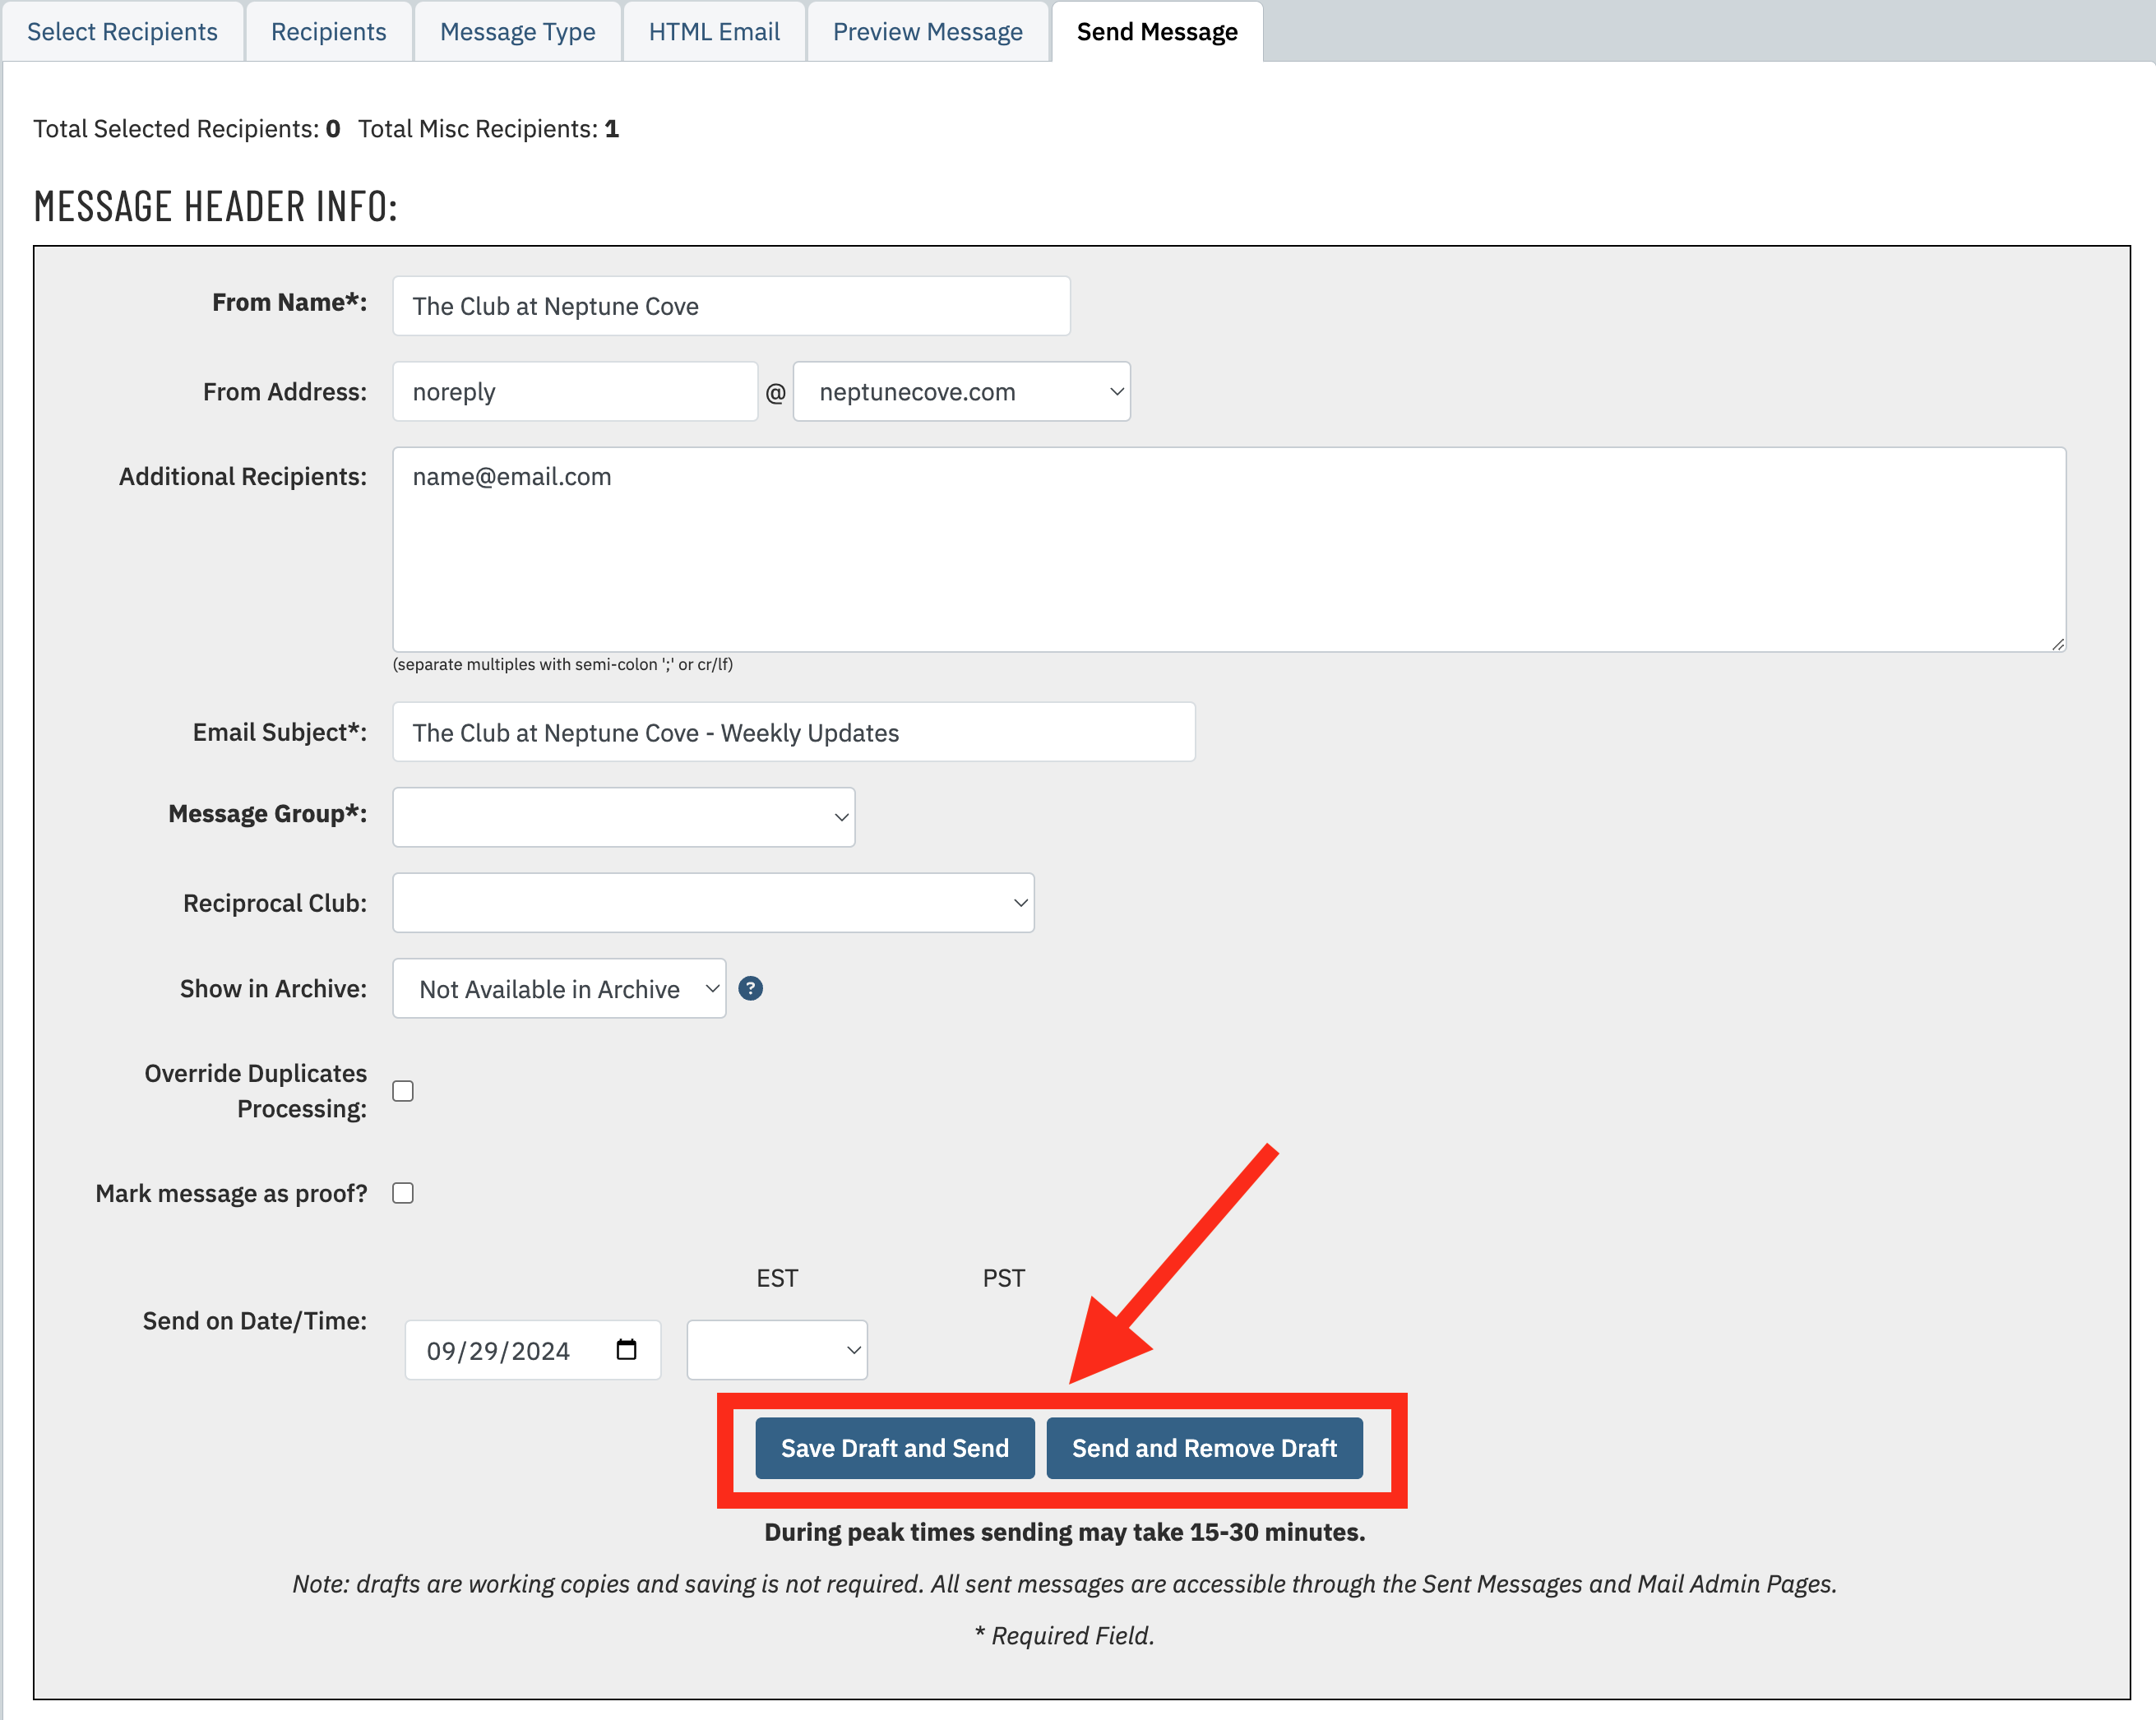 |